
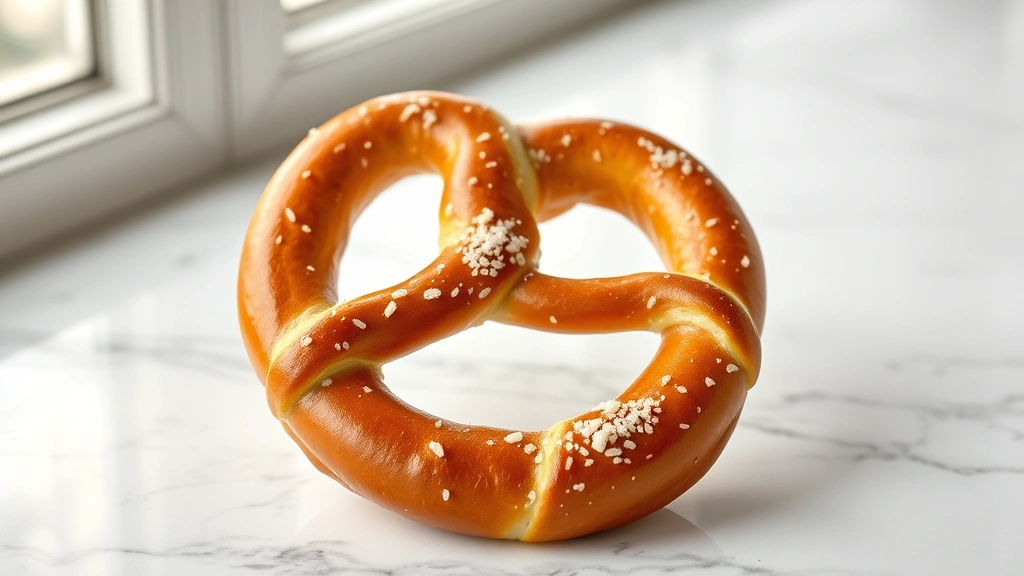
There’s nothing quite like biting into a warm, soft Auntie Anne’s pretzel with that perfect golden-brown exterior and chewy interior. For years, I’ve been trying to recreate that iconic taste at home, and I’m thrilled to finally share my foolproof recipe with you!
This copycat Auntie Anne’s pretzel recipe captures all the magic of the original—those signature twists, the tender crumb, and that addictive flavor that keeps you coming back for more. Whether you’re planning a fun family gathering, a movie night, or simply craving that nostalgic carnival treat, these homemade pretzels are absolutely worth the effort.
I’ve tested this recipe countless times to ensure you get restaurant-quality results right in your own kitchen. The secret lies in the combination of buttermilk, the perfect kneading technique, and a special baking soda bath that gives these pretzels their distinctive chewy texture and beautiful brown color. Plus, you can customize them with your favorite toppings—from cinnamon sugar to cheese powder to jalapeños.
Making pretzels might seem intimidating at first, but I promise this step-by-step guide will walk you through every stage. Once you master this recipe, you’ll never need to visit the mall food court again! Pair these with your favorite dipping sauce—whether that’s a creamy cheese sauce or our signature mustard—and prepare for pure pretzel perfection.
These pretzels also make wonderful gifts for friends and family. Bake a batch, package them in a cute box with some homemade dipping sauce, and watch their faces light up. You can even prepare the dough ahead and freeze it, making these perfect for entertaining. Don’t forget to check out our pickled red onions recipe for a tangy topping option!
For more baking inspiration, visit Bon Appétit’s baking section or Serious Eats for baking science. And if you want to explore more pretzel variations, New York Times Cooking has some incredible pretzel recipes worth checking out. You might also enjoy our heavy cream pasta recipes for other comfort food favorites, or our bacon carbonara recipe for another crowd-pleaser.
Ingredients
- 1 cup whole milk, warmed
- 2½ teaspoons instant yeast
- ¼ cup granulated sugar
- 1½ teaspoons salt
- 2 tablespoons unsalted butter, melted
- 3¾ cups all-purpose flour
- ¼ cup baking soda
- 8 cups water
- 2 tablespoons coarse sea salt for topping
- 2 tablespoons unsalted butter, melted (for brushing)
- Optional toppings: cinnamon sugar, everything bagel seasoning, or grated cheese
Instructions
- In a large mixing bowl, combine the warm milk, instant yeast, and granulated sugar. Let it sit for about 5 minutes until foamy—this indicates your yeast is active and ready to go.
- Add the salt and 2 tablespoons of melted butter to the yeast mixture, stirring well to combine all ingredients thoroughly.
- Gradually add the all-purpose flour to the wet mixture, one cup at a time, stirring with a wooden spoon until the dough becomes shaggy and difficult to stir.
- Transfer the dough to a clean, lightly floured work surface and knead for 8-10 minutes until smooth and elastic. The dough should be slightly tacky but not sticky—if it’s too wet, add a tablespoon more flour at a time.
- Shape the dough into a ball and place it in a lightly oiled bowl, turning to coat all sides. Cover with a damp kitchen towel or plastic wrap.
- Let the dough rise in a warm place for about 1 hour until it has doubled in size. You can use your oven with the light on, or any warm spot in your kitchen.
- Once risen, punch down the dough and divide it into 8 equal pieces. Roll each piece into a ball and let them rest for 5 minutes.
- Take one dough ball and roll it out into a long rope about 24 inches long and ½ inch thick, working gently to maintain even thickness throughout.
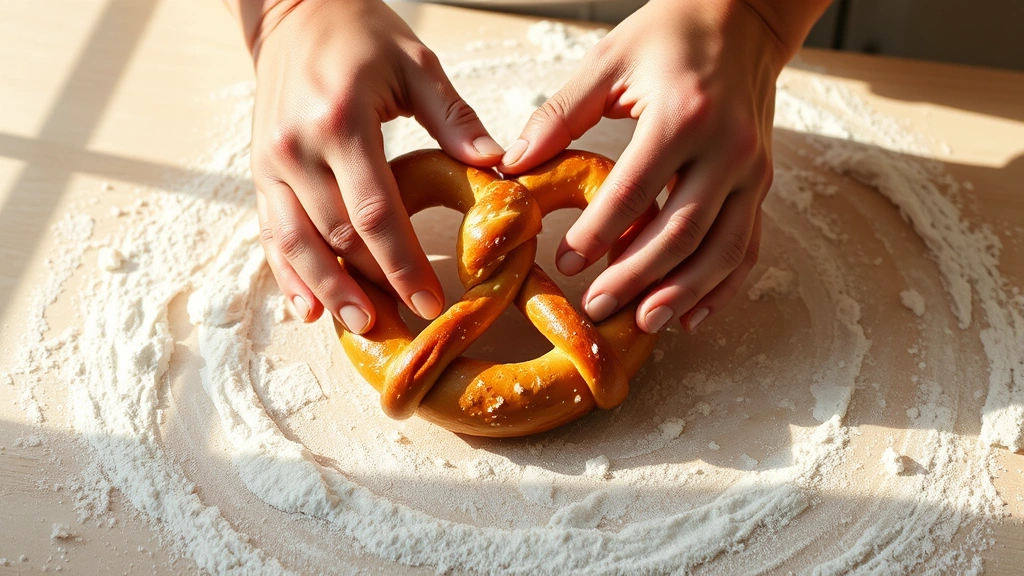
- Form the rope into a pretzel shape by crossing the ends over each other and bringing them down to the sides of the loop, creating the classic twisted pretzel form.
- Place each formed pretzel on a parchment paper-lined baking sheet, leaving about 2 inches between each one for expansion.
- Let the shaped pretzels rest for 15-20 minutes while you prepare the baking soda bath and preheat your oven to 425°F.
- In a large pot, bring 8 cups of water to a boil, then carefully stir in the baking soda. It will bubble and foam—this is normal and necessary for achieving that signature pretzel texture.
- Working in batches, carefully place each pretzel into the boiling baking soda water for about 30 seconds. Use a slotted spoon to gently flip it halfway through.
- Remove each pretzel with a slotted spoon and return it to the parchment-lined baking sheet, allowing excess water to drain off.
- Brush each pretzel generously with the 2 tablespoons of melted butter.
- Sprinkle the coarse sea salt evenly over the top of each pretzel, or add your desired optional toppings for variety.
- Bake the pretzels in the preheated 425°F oven for 12-15 minutes until deep golden brown and baked through.
- Remove from the oven and let cool on the baking sheet for 5 minutes before transferring to a wire rack to cool completely.
- Serve warm with your favorite dipping sauce—cheese sauce, mustard, or even chocolate sauce for cinnamon sugar pretzels.
Pro Tips
- **Make-Ahead Magic**: You can prepare the dough up to 24 hours in advance. After the first rise, punch it down, divide into portions, shape into balls, and refrigerate. The next day, let them come to room temperature before rolling out and shaping into pretzels.
- **Freezer-Friendly**: Shaped pretzels can be frozen for up to 3 months. Place them on a baking sheet to freeze individually, then transfer to freezer bags. Bake directly from frozen, adding 2-3 extra minutes to the baking time.
- **Topping Variations**: Beyond traditional salt, try cinnamon sugar (toss with cinnamon and sugar immediately after brushing with butter), everything bagel seasoning, jalapeño slices, shredded cheddar cheese, or a combination of garlic powder and Italian seasoning.
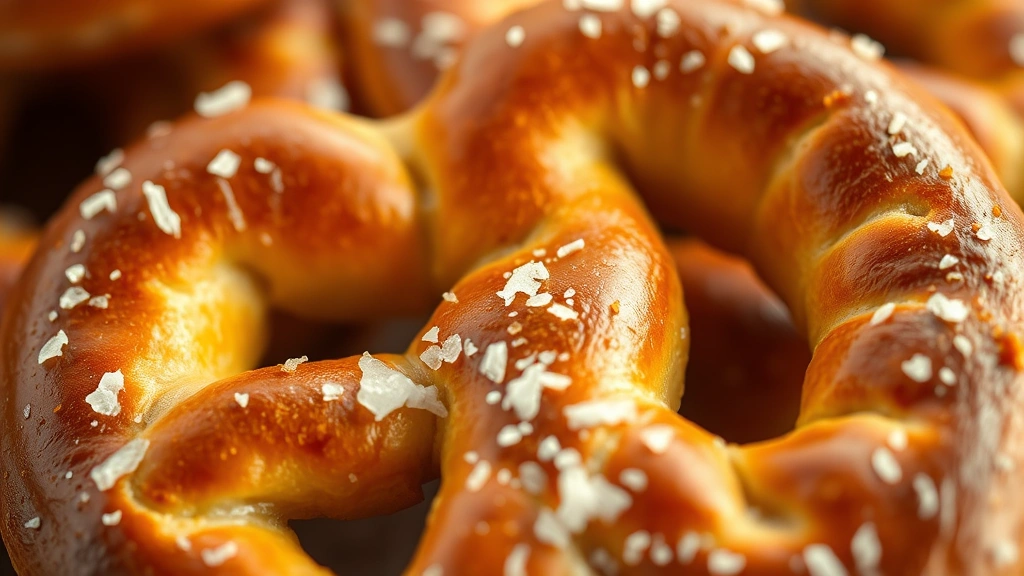
- **Baking Soda Bath is Key**: This step is absolutely crucial for achieving that authentic Auntie Anne’s texture and color. Don’t skip it! The baking soda creates a slightly alkaline environment that produces those beautiful dark brown spots and chewy exterior.
- **Water Temperature Matters**: Make sure your milk is warm (around 110°F) but not too hot, as extreme heat can kill the yeast. Use an instant-read thermometer if you have one.
- **Dough Consistency**: The dough should be slightly tacky to the touch but not sticky enough to leave residue on your hands. This makes for the perfect pretzel texture.
- **Shaping Tips**: If you’re struggling with the pretzel shape, try making a long rope, creating a circle, then bringing the ends up and crossing them over the top. With practice, you’ll get perfect twists every time.
- **Serving Suggestions**: These pretzels are best enjoyed fresh and warm. If you need to store them, keep them in an airtight container for up to 2 days. Refresh in a 350°F oven for 5 minutes before serving.
- **Dipping Sauce Ideas**: Create a cheese sauce with sharp cheddar, or mix Dijon mustard with honey and a touch of horseradish for that classic pretzel shop flavor.
- **Batch Baking**: If you don’t have a large enough pot for the baking soda bath, you can use two smaller pots, or work in smaller batches. The process takes a bit longer but yields the same delicious results.