
There’s something absolutely magical about fluffy, golden pancakes on a lazy weekend morning, and let me tell you—Bisquick makes it almost foolproof! I’ve been making these pancakes for years, and I’ve finally perfected the technique to get them absolutely light, airy, and delicious every single time. The secret isn’t just in following the box directions; it’s in understanding the little tricks that transform a simple mix into restaurant-quality pancakes that will have your family asking for seconds (and thirds!).
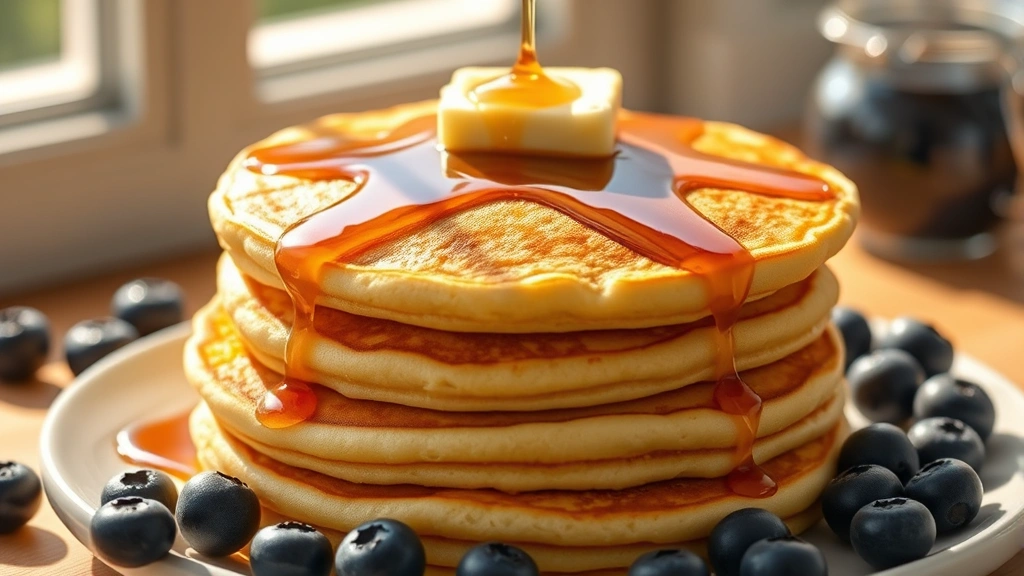
Bisquick pancakes are the ultimate comfort food breakfast that doesn’t require you to have a pantry full of specialty flours or ingredients. What I love most about this recipe is how versatile it is—you can dress them up with fresh berries, chocolate chips, or keep them simple and elegant with just a pat of butter and pure maple syrup. I’ve tested this recipe countless times with different variations, and I’m sharing all my best tips and tricks with you today.
The beauty of using Bisquick is that it already contains flour, baking powder, salt, and a touch of fat, which means you’re starting with a wonderful base. But the magic happens when you understand how to work with the batter, when to flip, and how to keep them warm while you cook the rest. I’ll walk you through every single step, from mixing to plating, so you can create pancakes that rival your favorite brunch spot.
One of my favorite things about this recipe is how it brings back memories of my grandmother’s kitchen. She always said the secret to good pancakes was not overmixing the batter—it should be slightly lumpy! This prevents the gluten from developing too much, which would make your pancakes tough instead of tender. I’ve also discovered that letting the batter rest for a few minutes before cooking makes an incredible difference in the final texture.
Whether you’re cooking for a special occasion or just a regular Tuesday morning, these Bisquick pancakes will become your go-to recipe. Pair them with a delicious breakfast side like fresh fruit salads or even savory options. The versatility is truly endless, and once you master this basic technique, you’ll feel confident experimenting with add-ins and variations. I’ve included detailed instructions on how to cook them to absolute perfection, plus my best tips for keeping them warm, freezing extras, and even reheating them so they taste freshly made.
For more detailed pancake techniques and flavor inspiration, check out Bon Appétit’s breakfast section, which has some wonderful variations you can try once you’ve mastered this basic recipe. I also recommend visiting Serious Eats for their detailed pancake science, which explains the chemistry behind what makes pancakes fluffy. And if you want to explore more breakfast options, The New York Times Cooking section has some inspiring weekend breakfast ideas.
This recipe serves about four people generously, making about 12-16 pancakes depending on size. They’re perfect for feeding a crowd or meal-prepping for the week ahead. I often make a big batch, let them cool completely, and freeze them in an airtight container for busy weekday mornings. Just pop them in the toaster to reheat, and they taste almost as good as fresh!
Let me share everything I’ve learned about making the absolute best Bisquick pancakes. From the moment you open that box to the second you take that first bite, I want you to feel confident and excited about this recipe. These pancakes are going to become a staple in your breakfast rotation, and I promise your family will love them. The technique is simple, the ingredients are minimal, and the results are absolutely spectacular. Let’s get cooking!
Ingredients
- 2 cups Bisquick baking mix
- 1 3/4 cups whole milk, room temperature
- 2 large eggs
- 2 tablespoons granulated sugar
- 1 tablespoon vegetable oil or melted butter, plus more for the griddle
- 1 teaspoon vanilla extract
- 1/4 teaspoon salt
- Optional: 1/2 teaspoon cinnamon for fall flavors
- Optional: 1/2 cup fresh blueberries, chocolate chips, or chopped nuts
- Butter for serving
- Pure maple syrup for serving
Instructions
- In a large mixing bowl, whisk together the Bisquick baking mix, sugar, and salt. If using cinnamon, add it to the dry ingredients and whisk to combine evenly. This ensures the cinnamon is distributed throughout the batter rather than settling to the bottom.
- In a separate medium bowl, whisk together the milk, eggs, vegetable oil, and vanilla extract until well combined. The mixture should be smooth and well-integrated. This is where you’re creating the wet components that will make your pancakes tender and fluffy.
- Pour the wet ingredients into the dry ingredients and gently fold together using a spatula or wooden spoon. Stir just until the ingredients are barely combined—the batter should still have some small lumps. This is crucial: overmixing develops gluten, which creates tough pancakes instead of fluffy ones. Your batter should look slightly shaggy and rustic.
- If using add-ins like blueberries, chocolate chips, or nuts, gently fold them into the batter now. Be careful not to overmix; just fold them in gently so they’re distributed throughout but the batter remains lumpy.
- Let the batter rest for 3-5 minutes while you prepare your cooking surface. This resting time allows the Bisquick to hydrate fully and helps create even fluffier pancakes. You’ll notice the batter may thicken slightly, which is perfect.
- Heat a griddle or large skillet over medium-high heat. If you don’t have a griddle, a large non-stick skillet works beautifully. Let it preheat for about 2-3 minutes until it’s evenly hot. You can test the temperature by sprinkling a few drops of water on the surface—they should sizzle and evaporate immediately.
- Lightly butter or oil the griddle surface. Use just enough fat to coat it lightly—too much will make the pancakes greasy, and too little will cause sticking. A pastry brush or paper towel works great for applying the fat evenly.
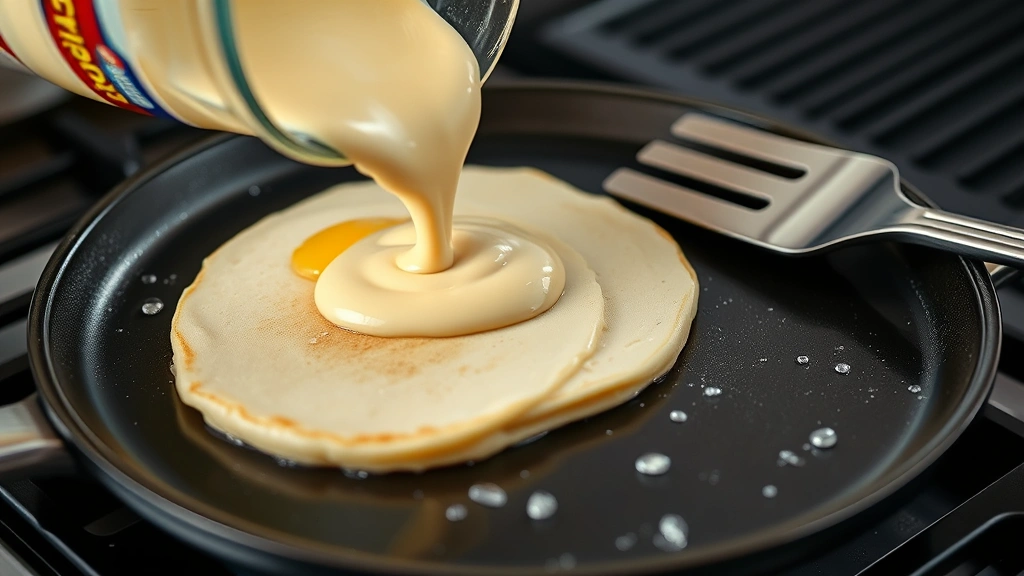
- Using a 1/4 cup measuring cup or ladle, pour the batter onto the hot griddle, spacing the pancakes about 2 inches apart. Pour the batter in a steady stream and let it settle naturally into a round shape. Don’t spread or manipulate the batter once it hits the griddle.
- Watch the pancakes carefully as they cook. After about 1-2 minutes, you’ll see bubbles forming on the surface of the pancakes. When the bubbles pop and the edges look slightly dry and set, it’s time to flip. This is your signal that the bottom has cooked properly.
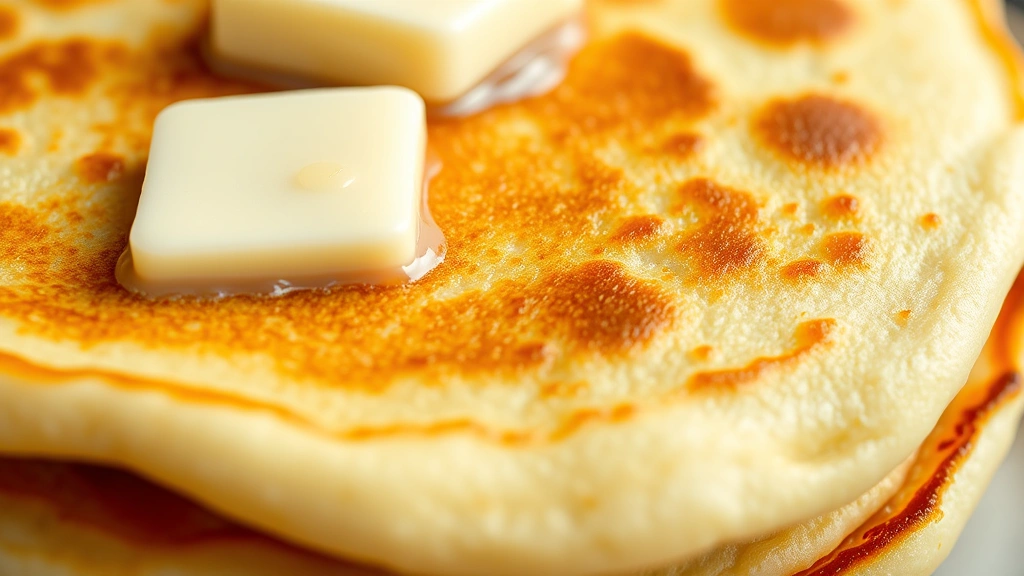
- Using a thin spatula, gently slide it under each pancake and flip it quickly and confidently in one smooth motion. The flipped side should be golden brown or light brown depending on your heat level. Don’t flip too early, or the pancakes will be raw inside; don’t flip too late, or they’ll be overcooked.
- Cook the second side for about 1 minute, until it’s light golden brown. The second side cooks faster than the first side because the internal structure is already set. Resist the urge to flip multiple times—one flip is all you need.
- Transfer the cooked pancakes to a serving plate and keep them warm while you cook the remaining batter. If you want to keep them warm longer, place them on a baking sheet in a 200°F oven with a clean kitchen towel covering them loosely to prevent them from drying out.
- Repeat steps 8-11 with the remaining batter, buttering the griddle between each batch to prevent sticking. If the griddle starts smoking, lower the heat slightly—this means it’s getting too hot and the pancakes will burn on the outside before cooking through on the inside.
- Once all pancakes are cooked, arrange them on serving plates and top with a pat of cold butter that will melt into the warm pancakes. Drizzle generously with pure maple syrup, or top with your favorite toppings like fresh berries, whipped cream, or powdered sugar.
- Serve immediately while the pancakes are still warm and fluffy for the best eating experience.
Pro Tips
- The key to fluffy pancakes is not overmixing the batter. Lumps are your friend! A slightly lumpy batter will yield tender, delicate pancakes, while an overmixed batter creates tough, dense pancakes.
- Room temperature milk combines better with the other wet ingredients and creates a smoother batter. Cold milk can cause lumps that don’t incorporate properly.
- Letting the batter rest for 3-5 minutes is a game-changer. The Bisquick needs time to fully hydrate, and this resting period allows the baking powder to activate slightly, resulting in fluffier pancakes.
- The first pancake is often a test pancake to check your griddle temperature. If it burns, lower your heat. If it’s pale and undercooked, increase your heat slightly.
- Don’t press down on the pancakes with your spatula while they’re cooking. This squeezes out the air bubbles and makes them dense instead of fluffy.
- If you want extra-fluffy pancakes, separate the eggs and whip the egg whites to soft peaks, then fold them in gently just before cooking. This adds extra air and creates an incredibly light texture.
- Add-ins like blueberries, chocolate chips, or nuts should be folded in gently to avoid overmixing. You can also place them directly on the batter after pouring it onto the griddle for a more decorative presentation.
- For buttermilk pancakes, substitute the milk with buttermilk and reduce the baking powder effect by using regular milk mixed with a tablespoon of vinegar or lemon juice if you don’t have buttermilk on hand.
- Cooked pancakes can be frozen in a freezer-safe container for up to 2 weeks. Reheat them in a toaster or toaster oven for a quick breakfast.
- Experiment with cinnamon, pumpkin pie spice, or nutmeg for seasonal variations. Add these spices to the dry ingredients so they distribute evenly throughout the batter.
- Serve with pure maple syrup rather than pancake syrup for a more refined taste. The real maple flavor elevates the entire dish.
- If you want to make these ahead, prepare the dry ingredients the night before in an airtight container. Mix the wet ingredients fresh in the morning and combine just before cooking.
- For a crowd, you can keep finished pancakes warm in a low oven while you work through batches, but serve them within 20-30 minutes for the best texture.