
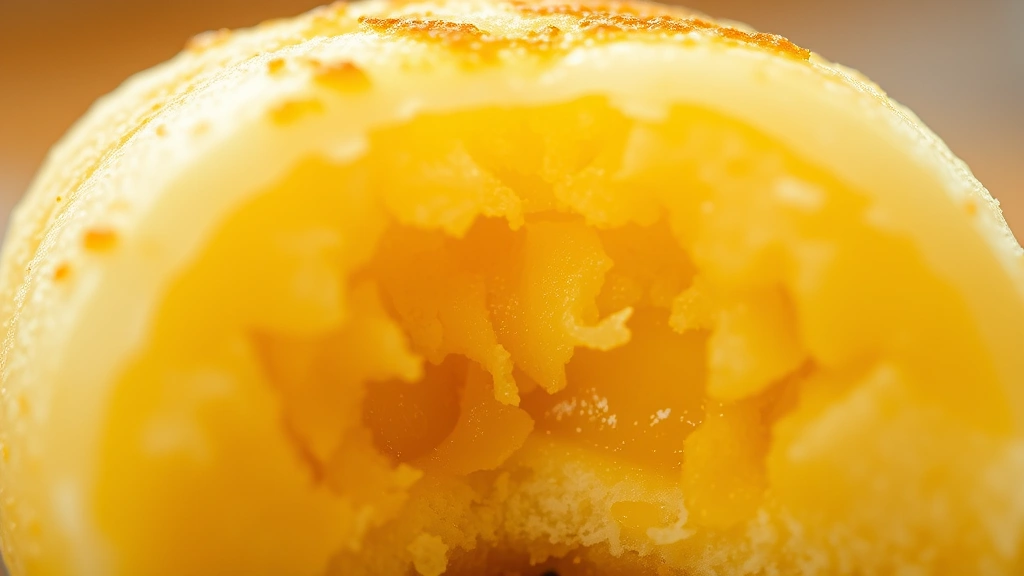
Butter mochi is one of those magical desserts that seems almost too simple to be true, yet delivers extraordinary results every single time. This Japanese-Hawaiian fusion treat has taken over social media and for good reason—it’s crispy on the outside, chewy on the inside, and absolutely loaded with rich, buttery flavor. What makes this recipe so special is the way the butter creates those gorgeous golden edges while the mochi stays wonderfully tender throughout.
I’ve been making butter mochi for years now, and I’m excited to share my foolproof method with you. The secret lies in using the right ratio of ingredients and understanding how the mochi transforms during baking. Unlike many other mochi recipes, this one requires minimal ingredients and even less skill—perfect for beginners and experienced bakers alike. The best part? You can have a batch ready in under 30 minutes from start to finish.
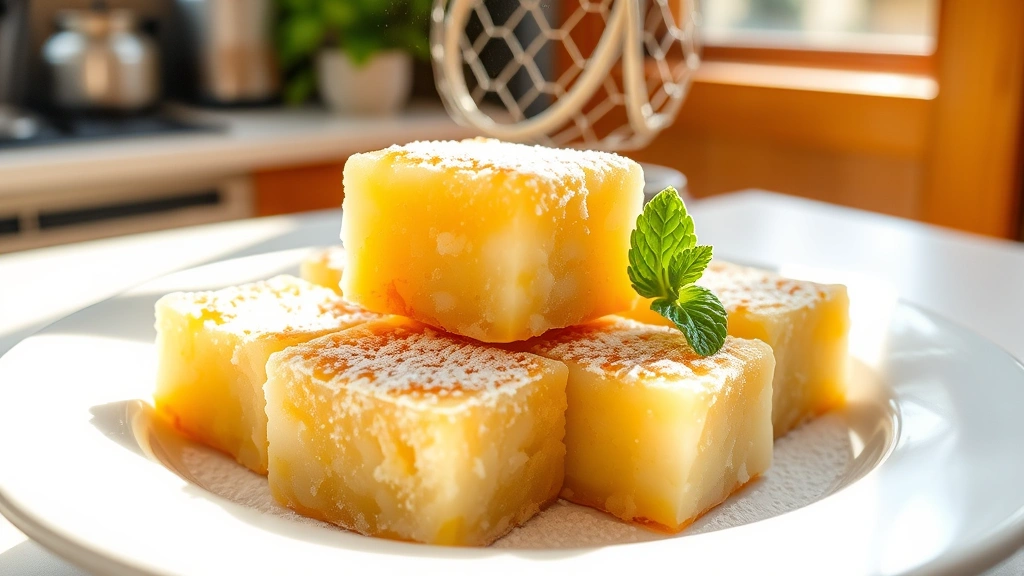
This recipe has become a staple in my kitchen for entertaining, potlucks, and those moments when I need a quick dessert that looks far more impressive than it actually is. Whether you’re new to mochi or a longtime fan, this butter version will absolutely become your go-to. I love serving these still warm from the oven, when the butter is still melting and the edges are at their crispiest. You can also make them ahead and reheat them gently—they’ll still be delicious.
If you love this recipe, you might also enjoy exploring homemade mochi ice cream, chocolate mochi variations, or mochi donuts. For more insights on working with mochi flour and other Asian desserts, check out Serious Eats and Bon Appétit’s dessert section. You’ll find tons of inspiration for taking your mochi game to the next level.
Ingredients
- 1 cup mochiko (sweet rice flour)
- 3/4 cup all-purpose flour
- 1 cup granulated sugar
- 1 teaspoon baking powder
- 1/2 teaspoon salt
- 1 cup whole milk
- 1/2 cup melted butter, plus 2 tablespoons for the pan
- 1 teaspoon vanilla extract
- Powdered sugar for dusting (optional)
Instructions
- Preheat your oven to 350°F and prepare a 9×13-inch baking pan by generously coating it with 2 tablespoons of melted butter. Make sure to butter the sides as well to prevent the mochi from sticking.
- In a large mixing bowl, whisk together the mochiko, all-purpose flour, granulated sugar, baking powder, and salt until well combined and there are no lumps.
- In a separate medium bowl, whisk together the milk, 1/2 cup melted butter, and vanilla extract until fully incorporated and the mixture is smooth.
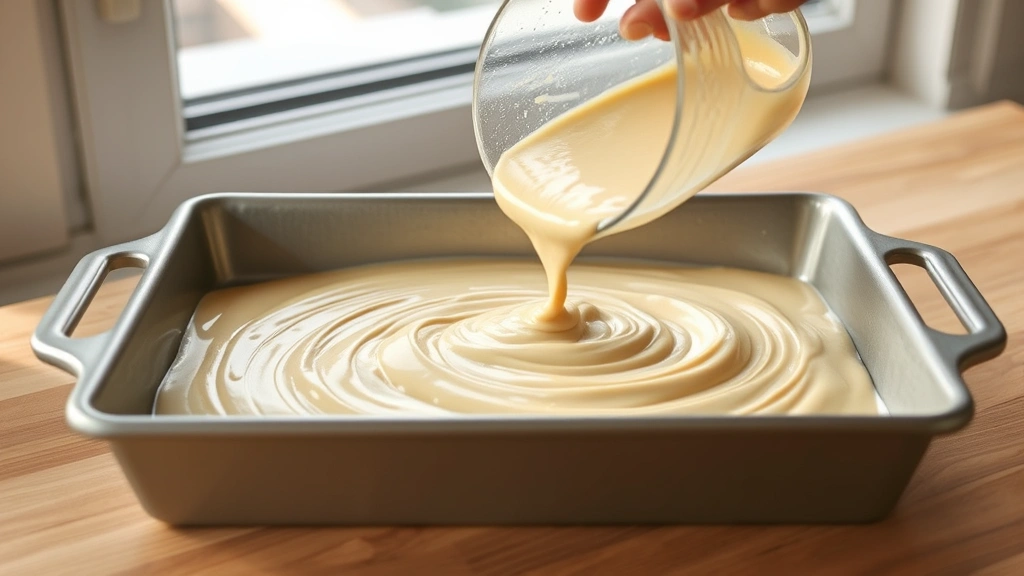
- Pour the wet ingredients into the dry ingredients and stir until just combined. The batter should be smooth and pourable, similar to pancake batter consistency.
- Pour the batter into your prepared pan and use a spatula or the back of a spoon to spread it evenly into all corners.
- Bake for 18-22 minutes, or until the top is light golden brown and a toothpick inserted in the center comes out clean or with just a few moist crumbs.
- Remove from the oven and let cool in the pan for at least 10 minutes before cutting. This cooling time is crucial for the mochi to set properly.
- Once cooled slightly, cut into 16 equal squares using a sharp knife, wiping the blade between cuts to prevent sticking.
- Serve warm or at room temperature, dusted with powdered sugar if desired. These are best enjoyed within 24 hours but will keep in an airtight container for up to 3 days.
Pro Tips
- Mochiko flour is essential for this recipe—it’s not the same as regular rice flour. You can find it at most Asian grocery stores or order it online. It creates that signature chewy texture that makes butter mochi so special.
- The butter is what creates those crispy, caramelized edges that make this dessert so addictive. Don’t skimp on it or substitute it with oil—the flavor and texture won’t be the same.
- Make sure your pan is well-buttered before adding the batter. This prevents sticking and helps create those gorgeous edges we’re after.
- If you don’t have vanilla extract, you can omit it or substitute with 1/4 teaspoon of almond extract for a different flavor profile.
- For extra richness, you can add 1/2 cup of sweetened condensed milk to your wet ingredients, which will make the mochi even more indulgent.
- The texture of butter mochi is unique—it should be crispy on the outside but still have a slightly chewy interior. Don’t overbake or it will become too firm.
- These freeze beautifully! Store cooled pieces in an airtight container in the freezer for up to 2 weeks. Thaw at room temperature or reheat gently in the oven at 300°F for 5-7 minutes.
- For a fun twist, try adding a teaspoon of matcha powder or a tablespoon of coconut extract to the batter.
- Cut the mochi into smaller pieces if you prefer more crispy edges relative to chewy center, or larger pieces if you want more of that chewy texture.
- Store leftover mochi in an airtight container at room temperature for up to 3 days. If they soften, you can reheat them in a 300°F oven for a few minutes to restore some crispiness.
Pingback: How to make the Best Smoked Salmon Brine Recipe! – Simple Recipe Finder