
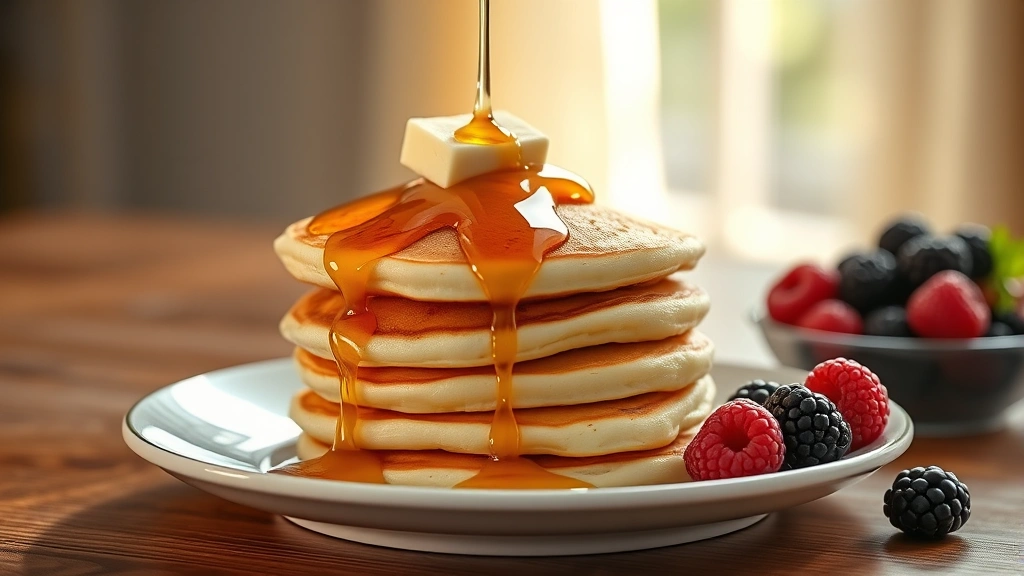
There’s something truly magical about waking up to a stack of fluffy buttermilk pancakes on a lazy Sunday morning. These aren’t just any pancakes—they’re the BEST buttermilk pancakes you’ll ever make, with a tender crumb, golden-brown exterior, and that signature tangy flavor that only buttermilk can provide.
I’ve been perfecting this recipe for years, testing everything from the type of flour to the exact ratio of buttermilk to create pancakes that are restaurant-quality but incredibly easy to make at home. The secret lies in a few key techniques: not overmixing the batter, using both baking soda and baking powder for the perfect rise, and cooking them at the right temperature so they’re golden outside and fluffy inside.
Buttermilk is the star ingredient here. Its acidity reacts with the baking soda to create lift and tenderness, while also adding a subtle tang that makes these pancakes taste extraordinary. Whether you’re serving them to your family on a weekend morning or impressing guests at brunch, these pancakes will become your go-to recipe. They’re simple enough for beginners but sophisticated enough to satisfy any pancake connoisseur.
I love topping these with classic butter and maple syrup, but you can also get creative with homemade strawberry compote, fresh whipped cream, or even chocolate chips. For more inspiration on breakfast dishes, check out our breakfast collection or explore French toast recipes for other buttermilk-based options.
For detailed techniques and variations, check out Serious Eats’ pancake guide, Bon Appétit’s buttermilk pancake recipe, and New York Times’ perfect pancakes for additional expert insights. You can also find great toppings ideas at Bon Appétit’s pancake topping gallery and Serious Eats’ topping suggestions.
Ingredients
- 2 cups all-purpose flour
- 2 tablespoons granulated sugar
- 1 teaspoon baking soda
- 1 teaspoon baking powder
- 1 teaspoon salt
- 2 cups buttermilk, room temperature
- 2 large eggs
- 3 tablespoons unsalted butter, melted
- 1 teaspoon vanilla extract
- Butter for the griddle or pan
- Maple syrup for serving
- Optional: fresh berries, chocolate chips, or sliced bananas

Instructions
- In a large mixing bowl, whisk together the flour, sugar, baking soda, baking powder, and salt. Make sure to break up any lumps in the baking soda and distribute the leavening agents evenly throughout the flour mixture.
- In a separate medium bowl, whisk together the buttermilk, eggs, melted butter, and vanilla extract until well combined. The mixture should be smooth and homogeneous.
- Create a well in the center of the dry ingredients and pour the wet ingredients into it. Using a spatula or wooden spoon, gently fold the wet and dry ingredients together until just combined. The batter should be lumpy—do NOT overmix. Overmixing develops gluten and results in tough, dense pancakes.
- Let the batter rest for 5 minutes while you heat your griddle or non-stick skillet over medium heat. This resting time allows the baking soda and baking powder to activate, creating a lighter, fluffier pancake.
- While the batter rests, brush your griddle or skillet with a small amount of butter. You want just enough to coat the surface and prevent sticking without creating greasy pancakes.
- Test the heat of your griddle by flicking a few drops of water onto it. If they sizzle immediately and evaporate, it’s ready. If they just sit there, wait a bit longer.
- Scoop approximately ¼ cup of batter onto the hot griddle for each pancake, leaving about 2 inches between pancakes so they have room to spread.
- Cook the pancakes on the first side for 2-3 minutes, or until bubbles form on the surface and the edges look set and slightly dry. Resist the urge to flip early—patience is key to perfectly cooked pancakes.
- Flip the pancakes carefully using a thin spatula and cook on the second side for another 1-2 minutes, until golden brown. The second side cooks faster than the first.
- Transfer the cooked pancakes to a serving plate. You can keep them warm in a 200°F oven while you cook the remaining batter.
- Repeat steps 7-10 with the remaining batter, buttering the griddle between batches if needed.
- Serve the pancakes hot off the griddle with butter, maple syrup, and your favorite toppings.

Pro Tips
- **The Buttermilk Factor**: Buttermilk’s acidity is crucial. It reacts with baking soda to create carbon dioxide bubbles, which creates lift. If you don’t have buttermilk, make a substitute by adding 1 tablespoon of lemon juice or white vinegar to 1 cup of regular milk and letting it sit for 5 minutes.
- **Don’t Overmix**: This is the most common mistake home cooks make. Lumpy batter equals fluffy pancakes. Smooth batter equals tough pancakes. Fold gently and stop mixing as soon as you don’t see dry flour.
- **Room Temperature Ingredients**: Cold buttermilk and eggs can create lumps and uneven mixing. Let them sit on the counter for 15-20 minutes before making the batter.
- **The Resting Period**: Those 5 minutes of resting time are non-negotiable. They allow the baking soda to start reacting with the buttermilk’s acidity, creating bubbles that make the pancakes light and airy.
- **Temperature Control**: Medium heat is your friend. Too hot and the outside burns before the inside cooks; too cool and you’ll get dense, pale pancakes. Every griddle is different, so adjust as needed after your first batch.
- **Bubble Test**: Wait for bubbles to form on the surface before flipping. This indicates that the bottom is set enough to handle the flip and the structure is developed enough to support flipping.
- **Make-Ahead Option**: You can prepare the dry ingredients the night before in an airtight container. Whisk the wet ingredients fresh in the morning and combine just before cooking.
- **Freezing**: Cooked pancakes freeze beautifully for up to 3 months. Reheat them in a toaster or oven at 350°F for 5-7 minutes.
- **Toppings Galore**: Beyond maple syrup, try whipped cream, fresh berries, chocolate chips, sliced bananas, pecans, or even a dollop of sour cream with jam.
- **Batch Cooking**: If cooking for a crowd, keep finished pancakes warm in a 200°F oven on a wire rack (not directly on a plate, which traps steam and makes them soggy).