
There’s something absolutely magical about a homemade cherry pie, and here’s the secret that most home bakers don’t realize: using canned cherries doesn’t mean you’re cutting corners—it means you’re being smart! This canned cherry pie recipe is the ultimate shortcut to an impressive, restaurant-quality dessert that tastes like you spent all day in the kitchen when really, you just spent an afternoon.
I grew up watching my grandmother make pie from scratch, and while I adore her fresh cherry pies in summer, I learned that canned cherries are a baker’s best friend. They’re picked at peak ripeness, preserved perfectly, and available year-round. This recipe celebrates that convenience while delivering a pie with a buttery, flaky crust, a luscious filling, and that gorgeous deep red cherry color that makes everyone swoon.
What makes this the BEST canned cherry pie? It’s all about building layers of flavor. We’re not just dumping canned cherries into a store-bought crust. Instead, we’re enhancing the filling with warm spices, a touch of almond extract for depth, and a thickener that creates the perfect consistency—not runny, not gluey, but absolutely perfect. The crust is tender and golden, and the whole pie comes together in a way that feels both impressive and totally achievable.
Whether you’re hosting a dinner party, bringing a dessert to a potluck, or simply craving a slice of nostalgia with vanilla ice cream, this canned cherry pie recipe is your answer. It’s the kind of pie that makes people ask for your recipe, and when you tell them it starts with canned cherries, they’ll be shocked. So let’s get baking!
Pro tip: Make your pie the day before serving for the best flavor development and easier slicing. The cherries will have time to meld with the spices, creating an even more delicious filling. You can also check out our Best Heavy Cream Alfredo Sauce Recipe if you’re planning a complete dinner menu, and don’t miss our Best Garlic Shrimp Scampi Recipe for another showstopper dish.
Ingredients
- 2 (9-inch) pie crusts, store-bought or homemade
- 2 (15-ounce) cans pitted dark sweet cherries in heavy syrup
- 1/2 cup granulated sugar
- 1/4 cup brown sugar
- 1/4 cup cornstarch
- 2 tablespoons all-purpose flour
- 1/4 teaspoon salt
- 1/2 teaspoon ground cinnamon
- 1/4 teaspoon ground nutmeg
- 1/8 teaspoon ground allspice
- 1/2 teaspoon almond extract
- 1/4 teaspoon vanilla extract
- 2 tablespoons fresh lemon juice
- 1 tablespoon butter, cut into small pieces
- 1 egg, beaten with 1 tablespoon water, for egg wash
- 1 tablespoon coarse sugar for topping (optional but recommended)
Instructions
- Preheat your oven to 425°F. If using store-bought pie crusts, remove them from the refrigerator and let them sit at room temperature for 5 minutes to make them easier to work with.
- Drain the canned cherries in a fine-mesh strainer set over a medium bowl, reserving 1/2 cup of the syrup. Set the cherries and syrup aside separately.
- In a large mixing bowl, whisk together the granulated sugar, brown sugar, cornstarch, flour, salt, cinnamon, nutmeg, and allspice until well combined and no lumps remain.
- Add the drained cherries to the sugar mixture and gently fold together until all cherries are evenly coated. Pour in the reserved cherry syrup, almond extract, vanilla extract, and lemon juice, folding gently until the filling comes together. Let this mixture sit for 5 minutes to allow the cornstarch to begin hydrating.
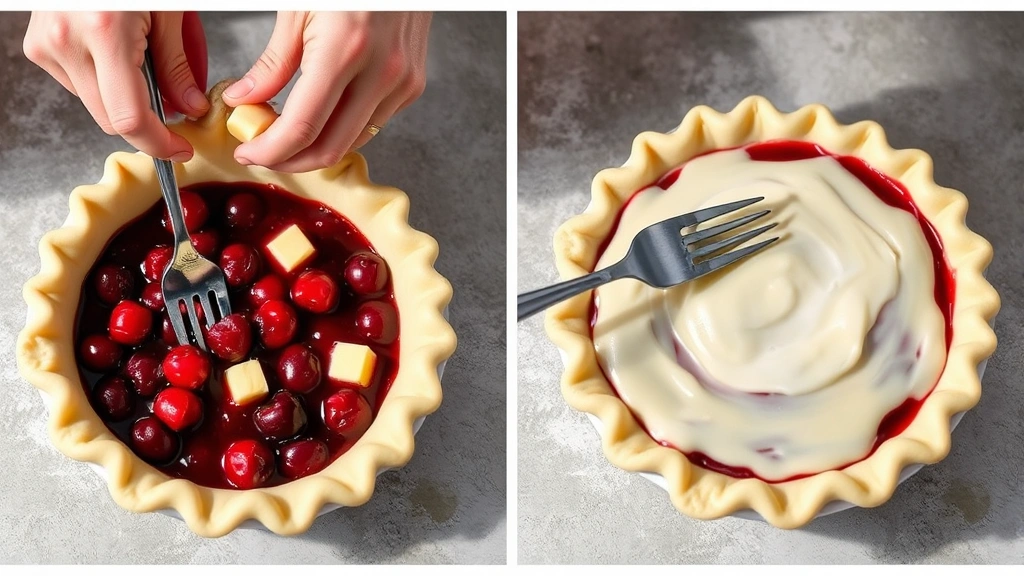
- Place one pie crust in a 9-inch pie dish, allowing the excess to hang over the edges. Pour the cherry filling into the crust, spreading it evenly. Dot the filling with the small pieces of butter distributed across the surface.
- Place the second pie crust on top of the filling. Trim the excess dough from both crusts, leaving about 1/2 inch overhang. Fold the edges under and crimp with a fork or your fingers to create a sealed, decorative edge.
- Using a sharp knife, cut 4-5 small slits in the top crust to allow steam to escape during baking. This prevents the pie from bubbling over and helps it bake evenly.
- Brush the top of the pie generously with the egg wash, making sure to cover all exposed dough. Sprinkle with coarse sugar if desired for added texture and a professional appearance.
- Place the pie on a baking sheet (this catches any drips and makes handling easier) and bake at 425°F for 20 minutes. Reduce the oven temperature to 375°F and continue baking for an additional 25-30 minutes, until the crust is deep golden brown and you can see some of the filling bubbling through the vents.
- If the crust edges are browning too quickly, tent the pie loosely with aluminum foil during the final 15 minutes of baking to prevent burning.
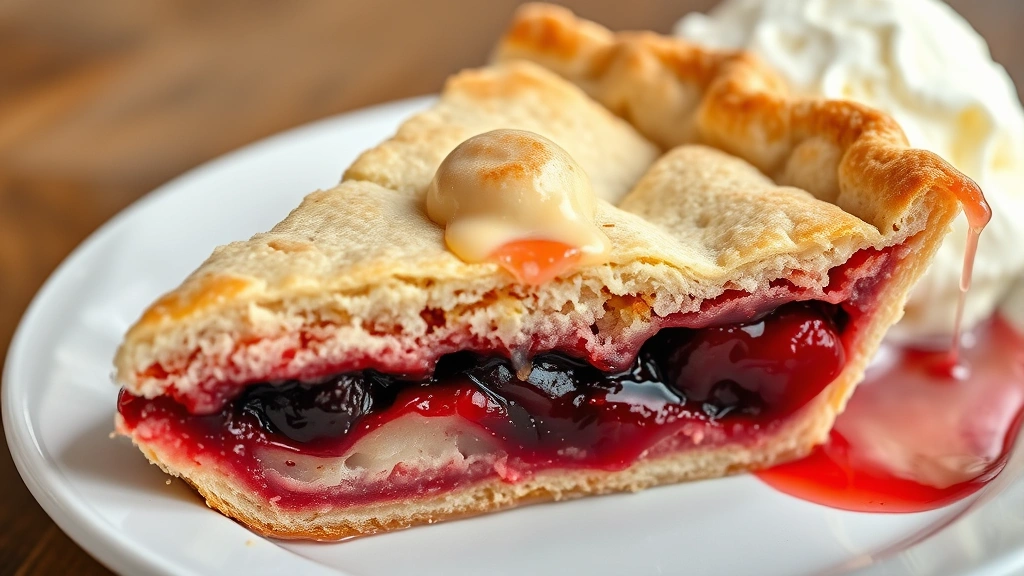
- Remove the pie from the oven and allow it to cool on a wire rack for at least 3-4 hours before slicing. This cooling time is crucial—it allows the filling to set properly so you get clean slices rather than a runny mess.
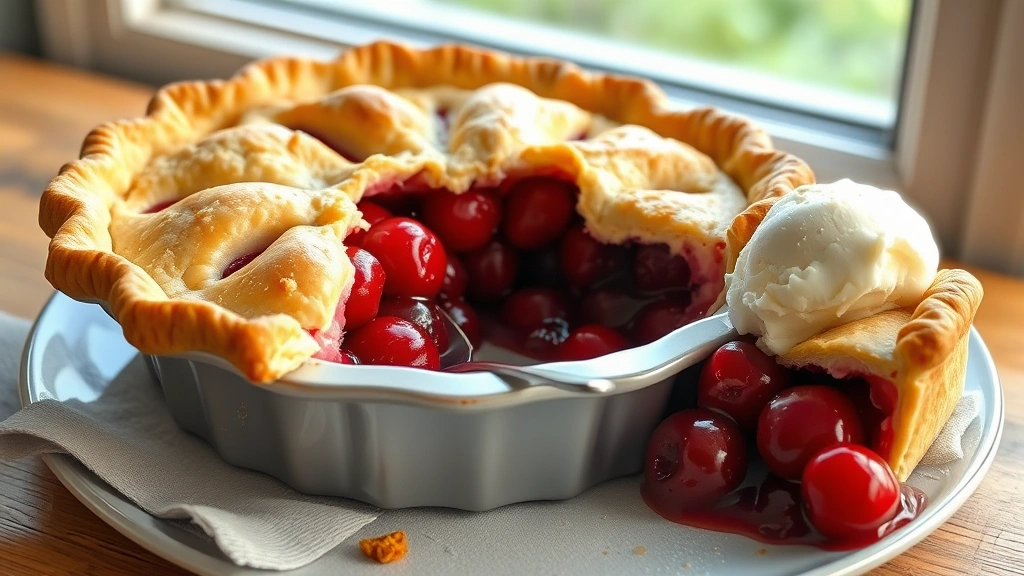
- Serve your canned cherry pie slightly warm or at room temperature with a generous scoop of vanilla ice cream or a dollop of whipped cream.
Pro Tips
Crust Perfection: If you’re using homemade pie crusts, make sure they’re chilled before assembly. Cold dough creates flakier, more tender crusts. If you’re using store-bought, follow the package instructions for thawing and handling.
Filling Consistency: The cornstarch and flour combination creates the perfect filling texture. If you prefer a thicker filling, add an extra tablespoon of cornstarch. For a looser filling, reduce it by half. The filling should bubble around the edges but not overflow.
Spice Adjustments: Don’t be afraid to customize the spice blend to your taste. Some people love more cinnamon, while others prefer a spice-forward pie. You can also add a pinch of ground cloves or cardamom for extra complexity.
Almond Extract: This ingredient is the secret weapon that makes people ask what’s in your pie. It adds a subtle depth that makes the cherries shine without being identifiable. Don’t skip it!
Lemon Juice: Fresh lemon juice brightens the filling and prevents it from tasting overly sweet. It also helps balance the richness of the butter and egg wash.
Storage: Cover any leftover pie loosely and store at room temperature for up to 2 days, or refrigerate for up to 4 days. You can also freeze the baked pie for up to 2 months—just wrap it well in plastic wrap and foil.
Serving Suggestions: Serve with vanilla ice cream, whipped cream, or a dollop of Greek yogurt for a lighter option. A drizzle of cherry sauce or a sprinkle of additional cinnamon adds extra pizzazz.
Baking Sheet Essential: Always place your pie on a baking sheet before it goes in the oven. This catches any drips, makes it easier to remove from the oven, and ensures even baking on the bottom crust.
Egg Wash Magic: The egg wash creates that beautiful golden-brown finish and gives the crust a professional bakery appearance. Make sure to brush it on generously but carefully to avoid dripping onto the baking sheet.
Temperature Control: The initial high temperature starts the crust cooking, while the lower temperature for the remaining time ensures the filling cooks through without the crust burning. This two-temperature method is key to success.
Vent Slits Matter: Don’t skip cutting vents in the top crust. They prevent steam buildup, allow the pie to bake more evenly, and give you that classic homemade pie appearance.