

There’s something absolutely magical about homemade caramel puff corn that takes me right back to childhood county fairs and summer evenings on the porch. This isn’t just any caramel corn recipe—it’s the BEST version you’ll ever make, with perfectly crispy popcorn coated in a buttery, homemade caramel that’s neither too hard nor too sticky. The secret? Timing, temperature control, and a few insider tricks that separate mediocre caramel corn from the truly exceptional kind that’ll have everyone asking for your recipe.
What makes this caramel puff corn so special is the quality of ingredients combined with the precise technique. We’re talking real butter, brown sugar, and a touch of vanilla that creates a caramel coating so delicious you’ll want to eat it by the handful. Unlike store-bought versions that often taste artificial or become stale within hours, homemade caramel corn stays crispy and fresh for days when stored properly. The beauty of making this at home is that you control every single element—the sweetness level, the butter content, and even the crunch factor.
I’ve tested this recipe dozens of times to perfect the ratios and method. The key is toasting your popcorn just right, making the caramel to the perfect stage, and then coating everything evenly before baking. It sounds simple, but the details matter tremendously. You’ll want to use fresh popcorn kernels for the fluffiest results, and don’t skip the baking soda step at the end—it’s what gives this caramel corn its signature light, crispy texture that makes it so addictive.
This recipe makes enough to fill a large bowl, perfect for snacking throughout the week or packaging into cute jars as edible gifts. It’s naturally gluten-free if you use certified gluten-free oats, and it’s the kind of treat that feels fancy enough to serve at parties but easy enough to make on a random Tuesday afternoon. Whether you’re hosting a movie night, need a homemade gift, or simply want to satisfy a serious caramel corn craving, this recipe will absolutely deliver.
I love pairing this with other homemade treats and snacks. If you’re planning a gathering, consider serving this alongside creamy dips and appetizers, or make it part of a snack board. For those looking to elevate their entertaining game, check out this elegant pasta option for your main course before serving caramel corn for dessert.
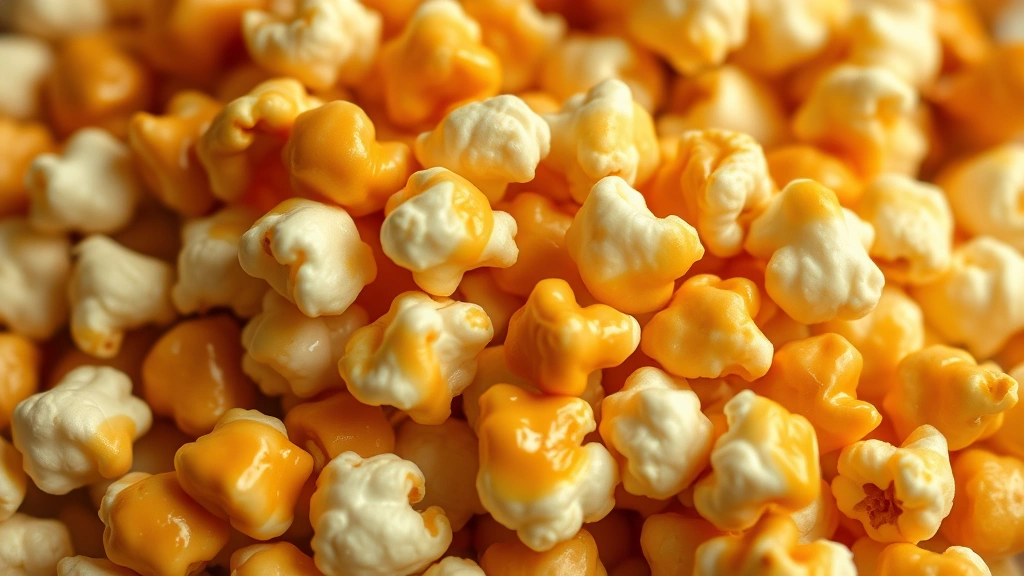
The texture of this caramel puff corn is absolutely crucial to its success. You want each piece of popcorn to have a delicate, glass-like caramel shell that shatters between your teeth rather than sticks to them. This is achieved by baking the coated popcorn low and slow, stirring frequently to ensure even coating and prevent burning. The brown sugar provides deeper flavor than white sugar alone, while the butter creates that rich, luxurious taste that makes this so irresistible.
For storage, keep your finished caramel puff corn in an airtight container at room temperature. It will stay fresh and crispy for up to five days, though honestly, it rarely lasts that long in my house! If it does start to soften, you can re-crisp it in a 250-degree oven for about five minutes. This recipe is also wonderfully forgiving—if your caramel seems too thick, thin it with a touch more butter; if it’s too thin, let it cook a minute longer. Learning to read the caramel and adjust as needed is part of the fun of making homemade candy.
For more snacking inspiration and complementary recipes, explore this crowd-pleasing chicken dish for entertaining, or these tangy pickled red onions for adding brightness to your spread. You might also enjoy making fresh chickpea salad as a healthier accompaniment to balance out the sweetness of this treat.
Ingredients
- 12 cups popped popcorn (about 1/2 cup unpopped kernels)
- 1 cup butter
- 1 cup brown sugar, packed
- 1/4 cup light corn syrup
- 1 teaspoon salt
- 1 teaspoon vanilla extract
- 1/2 teaspoon baking soda
- Optional: 1/4 teaspoon cayenne pepper for spicy version, or 1 teaspoon cinnamon for cinnamon version
Instructions
- Preheat your oven to 250 degrees Fahrenheit. Line two large baking sheets with parchment paper or silicone baking mats for easy cleanup and to prevent sticking.
- Pop your popcorn using your preferred method—stovetop, air popper, or microwave. Transfer the popped corn to a large bowl, discarding any unpopped kernels. You want about 12 cups of fluffy popped popcorn for this recipe.
- In a medium saucepan over medium heat, combine the butter, brown sugar, corn syrup, and salt. Stir frequently until the mixture comes to a boil, then let it boil for exactly 4 minutes without stirring. This timing is important for achieving the perfect caramel consistency.
- Remove the caramel mixture from heat and immediately stir in the vanilla extract. Be careful here as the mixture is extremely hot and can bubble up when you add the vanilla.
- Quickly add the baking soda to the caramel mixture and stir thoroughly. You’ll notice it will foam up and become lighter in color—this is exactly what you want. This step is what creates that light, crispy texture that makes this caramel corn so addictive.
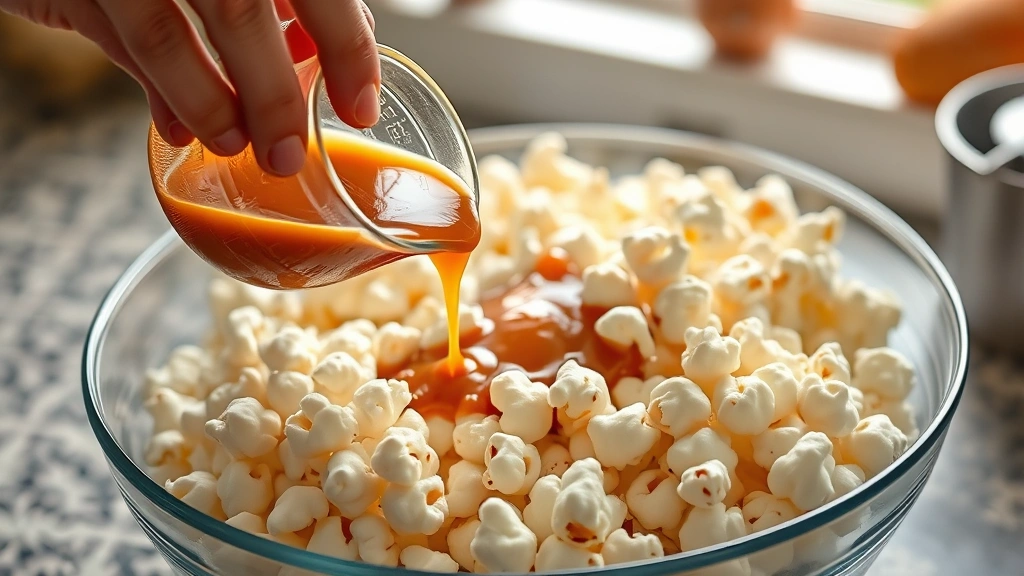
- Slowly pour the hot caramel mixture over the popped popcorn while stirring constantly with a wooden spoon or sturdy spatula. Make sure every piece of popcorn gets coated evenly. This might take a few minutes of stirring, but it’s worth the effort.
- Divide the coated popcorn between your two prepared baking sheets, spreading it in a single layer as much as possible. It’s okay if some pieces overlap slightly.
- Bake for 30 minutes, stirring every 10 minutes to ensure even baking and prevent burning. Use a sturdy spoon and make sure to break up any clumps that form during baking.
- Remove from the oven and spread the caramel puff corn on clean parchment paper to cool completely. This usually takes about 15-20 minutes. As it cools, it will continue to harden and become crispier.
- Once completely cooled and hardened, break any large clumps apart with your hands and transfer to an airtight container for storage. Enjoy immediately or save for up to five days.
Pro Tips
Don’t skip the baking soda step. This ingredient is what transforms regular caramel corn into the light, airy, crispy version that’s so crave-worthy. The baking soda reacts with the hot caramel to create tiny air pockets throughout the coating, which is why the texture turns out so perfect.
When coating the popcorn, work quickly because the caramel cools rapidly. If it starts to thicken too much while you’re stirring, you can gently reheat it over low heat for a few seconds to thin it out again.
For even coating, make sure your popcorn is completely cooled and at room temperature before you start the caramel coating process. Warm popcorn can cause the caramel to slide off rather than adhere properly.
Stir frequently during baking to prevent burning and ensure even caramelization. The popcorn at the edges of the baking sheet tends to caramelize faster than the center, so redistribute from edges to center as you stir.
For flavor variations, add a pinch of cayenne pepper to the caramel mixture for a sweet-and-spicy version, or stir in ground cinnamon for a fall-inspired treat. You can also add a pinch of sea salt on top right after baking for a sweet-salty combination.
If your caramel corn becomes soft or loses its crispness, you can re-crisp it by spreading it on a baking sheet and baking at 250 degrees for 5-10 minutes. Allow it to cool completely before storing again.
This recipe doubles beautifully if you’re making it for a party or as gifts. Simply multiply all ingredients by two and use four baking sheets instead of two, stirring every 8-10 minutes instead of 10 minutes.
Store in an airtight container at room temperature away from humidity. Humidity is the enemy of crispy caramel corn, so avoid storing near the stove or in damp areas.