

Welcome to the most indulgent carnivore ice cream recipe you’ll ever make! This creamy, dreamy frozen dessert is perfectly aligned with the carnivore lifestyle while delivering that classic ice cream experience we all crave. Made with just a handful of quality ingredients—heavy cream, egg yolks, and your choice of flavor—this recipe proves that eating carnivore doesn’t mean sacrificing dessert.
I absolutely love making homemade ice cream because you have complete control over every ingredient that goes into it. When you’re following a carnivore diet, this becomes even more important since commercial ice creams are loaded with sugars, stabilizers, and ingredients that don’t align with your nutritional goals. This recipe is simple, elegant, and absolutely delicious.
The beauty of carnivore ice cream lies in its simplicity. We’re using real cream, real eggs, and real flavor—nothing artificial, nothing processed. Whether you’re new to the carnivore lifestyle or a seasoned veteran, this recipe will become your go-to dessert. It’s rich, satisfying, and leaves you feeling great about what you’re putting in your body.
One of my favorite things about this recipe is how versatile it is. You can stick with classic vanilla, or get creative with beef bone broth, liver pâté swirls, or even salt-cured egg variations. The base recipe remains the same, so once you master it, you can experiment with different flavor profiles.
If you’re looking for other rich, creamy recipes to pair with your carnivore lifestyle, check out my Best Heavy Cream Alfredo Sauce Recipe or my Delicious Heavy Cream Pasta Recipe. Both are wonderfully satisfying main courses that complement this dessert beautifully.
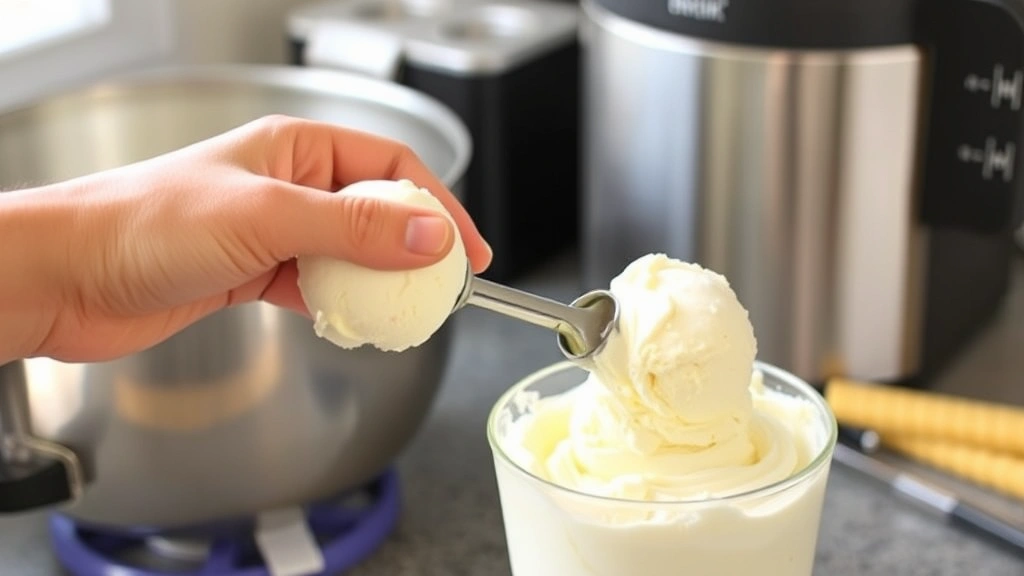
Making ice cream at home might seem intimidating, but I promise it’s easier than you think. With an ice cream maker, you’ll have restaurant-quality results in under an hour. If you don’t have an ice cream maker, I’ll share an alternative method that works just as well. Let’s create something truly special together!
Ingredients
- 2 cups heavy cream (preferably grass-fed)
- 1 cup full-fat beef bone broth (cooled), or additional heavy cream for vanilla version
- 6 egg yolks from pasture-raised eggs
- 1/4 cup grass-fed butter, melted
- 2 teaspoons vanilla extract (optional)
- 1/4 teaspoon sea salt
- Pinch of nutmeg (optional)
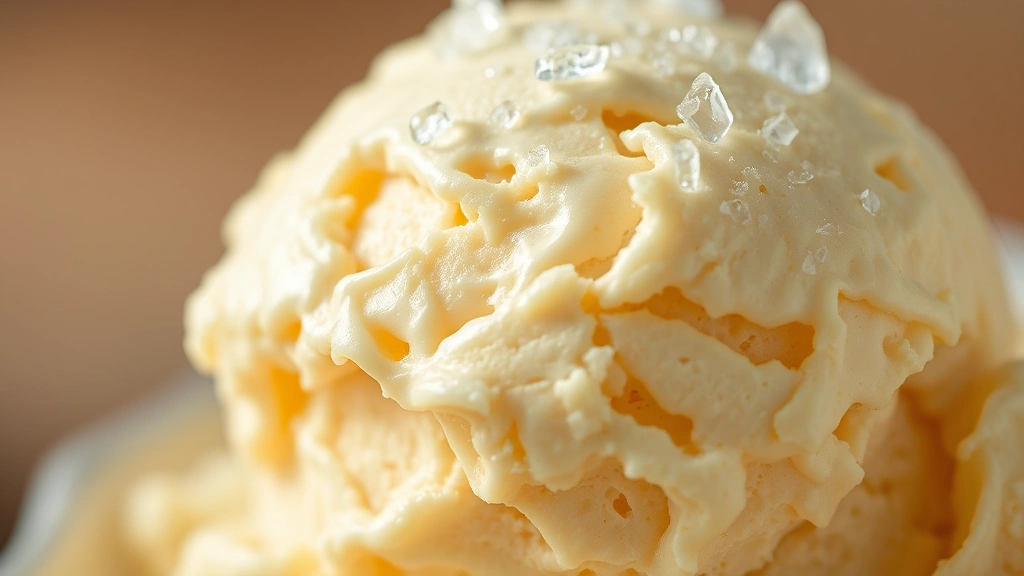
- Additional sea salt for topping (optional)
Instructions
- Gather all your ingredients and ensure the heavy cream is cold. If using an ice cream maker, place the bowl in the freezer according to manufacturer’s instructions—typically at least 4-6 hours or overnight.
- Separate your egg yolks into a clean bowl. You want pure yolks without any egg white. Gently whisk the yolks together until they’re well combined and have a pale yellow color, about 2 minutes.
- In a separate large mixing bowl, combine the cold heavy cream, cooled bone broth (or additional cream), and melted grass-fed butter. Whisk together until just combined—you want to keep the mixture cold.
- Slowly pour the egg yolk mixture into the cream mixture while whisking constantly. This tempering process prevents the eggs from scrambling and ensures a smooth, creamy texture.
- Add the vanilla extract, sea salt, and nutmeg (if using). Whisk until everything is fully incorporated and the mixture is smooth and homogeneous.
- Cover the mixture and place it in the refrigerator for at least 2-3 hours, or until completely chilled. This step is crucial for the best texture and flavor development.
- Remove the ice cream maker bowl from the freezer and attach it to your machine according to manufacturer’s instructions.
- Pour the chilled mixture into the ice cream maker and start the machine. Churn for 20-25 minutes until the mixture reaches a soft-serve consistency.
- Transfer the soft-serve ice cream to a freezer-safe container, cover with plastic wrap or parchment paper to prevent freezer burn, and freeze for at least 2-3 hours until firm.
- To serve, remove the ice cream from the freezer 5 minutes before scooping to allow it to soften slightly. Use a warm scoop for easier serving and enjoy immediately.
Pro Tips
If you don’t have an ice cream maker, you can make this using the freezer method. Pour the chilled mixture into a shallow freezer-safe container. Freeze for 30 minutes, then stir vigorously with a fork. Repeat this process every 30 minutes for 3-4 hours until you reach your desired consistency.
This ice cream will be naturally softer than commercial varieties since we’re not using stabilizers or gums. This is actually a good thing—it means you’re getting pure, clean ingredients.
Flavor variations are endless. Try adding 2 tablespoons of cocoa powder mixed with a bit of melted butter for a chocolate version, or 1/4 teaspoon of peppermint extract for a refreshing mint flavor.
Store your ice cream in the coldest part of your freezer. It will keep for up to 2 weeks, though the texture is best when consumed within the first week.
The beef bone broth adds incredible depth and umami to your ice cream while keeping it completely carnivore-compliant. If you prefer a more traditional vanilla flavor, simply use additional heavy cream instead of the bone broth.
This recipe is naturally sugar-free, gluten-free, and grain-free, making it perfect for strict carnivore followers and those watching their carbohydrate intake.
For the richest flavor, let your ice cream sit at room temperature for 5-10 minutes before serving. This allows the fat molecules to release their full flavor potential.
Pingback: How to make the BEST Vegetable Beef Soup Recipe! – Simple Recipe Finder