
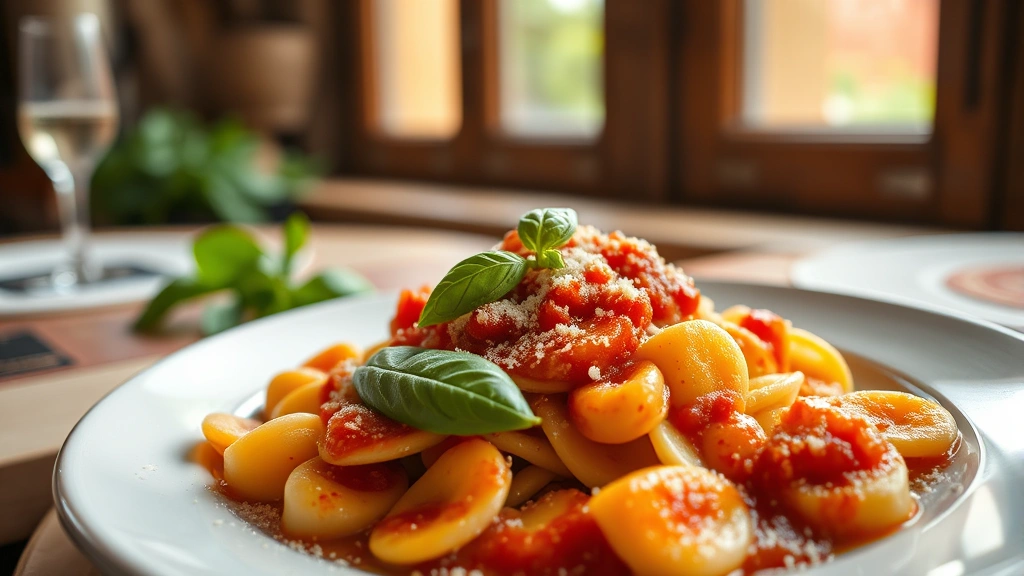
Cavatelli pasta is one of those magical homemade pastas that looks fancy but is surprisingly simple to make, even for beginners. This Italian gem features adorable little ridged shells that catch sauce beautifully, and once you master the basic technique, you’ll find yourself making it again and again.
What makes cavatelli so special is its unique shape—those little oval shells with ridges down the center aren’t just for show. They’re designed to trap sauce in every bite, making each forkful absolutely delicious. The best part? You don’t need any fancy equipment. A simple fork and a little bit of practice are all you need to create these beautiful pasta pieces at home.
Making fresh pasta from scratch might seem intimidating if you’ve never done it before, but I promise this cavatelli recipe will change your mind. The dough comes together quickly, and once you get into a rhythm with shaping, it becomes almost meditative. Your family will be absolutely amazed when you serve them homemade pasta, and you’ll feel like an Italian nonna in your own kitchen.
This recipe makes enough cavatelli for four generous servings, perfect for a family dinner or a special occasion. You can serve it with your favorite sauce—whether that’s a simple marinara, a rich Bolognese, or even a creamy Alfredo. Try pairing it with broccoli and cauliflower for a delicious one-pan meal, or keep it traditional with your favorite Italian sauce.
For more inspiration on Italian cooking techniques, check out Bon Appétit’s pasta guides and Serious Eats’ comprehensive pasta tutorials. If you’re looking for sauce pairings, The New York Times Cooking section has wonderful Italian recipes that work beautifully with homemade cavatelli. Don’t forget to explore our sweet potato pie recipe for dessert inspiration after your pasta dinner!
The key to successful cavatelli is patience and practice. Your first batch might not be perfect, and that’s completely okay. Each piece you make will get easier and faster. Once you’ve mastered this basic recipe, you can experiment with flavored doughs—try adding spinach, beet juice, or herb infusions to create beautiful variations. The homemade pasta journey is one of the most rewarding culinary experiences, and I’m so excited for you to try it!
Ingredients
- 2 cups all-purpose flour, plus extra for dusting
- 3 large eggs, room temperature
- 1 teaspoon salt
- 1 tablespoon olive oil
- Water as needed (1-2 tablespoons)
- Salt for boiling pasta water
- Your favorite sauce for serving
Instructions
- Pour the flour onto a clean work surface and create a large well in the center, making sure the well is deep enough to hold the eggs without them spilling out. This well is your pasta-making foundation.
- Crack the eggs directly into the well and add the salt and olive oil. Using a fork, gently beat the eggs together just as if you were making scrambled eggs, being careful not to break the flour walls.
- Once the eggs are well combined, slowly begin incorporating the flour from the inner walls of your well, mixing with the fork until the mixture becomes too thick to work with a fork.
- Using your hands, bring all the flour together and knead the dough for about 8-10 minutes until it becomes smooth, elastic, and slightly tacky. If it’s too dry, add water one teaspoon at a time; if too wet, dust with a bit more flour.
- Form the dough into a ball, wrap it tightly in plastic wrap, and let it rest at room temperature for at least 15 minutes. This resting time is crucial as it allows the gluten to relax and makes shaping much easier.
- After resting, unwrap the dough and cut it into four equal pieces. Work with one piece at a time and keep the others covered with plastic wrap to prevent them from drying out.
- Roll one piece of dough into a long rope about the thickness of a pencil, approximately 18-20 inches long. Cut this rope into pieces about 1 inch long—these will become your cavatelli shapes.
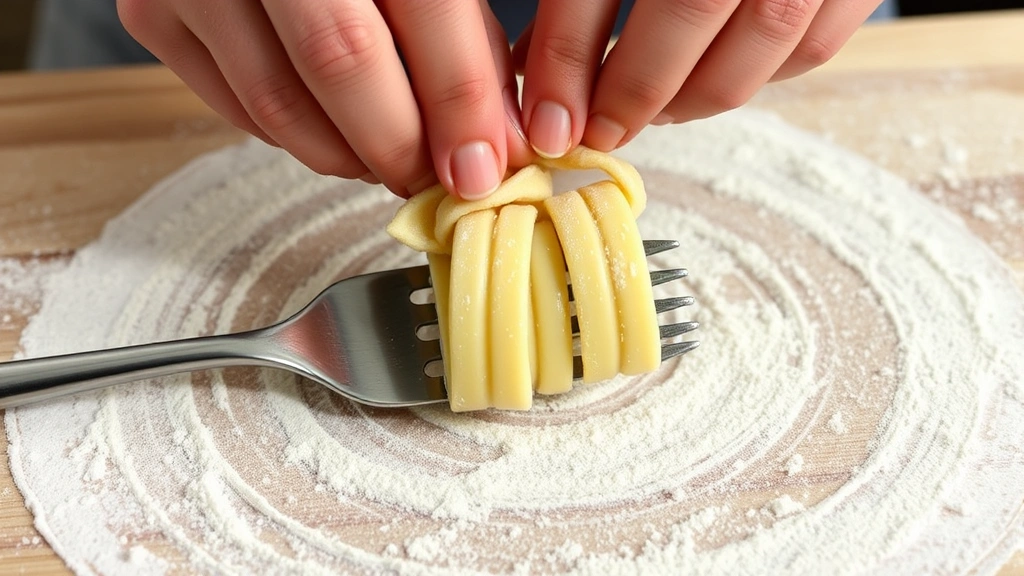
- Take one small piece of dough and place it on a fork with the tines facing up. Press your thumb into the center of the dough piece and gently roll it down the fork tines toward the handle, allowing the dough to curl around itself and create ridges.
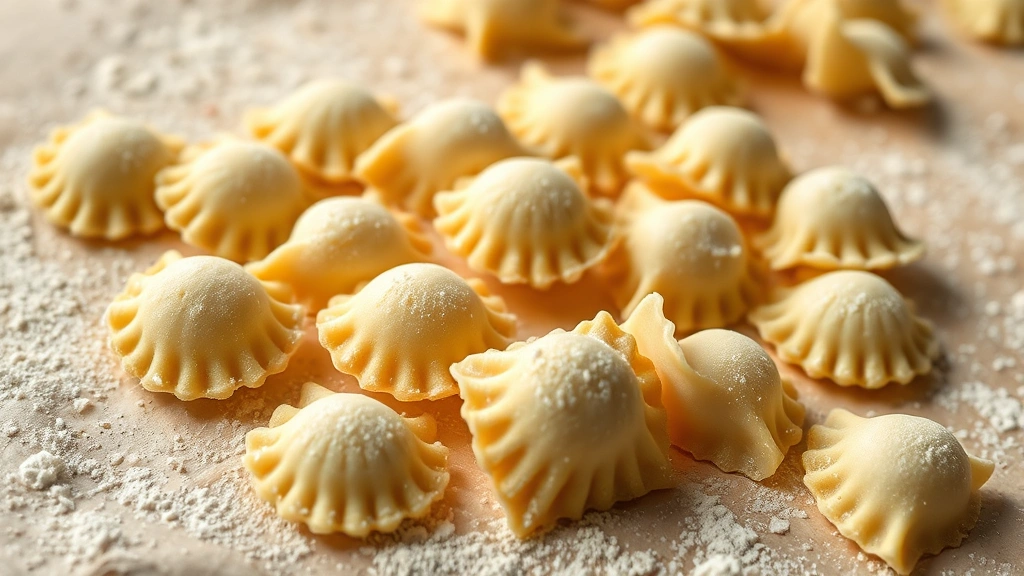
- As you roll, the dough will naturally form that adorable shell shape with ridges. Once it falls off the fork, place it on a parchment-lined baking sheet. Repeat with remaining dough pieces.
- Continue this process with all four pieces of dough until all your cavatelli are shaped. This may take 15-20 minutes, but it gets faster with practice. Space them out on the baking sheet so they don’t stick together.
- Bring a large pot of salted water to a rolling boil. The water should taste like the sea—this is your only opportunity to season the pasta itself.
- Carefully drop the cavatelli into the boiling water in batches, making sure not to overcrowd the pot. Stir gently with a wooden spoon to prevent sticking.
- Cook for 3-4 minutes, or until the cavatelli floats to the top and stays there for about 30 seconds. Fresh pasta cooks much faster than dried pasta, so watch it carefully.
- Using a slotted spoon, transfer the cooked cavatelli to a colander to drain, reserving about 1 cup of pasta cooking water to thin your sauce if needed.
- Toss the warm cavatelli with your favorite sauce, adding pasta water as needed to create a silky coating. Serve immediately while hot, garnished with fresh basil and grated Parmesan cheese if desired.
Pro Tips
DOUGH CONSISTENCY: The dough should feel like a baby’s skin—soft and slightly tacky but not sticky. Room temperature ingredients help the dough come together more smoothly and are easier to work with than cold eggs straight from the refrigerator.
MAKE-AHEAD OPTIONS: You can prepare cavatelli up to 2 days in advance. Lay them on parchment paper, let them dry for about 30 minutes, then store in an airtight container in the refrigerator. You can also freeze them for up to 3 months on a baking sheet before transferring to freezer bags—no need to thaw before cooking.
SAUCE PAIRING SUGGESTIONS: Light marinara sauce is perfect for letting the delicate pasta shine. A rich meat Bolognese creates a more substantial meal. Creamy Alfredo sauce coats the ridges beautifully. Brown butter and sage is an elegant, simple option. Fresh pesto brings bright, herbaceous flavors.
COOKING WATER IS LIQUID GOLD: Always reserve some pasta cooking water before draining. The starch in this water helps the sauce cling to the pasta and creates a silky, restaurant-quality finish. Start with a splash and add more as needed.
KNEADING TECHNIQUE: Don’t be afraid to knead the dough thoroughly. The more you work it, the better the texture will be. You’ll know it’s ready when it’s smooth and springs back slightly when poked.
FLOUR VARIATIONS: You can substitute up to 25% of the all-purpose flour with whole wheat flour or semolina flour for different flavors and textures. Semolina creates a slightly chewier pasta that holds sauce better.
TROUBLESHOOTING: If your dough is tearing while shaping, it’s likely too dry—add a touch more water. If it’s too sticky to work with, dust with more flour. If your cavatelli keeps sticking together, ensure they’re properly spaced and dusted with flour.