
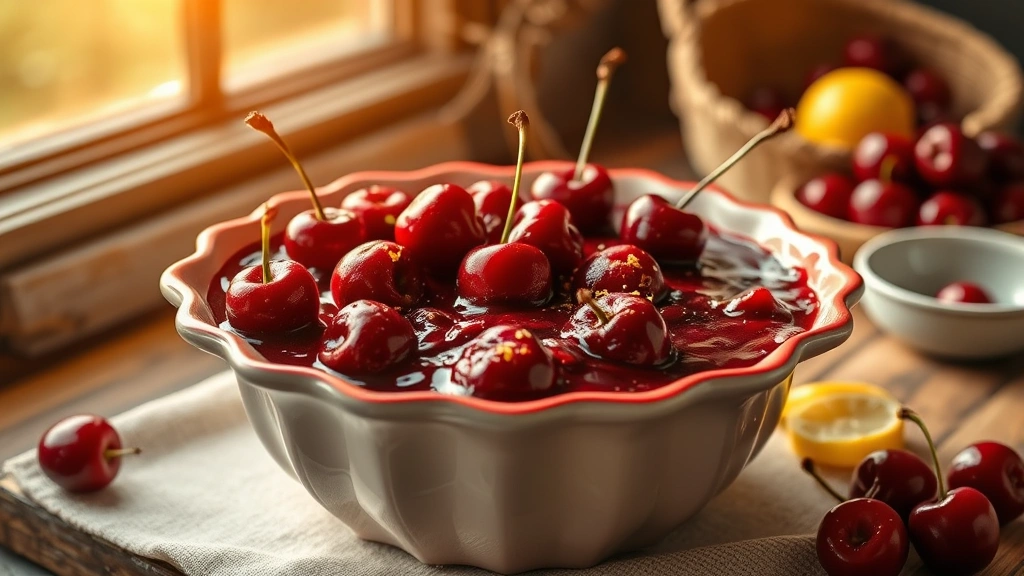
There’s nothing quite like homemade cherry pie filling—it’s the heart and soul of a classic American dessert that brings families together. While store-bought versions are convenient, making your own cherry pie filling from scratch is surprisingly simple and yields dramatically superior results. This recipe walks you through creating a luscious, perfectly balanced filling with a gorgeous ruby-red color and that authentic cherry flavor that makes people ask for your recipe.
The key to the best cherry pie filling lies in using fresh, quality cherries and understanding the balance between sweetness, tartness, and texture. Whether you’re planning to bake a stunning double-crust pie, use this as a topping for cheesecake, or swirl it into ice cream, this filling delivers every single time. I’ve perfected this recipe through countless batches, and I’m thrilled to share my foolproof method with you.
What makes this cherry pie filling special is the combination of fresh cherries with a touch of almond extract, which amplifies the cherry flavor without overpowering it. The cornstarch creates the perfect consistency—thick enough to slice cleanly, yet still allowing the cherry juices to flow beautifully with every bite. You’ll also notice that I recommend a brief maceration period, which develops deeper flavor and helps the cherries release their natural juices.
This recipe is incredibly versatile and forgiving. You can make it ahead and refrigerate it for up to three days, or freeze it for months. It works beautifully in traditional pie, but don’t limit yourself—use it in tarts, galettes, or as a stunning topping for elegant desserts. The beauty of homemade filling is that you control every element, from the sugar level to the thickness, making it perfectly suited to your preferences and baking style.
I love this filling because it celebrates the pure, unadulterated flavor of cherries. Unlike commercial versions that rely heavily on artificial flavoring and excessive thickeners, this recipe lets the fruit shine. The process is therapeutic too—there’s something wonderfully meditative about pitting cherries and watching them transform into something magical.
Ingredients
- 5 pounds fresh cherries, pitted (about 5 cups pitted)
- 1 cup granulated sugar
- 1/4 cup light brown sugar
- 3 tablespoons cornstarch
- 1/4 teaspoon fine sea salt
- 1/4 teaspoon almond extract
- 1/2 teaspoon vanilla extract
- 2 tablespoons fresh lemon juice
- 1 tablespoon lemon zest
- 1/4 teaspoon ground nutmeg
- Pinch of ground cinnamon
- 2 tablespoons butter
Instructions
- Pit your fresh cherries using a cherry pitter or small paring knife, working over a bowl to catch all the precious juices. This step takes time but is absolutely worth it—fresh cherries deliver incomparable flavor compared to frozen.
- In a large bowl, combine the pitted cherries with their juices, granulated sugar, brown sugar, lemon juice, and lemon zest. Stir gently but thoroughly, ensuring every cherry is coated with the sugar mixture.
- Let the cherry mixture macerate at room temperature for 20-30 minutes. This allows the cherries to release their natural juices and the flavors to meld beautifully together. You should notice a gorgeous ruby-red liquid pooling in the bottom of the bowl.
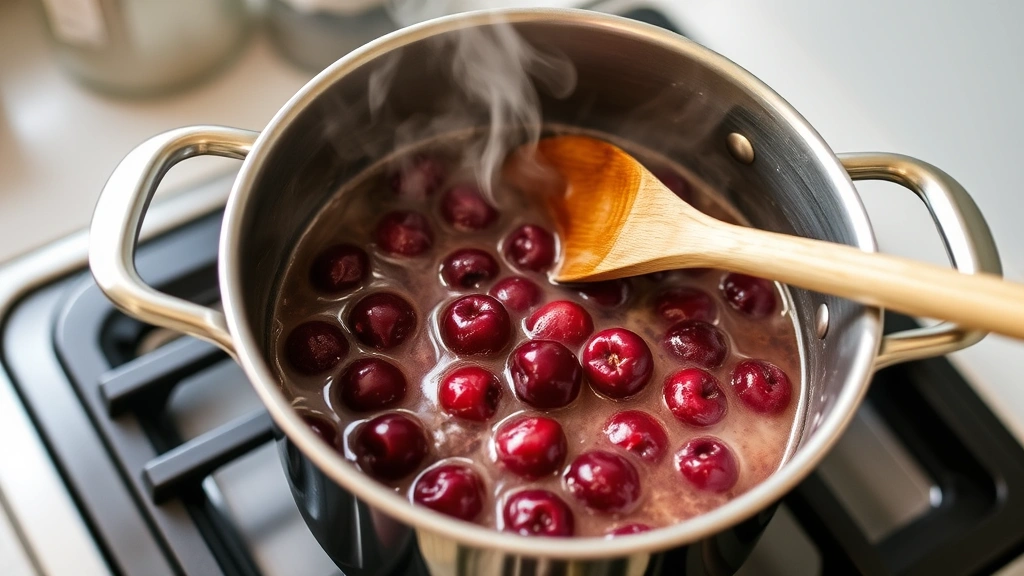
- Transfer the cherry mixture to a large saucepan or Dutch oven, pouring in all accumulated juices. Place over medium heat and bring to a gentle simmer, stirring occasionally.
- In a small bowl, whisk together the cornstarch, salt, nutmeg, and cinnamon. This dry mixture will prevent lumps when incorporated into the warm cherry filling.
- Once the cherry mixture is simmering gently, sprinkle the cornstarch mixture over the surface while whisking constantly. Continue whisking for 1-2 minutes to ensure no lumps form and the mixture begins to thicken.
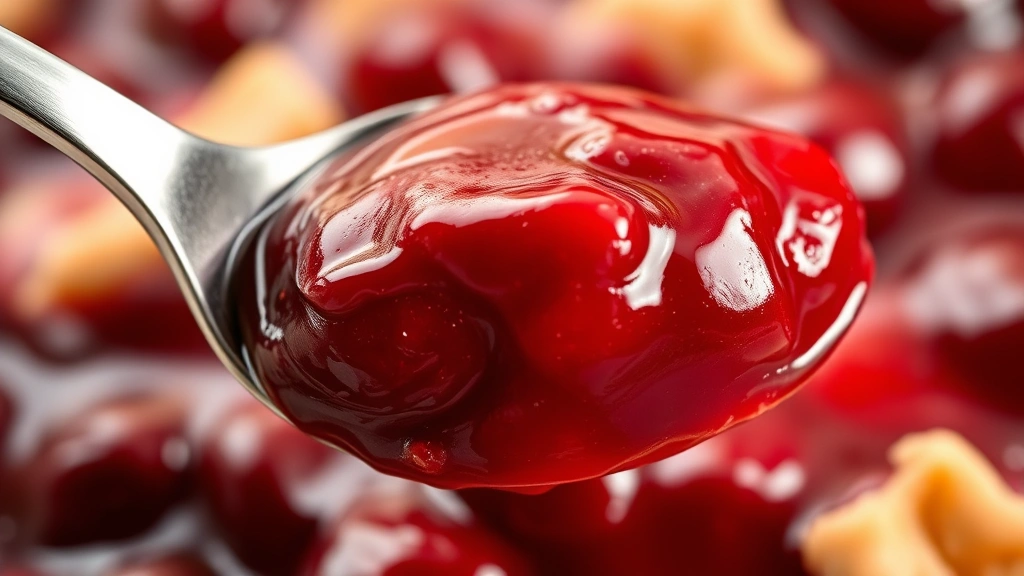
- Reduce heat to medium-low and simmer for 8-10 minutes, stirring frequently. The filling should thicken noticeably and the cherries will become slightly translucent as the juices thicken around them.
- Remove the saucepan from heat and stir in the almond extract, vanilla extract, and butter. The butter will add richness and a subtle sheen to the finished filling.
- Taste your filling and adjust seasonings if needed. You want a perfect balance of sweet and tart—if it’s too tart, add another tablespoon of sugar; if it’s too sweet, add another teaspoon of lemon juice.
- Pour the filling into a bowl and let it cool to room temperature, about 30 minutes. You can use it immediately for baking, or cover and refrigerate until ready to use.
- For the best results in your pie, allow the filling to cool completely before adding it to your crust. This prevents the crust from becoming soggy and helps the filling set properly during baking.
Pro Tips
- Fresh cherries are essential for this recipe—they provide superior flavor and texture compared to canned or frozen varieties. Bing, Rainier, or dark red varieties all work beautifully
- If you cannot find fresh pitted cherries, a cherry pitter is a worthwhile investment that makes the process significantly easier than using a knife
- The cornstarch is crucial for achieving the perfect consistency—it thickens the filling without making it gummy or overly starchy when used in the proper proportion
- Brown sugar adds subtle depth and prevents the filling from tasting one-dimensional; don’t skip it
- Almond extract is the secret ingredient that amplifies cherry flavor—just a quarter teaspoon is enough to make a noticeable difference without tasting artificial
- This filling can be made 2-3 days ahead and stored in an airtight container in the refrigerator, which actually improves the flavor as it matures
- For freezing, pour cooled filling into freezer bags or airtight containers and freeze for up to 3 months; thaw overnight in the refrigerator before using
- If your filling seems too thick after cooling, whisk in a tablespoon of water at a time until you reach the desired consistency
- This recipe yields enough filling for a standard 9-inch double-crust pie with a bit extra for topping or enjoying by the spoonful
- You can substitute tart cherry juice for some of the lemon juice if you want even more pronounced cherry flavor
- For a more rustic filling with visible cherry pieces, reduce cornstarch to 2 tablespoons; for silkier texture, increase to 3.5 tablespoons
- Pairs beautifully with complementary dessert components like vanilla ice cream or whipped cream
- The nutmeg and cinnamon should be whisper-subtle—they enhance rather than dominate the cherry flavor profile
Pingback: How to make the BEST Instant Pot Soup Recipe! – Simple Recipe Finder
Pingback: How to Make Delicious Velveeta Mac and Cheese Recipe! – Simple Recipe Finder