
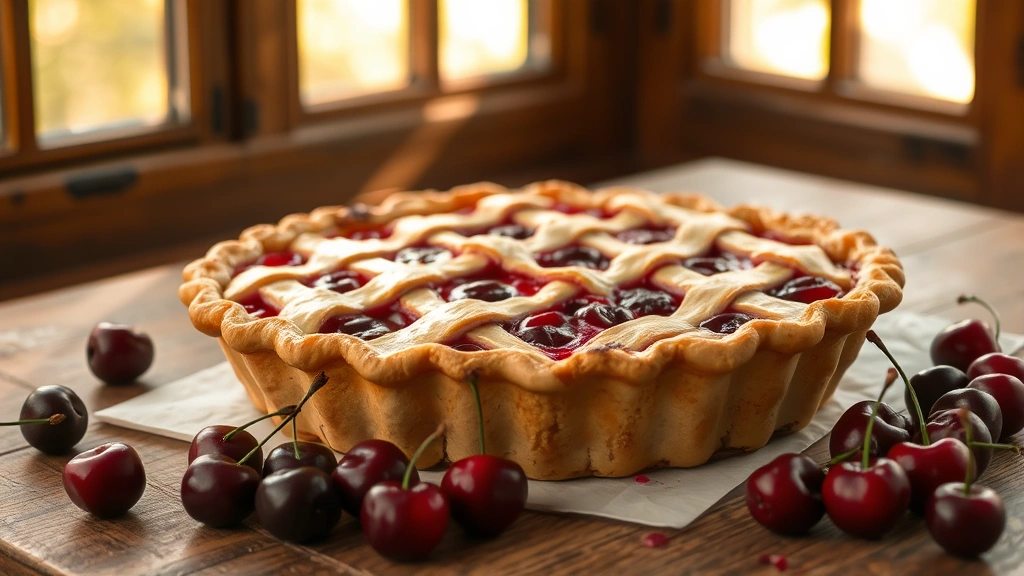
There’s something absolutely magical about homemade cherry pie filling that makes your entire kitchen smell like a gourmet bakery. This cherry pie filling recipe is the gold standard for creating the most delicious, perfectly balanced pies with that gorgeous deep red color and jammy texture that store-bought versions simply cannot replicate.
I’ve been making cherry pie for decades, and I can tell you with complete confidence that the secret to the best cherry pie filling lies in using fresh, high-quality cherries and understanding the perfect balance of sweet and tart flavors. Whether you’re planning to make a classic double-crust pie, a lattice-topped beauty, or even a cherry pie with a crumb topping, this filling will absolutely steal the show.
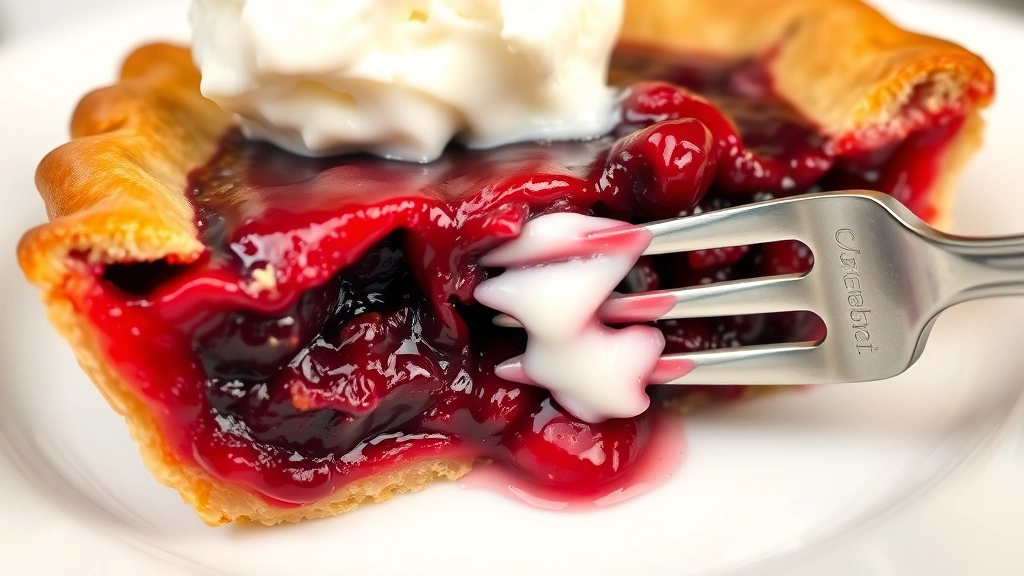
What makes this recipe so special is the combination of fresh cherries with just the right amount of sugar, a touch of lemon juice for brightness, and a hint of almond extract that elevates the flavor profile. The cornstarch creates that perfect glossy consistency that holds together beautifully when you slice into the pie, without being overly thick or runny. This is the kind of filling that makes people close their eyes and smile with every single bite.
This recipe creates enough filling for a standard 9-inch pie, and it comes together in about 15 minutes of active preparation time. You can make this filling ahead of time and store it in the refrigerator, or you can prepare it fresh on the day you plan to bake your pie. Either way, you’ll have a professional-quality filling that will impress everyone at your table.
If you’re looking for other delicious dessert recipes to pair with this cherry pie, you might enjoy exploring cream-based dessert sauces or learning about rich, luxurious dessert components. For those interested in classic American desserts, traditional pie recipes are always a wonderful starting point.
Once you master this cherry pie filling, you’ll find yourself making it again and again for special occasions, potlucks, and those moments when you simply want to create something absolutely spectacular. The beauty of cherry pie is that it’s elegant enough for holiday dinners yet comforting enough for casual summer gatherings. With this recipe in your repertoire, you’ll always be prepared to create bakery-quality desserts at home.
Ingredients
- 4 pounds fresh sweet cherries, pitted and halved (about 4 cups pitted cherries)
- 3/4 cup granulated sugar
- 1/4 cup light brown sugar
- 3 tablespoons cornstarch
- 1 tablespoon fresh lemon juice
- 1/2 teaspoon almond extract
- 1/4 teaspoon vanilla extract
- Pinch of fine sea salt
- 1/4 teaspoon ground cinnamon (optional but recommended)
- Zest of 1 lemon
Instructions
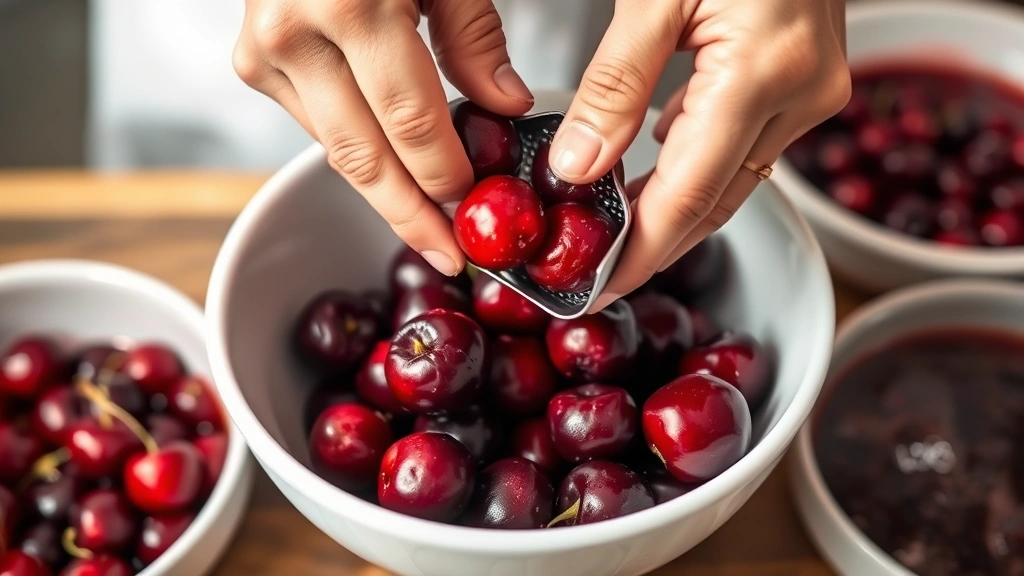
- Start by preparing your fresh cherries. Rinse them thoroughly under cold water, then pat them completely dry with paper towels. This step is crucial because excess moisture will affect the consistency of your filling.
- Using a cherry pitter (this tool is absolutely worth the investment), carefully pit each cherry, working over a bowl to catch all the delicious juices. Cut each pitted cherry in half and place them in a large mixing bowl. You should have approximately 4 cups of pitted cherry halves.
- In a separate small bowl, whisk together the granulated sugar, light brown sugar, cornstarch, salt, lemon zest, and ground cinnamon if using. This dry mixture will help thicken your filling while distributing the flavors evenly throughout.
- Pour the sugar and cornstarch mixture over the prepared cherries, stirring gently but thoroughly to coat every piece. Make sure there are no lumps of cornstarch remaining—you want a smooth, even distribution.
- Add the fresh lemon juice, almond extract, and vanilla extract to the cherry mixture. Stir everything together with a gentle folding motion until the cherries are evenly coated with the sugar mixture and the flavorings are well incorporated.
- Let the filling mixture sit at room temperature for about 10 minutes. You’ll notice that the cherries will begin to release their natural juices, creating a beautiful syrup as the sugar dissolves.
- Give the filling a gentle stir after the resting period. At this point, you can use the filling immediately if you’re planning to bake your pie right away, or you can cover it and refrigerate it for up to 24 hours.
- If you’ve refrigerated the filling, allow it to come to room temperature for about 15 minutes before transferring it to your pie crust. This ensures that your pie bakes evenly.
- Transfer the entire filling, including all the beautiful cherry juices that have accumulated, into your prepared pie crust. Spread it out evenly, then top with your second crust or your preferred topping.
- Bake your cherry pie according to your pie crust recipe instructions, typically at 375-400°F for 45-55 minutes, until the crust is golden brown and you can see the filling bubbling around the edges.
Pro Tips
- Fresh versus frozen cherries: While this recipe calls for fresh cherries, you can absolutely use frozen cherries if fresh ones aren’t available. Thaw them completely and drain any excess liquid before using. The flavor will be slightly less vibrant, but still delicious.
- Cherry selection matters: Look for firm, deep red cherries with a glossy appearance. Darker cherries typically have more intense flavor than lighter varieties. Bing cherries and Rainier cherries are both excellent choices for pie filling.
- The cornstarch is your friend: This ingredient thickens the filling without affecting the cherry flavor. If you prefer a slightly thicker filling, you can increase the cornstarch to 3.5 tablespoons, but don’t exceed 4 tablespoons or the filling becomes gelatinous.
- Make-ahead magic: This filling can be made up to 24 hours in advance, making it perfect for meal planning. Store it covered in the refrigerator until you’re ready to bake your pie.
- Lemon juice is essential: Don’t skip this ingredient. The acidity brightens the cherry flavor and prevents the filling from tasting one-dimensionally sweet. If you’re sensitive to lemon flavor, reduce it to 1.5 teaspoons, but don’t eliminate it entirely.
- Almond extract enhancement: A small amount of almond extract brings out the natural cherry flavor beautifully. This is different from artificial cherry flavoring—it’s subtle and sophisticated.
- Sugar balance: The combination of granulated and brown sugar creates depth of flavor. The brown sugar adds a subtle molasses note that complements the tart cherries perfectly.
- Cinnamon consideration: While optional, a hint of cinnamon adds warmth and complexity to the filling. It’s particularly lovely if you’re pairing the pie with vanilla ice cream or whipped cream.
- Baking considerations: Cover the edges of your pie crust with foil if it’s browning too quickly. The filling should bubble slightly around the edges when the pie is done baking, indicating that the cornstarch has fully thickened the filling.
- Cooling is important: Allow your baked cherry pie to cool for at least 3-4 hours before slicing. This allows the filling to set properly and makes serving much easier. The pie will be easier to cut and the filling will hold its shape beautifully.
- Storage tips: Cover leftover pie loosely with foil and store at room temperature for up to 2 days, or refrigerate for up to 4 days. You can also freeze baked pie for up to 3 months wrapped tightly in plastic wrap and foil.