
There’s something absolutely magical about homemade Christmas jam—it fills your kitchen with the most wonderful festive aromas and makes the perfect gift for everyone on your list. This best Christmas jam recipe is so incredibly easy that even beginners can master it with confidence. The beauty of this recipe lies in its simplicity: you’re just combining fresh or frozen berries with sugar, a touch of citrus, and warming spices like cinnamon and nutmeg that instantly evoke the holiday season.
I’ve been making jam for years, and I can tell you that this Christmas version is hands-down one of my favorites because it strikes that perfect balance between traditional and special. Unlike some complicated jam recipes that require special equipment or candy thermometers, this one comes together beautifully using just a few basic kitchen tools. The result is a glossy, jewel-toned jam that tastes like Christmas in every spoonful—perfect for spreading on morning toast, swirling into yogurt, or gifting to friends and family.
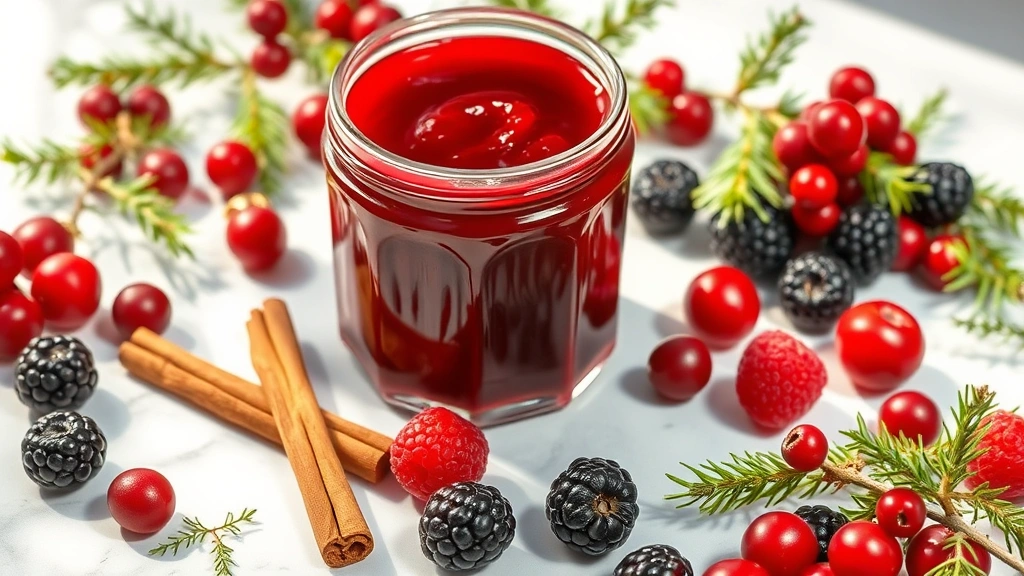
The secret to the best Christmas jam is using a combination of berries (I love mixing cranberries, raspberries, and blackberries) along with warm spices that make it unmistakably festive. Some people add a splash of brandy or rum for extra depth, but it’s completely optional. What really matters is that you don’t skip the lemon juice, which brightens all those deep berry flavors and helps your jam set perfectly without any fussing.
Make this homemade jam recipe this holiday season and you’ll understand why everyone asks for your secret. It’s easier than you think, requires minimal ingredients, and tastes absolutely restaurant-quality. Whether you’re making edible gifts or simply stocking your pantry with festive flavors, this Christmas jam is the answer. I’ve included detailed instructions so you can achieve perfect jam consistency every single time, plus tips for proper canning and storage.
For the best results, I recommend using fresh berries when they’re in season, though frozen berries work beautifully too—no thawing required! The cooking time is surprisingly short, usually around 30-40 minutes, which means you can have gorgeous homemade jam ready before lunch. Serve it warm on fresh croissants, stir it into vanilla ice cream, or layer it in a thumbprint cookie—the possibilities are truly endless.
If you’re looking for more festive holiday recipes, this jam pairs wonderfully with shortbread cookies or as a filling for thumbprint cookies. You can also use it as a topping for cheesecake, swirl it into vanilla yogurt, or simply enjoy it on warm toast with butter. This recipe makes approximately 4-5 half-pint jars, which is the perfect amount for holiday gifting or keeping for yourself.
For additional inspiration and techniques, check out Serious Eats’ jam guide, Bon Appétit’s preserve recipes, and New York Times cooking jam articles. These resources offer wonderful variations and professional tips that can help you become a jam-making expert.
Ingredients
- 2 cups fresh cranberries (or frozen, no thaw needed)
- 1½ cups fresh raspberries (or frozen)
- 1 cup fresh blackberries (or frozen)
- 3 cups granulated sugar
- Juice and zest of 2 fresh lemons
- ½ teaspoon ground cinnamon
- ¼ teaspoon ground nutmeg
- ⅛ teaspoon ground cloves
- 2 tablespoons unsalted butter
- 2 tablespoons brandy or dark rum (optional)
- Pinch of fine sea salt
- 1 vanilla bean, split lengthwise with seeds scraped (optional but recommended)
Instructions
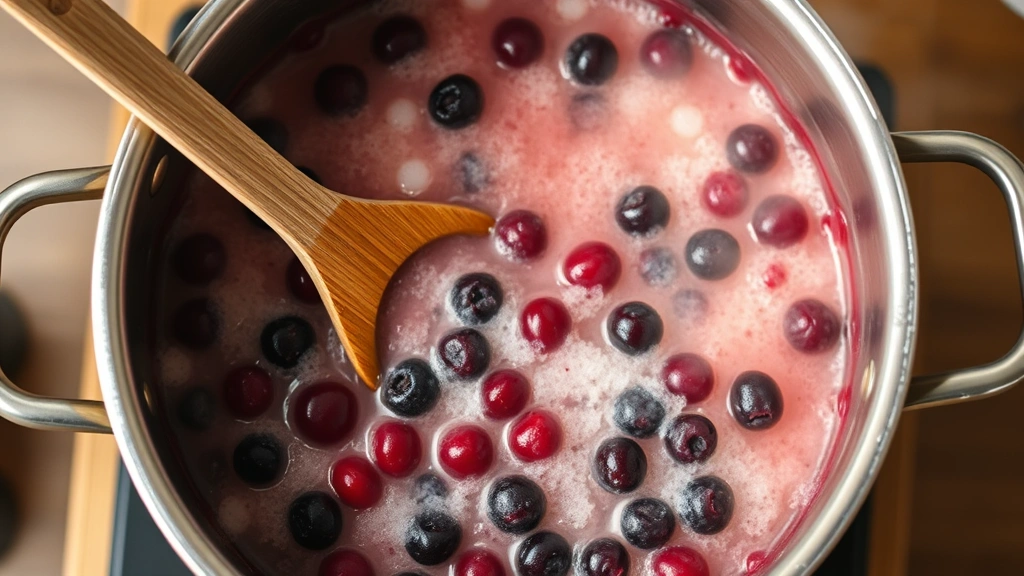
- Combine all berries (cranberries, raspberries, and blackberries) in a large, heavy-bottomed pot or Dutch oven—a 6-8 quart pot works best to prevent boiling over.
- Add the granulated sugar directly to the berries along with the fresh lemon juice and lemon zest, stirring gently to combine all ingredients evenly.
- Sprinkle the ground cinnamon, nutmeg, cloves, and fine sea salt over the mixture, then add the scraped vanilla bean seeds and pod if using for extra festive flavor.
- Place the pot over medium-high heat and stir frequently until the mixture comes to a rolling boil, which usually takes about 8-10 minutes.
- Once boiling, add the 2 tablespoons of unsalted butter to help reduce foaming, which makes for a clearer, more beautiful jam.
- Continue cooking at a rolling boil for 25-35 minutes, stirring occasionally with a wooden spoon or jam spatula, skimming off any foam that rises to the surface.
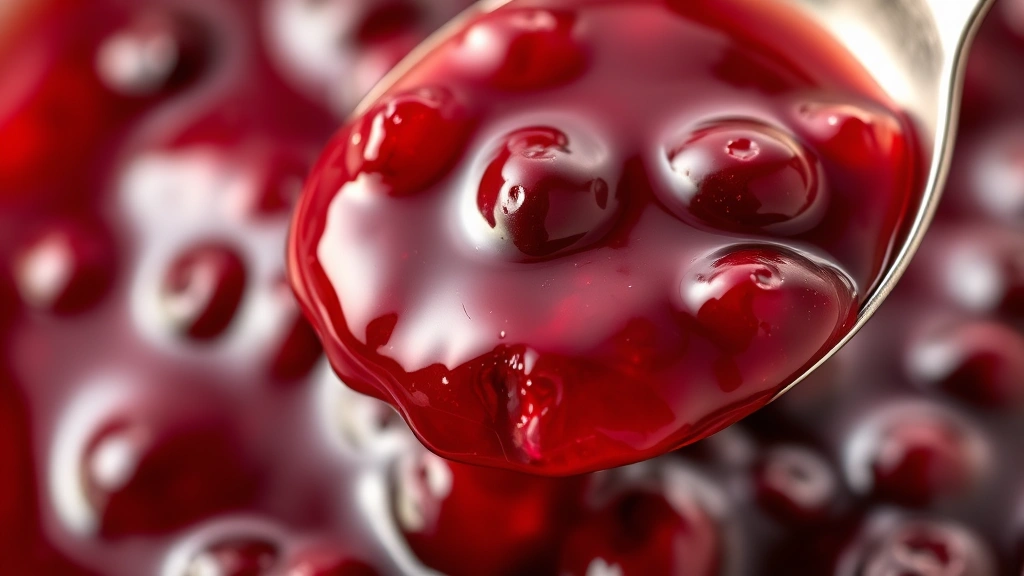
The jam should gradually darken and thicken—you’ll notice it becoming glossier and more syrupy as it cooks.
- Test for doneness by placing a small spoonful of jam on a cold plate from the freezer, letting it cool for 30 seconds, then pushing with your finger—it should wrinkle slightly if it’s ready. If it’s still too runny, continue cooking for another 2-3 minutes and test again.
- Once your jam reaches the perfect consistency, remove the pot from heat and stir in the brandy or rum if you’re using it for extra depth and festive flavor.
- Skim off any remaining foam with a spoon, then let the jam rest in the pot for 5 minutes before ladling into sterilized jars.
- Using a canning funnel and ladle, carefully pour the hot jam into clean, sterilized half-pint mason jars, leaving about ¼ inch of headspace at the top.
- Wipe the rims of each jar with a clean, damp cloth to remove any jam drips, then place the lids on top and screw the bands on until they’re finger-tight—not too loose, not too tight.
- For shelf-stable jars, process the filled jars in a boiling water bath for 10 minutes (start timing once the water returns to a boil), then remove and let cool completely on the counter for 12-24 hours.
- You’ll hear the satisfying ‘pop’ sound as each jar seals—this indicates your jam is properly preserved and shelf-stable for up to one year.
- Store unsealed jars or jars that didn’t seal properly in the refrigerator for up to 3 weeks, or label and refrigerate immediately if you prefer not to water-bath can.
Pro Tips
- **Berry Selection**: While this recipe uses a combination of cranberries, raspberries, and blackberries for that festive flavor profile, you can absolutely substitute with other berries. Strawberries, blueberries, or marionberries work beautifully—just maintain the same total weight of berries.
- **Fresh vs. Frozen**: Both work perfectly in jam-making! Frozen berries have already had their cell walls broken down slightly during freezing, which can actually help your jam set faster. No need to thaw them first.
- **Sugar Ratios**: The 3:2 ratio of sugar to fruit is traditional for jam-making and helps with proper setting. If you prefer less sweet jam, you can reduce the sugar to 2½ cups, but note that it may not set as firmly.
- **Testing for Doneness**: The cold plate test is the most reliable method for home jam makers. A proper set should coat a spoon and leave a trail when you run your finger through it on the cold plate.
- **Altitude Adjustments**: If you live above 1,000 feet elevation, you may need to add an extra minute to your water bath processing time for every 1,000 feet of altitude.
- **Sterilizing Jars**: To sterilize jars, run them through the dishwasher on the hottest setting, or place them in boiling water for 10 minutes. Keep them hot until you’re ready to fill them.
- **Gifts**: This jam makes absolutely stunning gifts when poured into beautiful jars tied with festive ribbon or fabric. Consider adding a custom label with the recipe name, date made, and storage instructions.
- **Flavor Variations**: Some years I add a teaspoon of fresh ginger or a tablespoon of honey for different flavor notes. Experiment with what you love!
- **Foam Skimming**: Don’t skip this step! Skimming foam creates a clearer, more beautiful jam that looks more professional.
- **Storage**: Properly sealed and processed jars will keep for up to one year in a cool, dark pantry. Once opened, refrigerate and consume within 3 weeks.