
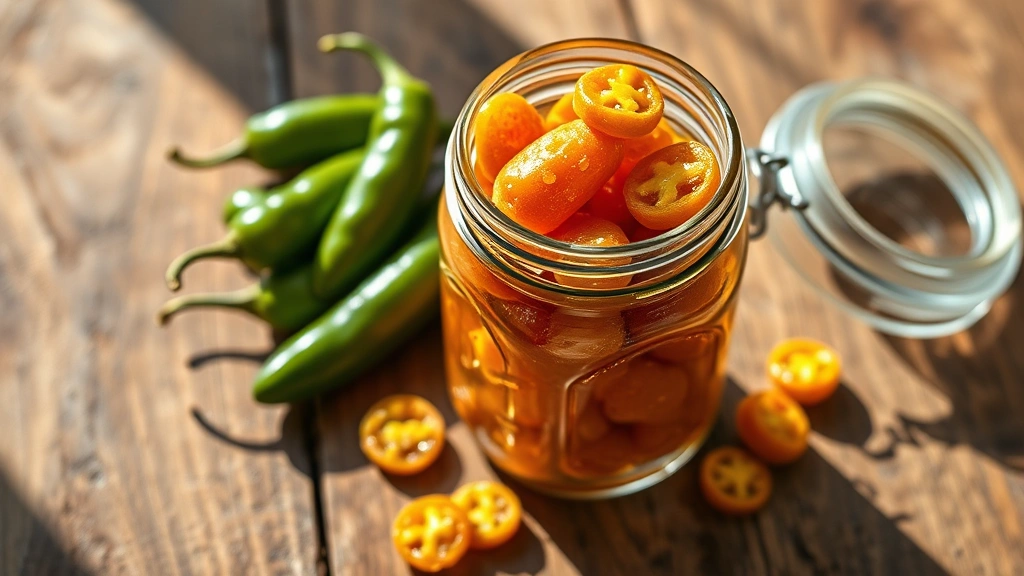
Cowboy Candy is the ultimate sweet and spicy treat that’ll have everyone reaching for more! These candied jalapeños are crispy, crunchy, and addictively delicious with the perfect balance of heat and sweetness. They’re perfect for snacking, adding to charcuterie boards, or topping your favorite dishes. This recipe is easier than you’d think and makes an impressive homemade gift.
I first discovered Cowboy Candy at a summer barbecue, and I was absolutely hooked. The combination of sweet brown sugar, tangy vinegar, and the natural heat from fresh jalapeños creates this magical flavor explosion that keeps you coming back for more. What I love most is how versatile this recipe is—you can enjoy these straight from the jar as a snack, crumble them over cream cheese for an appetizer, or use them to add a sweet-spicy kick to tacos, nachos, or even grilled meats.
The beauty of making Cowboy Candy at home is that you control the heat level and sweetness to your exact preferences. You can leave the seeds in for extra fire, or remove them for a milder version. The cooking process is straightforward, and before you know it, you’ll have jars of golden, glazed jalapeños that taste infinitely better than anything store-bought.
This recipe yields multiple jars, making it perfect for sharing with friends and family. Whether you’re a spice lover or just looking for something fun and different to add to your snack rotation, Cowboy Candy is sure to become a staple in your kitchen. Pair it with pickled red onions for a complete charcuterie board experience, or serve alongside chicken alfredo for an unexpected flavor contrast.
For more inspiration on preserving and pickling, check out Serious Eats’ pickling guide and Bon Appétit’s preservation techniques. You might also enjoy exploring chickpea salad recipes to use alongside your homemade Cowboy Candy for complete meal inspiration.
The secret to perfectly glazed Cowboy Candy is patience and the right combination of ingredients. Using fresh, firm jalapeños ensures the best texture, while the specific ratio of vinegar to sugar creates that signature glossy coating. Many recipes skip important steps, but this one walks you through everything you need for restaurant-quality results at home. Once you master this recipe, you’ll never want to buy pre-made versions again.
Ingredients
- 3 pounds fresh jalapeños peppers
- 2 cups apple cider vinegar
- 3 cups brown sugar, packed
- 1 cup granulated sugar
- 1 tablespoon mustard seeds
- 1 tablespoon celery seeds
- 2 teaspoons garlic powder
- 1 teaspoon turmeric
- 1 teaspoon cayenne pepper (optional, for extra heat)
- ½ teaspoon salt
- ¼ teaspoon black pepper
- 4-5 clean pint-sized mason jars with lids
- Water for canning (if processing jars)
- 1 tablespoon pickling spice (optional)
Instructions
- Wash your jalapeños thoroughly under cool running water and pat them completely dry with paper towels. This step is crucial as any moisture can affect the final texture and shelf life.
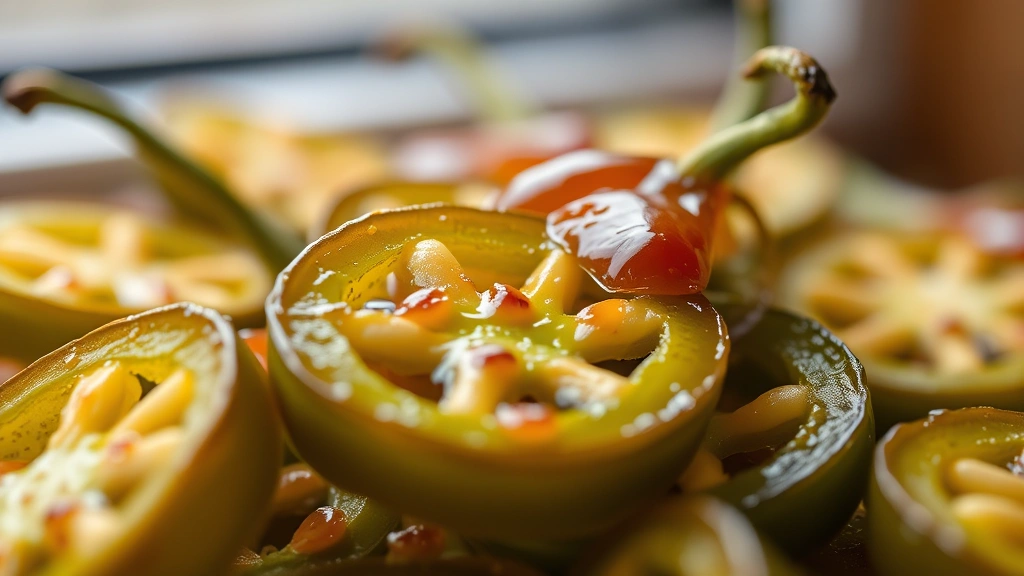
- Slice the jalapeños into thin rings, approximately ¼ inch thick. You can leave the seeds in for maximum heat, or remove them for a milder version. Wear gloves while handling the peppers to protect your skin from the oils, and avoid touching your face.
- Sterilize your mason jars by running them through the dishwasher on the hottest setting or by submerging them in boiling water for 10 minutes. Set them aside on a clean kitchen towel to cool slightly.
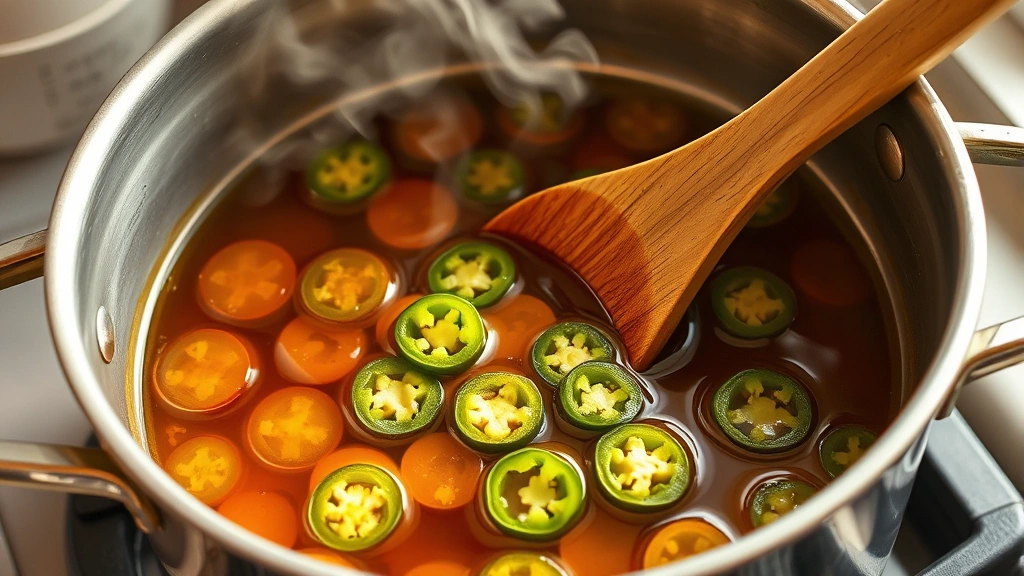
- In a large, heavy-bottomed pot, combine the apple cider vinegar, brown sugar, and granulated sugar over medium heat. Stir frequently until the sugars completely dissolve and the mixture begins to simmer, about 5-7 minutes.
- Once the sugar mixture is simmering, add the mustard seeds, celery seeds, garlic powder, turmeric, cayenne pepper (if using), salt, and black pepper. Stir well to combine all the spices evenly throughout the liquid.
- Carefully add the sliced jalapeños to the pot, stirring gently to ensure all the pepper slices are coated in the syrup. The mixture should return to a gentle simmer.
- Allow the jalapeños to simmer in the syrup for 30-35 minutes, stirring occasionally. The peppers should become slightly softer and develop a beautiful golden color as they absorb the sweet and tangy flavors.
- While the jalapeños are simmering, you can prepare your sauce preparation techniques for pairing suggestions, or check out New York Times cooking guides for serving inspiration.
- After 30-35 minutes, the mixture should be thick and syrupy, with the peppers glistening in the glaze. The liquid should have reduced by approximately one-third to one-half.
- Carefully ladle the hot jalapeños and syrup into your prepared mason jars, leaving about ½ inch of headspace at the top. Use a slotted spoon to distribute the peppers evenly among the jars, then top with the remaining syrup.
- Wipe the rims of the jars clean with a damp paper towel to remove any sticky residue that could prevent proper sealing.
- Place the lids on the jars and screw the bands on until they’re fingertip tight—not too loose, but not overly tight either. Overly tight bands can prevent proper sealing.
- For shelf-stable Cowboy Candy, process the jars in a boiling water bath for 10 minutes. This ensures they’ll keep safely for up to a year in your pantry.
- Remove the jars from the boiling water using a jar lifter and place them on a clean kitchen towel. Allow them to cool completely at room temperature for 12-24 hours.
- Once cooled, check the seals by pressing down on the center of each lid. If it doesn’t pop back up, the jar is properly sealed. Any jars that didn’t seal should be refrigerated and consumed within 3 weeks.
- Label your jars with the date and contents, then store them in a cool, dark place. The flavors will continue to develop and improve over the first week, making them even better as time goes on.
- To serve, simply open a jar and enjoy the Cowboy Candy straight as a snack, or use in your favorite recipes. Once opened, store in the refrigerator and consume within 4-6 weeks for best quality.
Pro Tips
- Fresh Jalapeño Selection: Choose firm, unblemished jalapeños that are medium-sized for the best results. Avoid any that are soft or have dark spots, as these may not hold up well during cooking.
- Heat Level Control: The seeds and white membrane inside the jalapeños contain most of the heat. Remove them for a milder candy, or leave them in (and even add the optional cayenne pepper) for extra spice.
- Spice Customization: Feel free to experiment with different spices such as cumin seeds, coriander seeds, or even a pinch of smoked paprika. You can also add fresh ginger or garlic cloves for additional flavor complexity.
- Processing for Safety: If you want your Cowboy Candy to be shelf-stable for an extended period, proper water bath canning is essential. This process kills any harmful bacteria and creates a vacuum seal.
- Storage Options: Unprocessed jars can be stored in the refrigerator immediately after cooling and will keep for 3-4 weeks. Processed jars can be stored in a cool, dark pantry for up to one year.
- Perfect Pairings: Serve Cowboy Candy with cream cheese and crackers, on top of grilled chicken or fish, mixed into potato salad, or crumbled over nachos. They also pair beautifully with creamy pasta dishes.
- Make-Ahead Tip: You can prepare the jalapeños (washing and slicing) up to one day in advance. Store them in the refrigerator in an airtight container until you’re ready to cook them.
- Yield Variations: This recipe yields approximately 4-5 pint jars depending on how tightly you pack them. If you prefer half-pint jars, you’ll get 8-10 smaller jars instead.
- Texture Preferences: For crunchier candy, reduce the cooking time to 20-25 minutes. For softer, more candied peppers, extend the cooking time to 40-45 minutes.
- No Canning Equipment: If you don’t have a water bath canner, you can use a large pot with a rack or towels on the bottom to keep jars from touching the pot bottom.
- Gift-Giving: Cowboy Candy makes an excellent homemade gift. Tie a ribbon around the jar and include a card with serving suggestions for a personal touch.