
Crustless pumpkin pie is the ultimate shortcut dessert that tastes like you spent hours in the kitchen when really, you barely lifted a finger! This delightful recipe combines all the warm spices and creamy pumpkin goodness you love about traditional pumpkin pie, but without the fussy crust-making process. It’s perfect for busy holiday seasons, last-minute gatherings, or whenever you’re craving that cozy pumpkin flavor without the extra work.
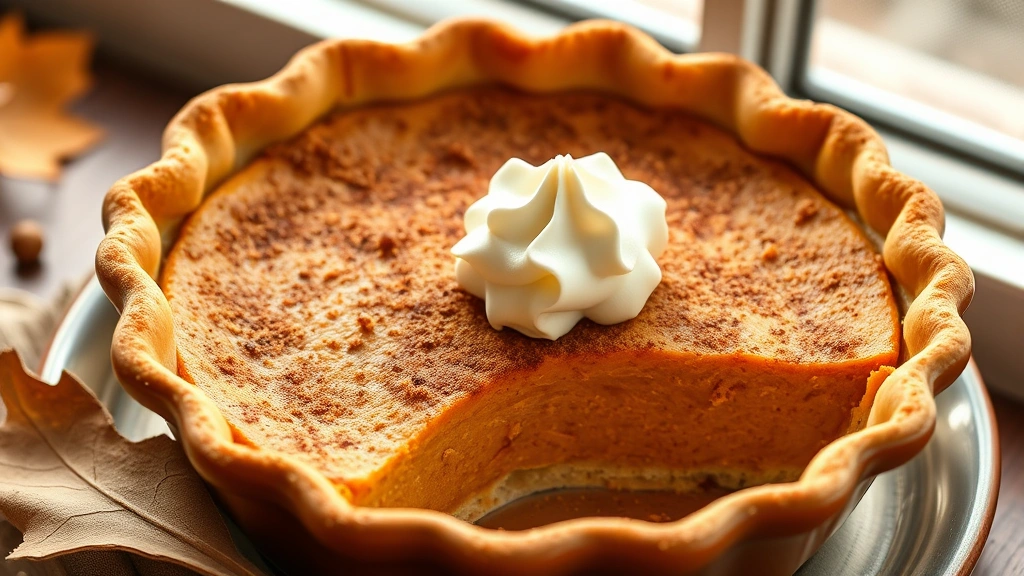
What makes this crustless version so special is that it bakes up with a naturally custardy texture that’s absolutely divine. The filling settles into a rich, spiced pumpkin custard that’s moist on the inside with just a hint of a cake-like exterior. It’s honestly hard to believe something this impressive comes together in under 10 minutes of prep time. Whether you’re a seasoned baker or someone who usually avoids the kitchen, this recipe is going to become your new go-to dessert.
The beauty of crustless pumpkin pie is its versatility. You can serve it warm with a dollop of freshly whipped cream, a drizzle of caramel sauce, or a sprinkle of candied pecans. Some people love it chilled straight from the refrigerator, while others prefer it at room temperature with a cup of spiced coffee. No matter how you serve it, your family and friends will be asking for the recipe. Trust me on this one!
I love making this pie because it fits perfectly into my busy schedule, and honestly, the results rival any traditional pumpkin pie I’ve ever made. The crustless version is also naturally lower in calories than a traditional pie since you’re eliminating all that buttery crust. It’s a win-win situation—less work, equally delicious results, and you can feel a tiny bit better about indulging in dessert. Plus, there are no dirty pie pans to scrub clean afterward!
For the best results, make sure you’re using pure pumpkin puree and not pumpkin pie filling, which already has sugar and spices added. You want to start with a blank canvas so you can control all the flavors. Also, don’t skip the evaporated milk—it’s what gives this pie its signature creamy texture. If you only have regular milk on hand, you can substitute it, but the pie won’t be quite as rich and luxurious. This recipe is also a fantastic base for experimenting with different cream variations if you want to get creative with the topping.
One of my favorite things about this recipe is how it brings back memories of autumn gatherings and cozy family dinners. There’s something about the aroma of pumpkin pie baking in the oven that instantly makes a house feel like home. Whether you’re making this for Thanksgiving, Halloween, or just because you’re craving pumpkin in July, this crustless pie is sure to impress. I’ve served it at countless dinner parties, and I’ve yet to have anyone guess that it’s crustless until they take that first bite!
If you’re looking for other make-ahead desserts that are equally impressive, you might also enjoy checking out our collection of crowd-pleasing recipes. The same philosophy of keeping things simple but elegant applies to all my favorite entertaining dishes. Speaking of entertaining, this pie pairs beautifully with our pickled red onion recipe as part of a complete holiday menu. You could even build an entire autumn-themed meal around this gorgeous pie!
For additional inspiration and techniques, I highly recommend checking out Bon Appétit’s Thanksgiving recipe collection and Serious Eats’ comprehensive pumpkin guide. These resources have helped me refine my baking techniques over the years. You can also find more pumpkin pie inspiration at the New York Times Cooking section for additional variations.
Let me also mention that our easy chicken alfredo recipe makes an excellent main course if you’re planning a complete meal featuring this pie for dessert. Balance is everything when you’re hosting, right? Now, let’s get to the good stuff and make this amazing crustless pumpkin pie together!
Ingredients
- 1 (15-ounce) can pure pumpkin puree
- 3/4 cup granulated sugar
- 1 teaspoon ground cinnamon
- 1/2 teaspoon ground ginger
- 1/4 teaspoon ground cloves
- 1/4 teaspoon ground nutmeg
- 1/2 teaspoon salt
- 1 (12-ounce) can evaporated milk
- 3 large eggs
- 2 tablespoons butter, melted
- 1 tablespoon all-purpose flour
- 1 tablespoon granulated sugar (for topping)
- Whipped cream for serving
Instructions
- Preheat your oven to 350°F. Lightly grease a 9-inch pie dish with cooking spray or butter, making sure to coat the bottom and sides evenly.
- In a large mixing bowl, combine the pumpkin puree, 3/4 cup sugar, cinnamon, ginger, cloves, nutmeg, and salt. Stir until all the spices are evenly distributed throughout the pumpkin.
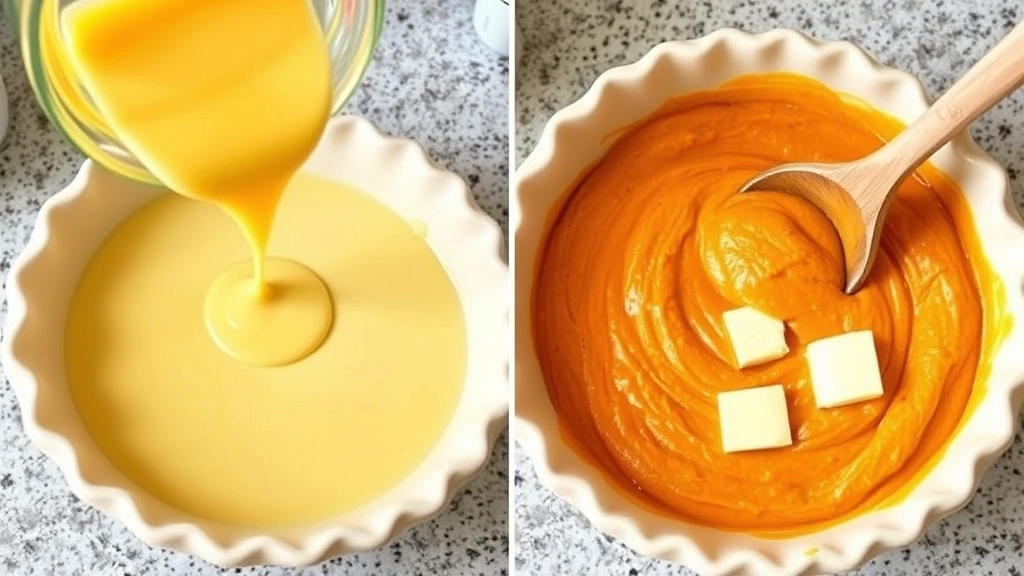
- Add the evaporated milk to the pumpkin mixture and whisk until well combined. The mixture should be smooth and free of any lumps.
- In a separate small bowl, beat the 3 eggs together until they’re well combined and slightly frothy. This helps incorporate air into the pie, making it lighter and fluffier.
- Pour the beaten eggs into the pumpkin mixture and stir gently but thoroughly until everything is completely incorporated. Avoid overmixing, as this can make the pie tough.
- Pour the melted butter into the mixture and fold it in gently using a spatula or wooden spoon until you don’t see any streaks of butter remaining.
- Pour the entire pumpkin mixture into your prepared pie dish. The batter will be quite runny, but don’t worry—it will set up beautifully as it bakes.
- In a small bowl, combine the 1 tablespoon flour with 1 tablespoon sugar. Sprinkle this mixture evenly over the top of the pie, which will create a lovely streusel-like topping as it bakes.
- Place the pie dish on a baking sheet (this makes it easier to remove from the oven and catches any potential drips) and carefully transfer it to your preheated 350°F oven.
- Bake for 50 minutes to 1 hour, until a knife inserted in the center comes out mostly clean with just a few moist crumbs clinging to it. The pie should be set around the edges but still have a slight jiggle in the very center.
- Remove the pie from the oven and place it on a wire cooling rack. Allow it to cool to room temperature, which typically takes about 1 to 2 hours.
- Once cooled completely, you can refrigerate the pie for up to 2 days before serving, or serve it at room temperature. Top each slice with freshly whipped cream and enjoy!

Pro Tips
o For a more decadent topping, try whipped cream infused with a splash of vanilla extract and a pinch of cinnamon. You can also drizzle with caramel sauce or a maple glaze for extra indulgence.
o If you don’t have evaporated milk on hand, you can substitute with regular whole milk, but reduce the amount to 1 cup and add 2 tablespoons of heavy cream for a richer texture.
o Make sure your eggs are at room temperature before adding them to the mixture. Cold eggs can seize up when combined with the warm pumpkin, creating lumps.
o This pie is naturally gluten-free if you use certified gluten-free flour in the topping. It’s also a wonderful option for people avoiding traditional pie crusts for dietary reasons.
o The baking time can vary depending on your oven and the exact depth of your pie dish. Start checking for doneness around the 45-minute mark.
o Leftovers can be stored in an airtight container in the refrigerator for up to 4 days. You can also freeze the entire pie (once cooled) for up to 3 months. Thaw in the refrigerator overnight before serving.
o For a spicier version, increase the cinnamon to 1.5 teaspoons and add 1/4 teaspoon of cayenne pepper for a subtle heat that complements the pumpkin beautifully.
o This pie is perfect for meal prep situations since you can make it several days in advance. It’s also excellent for potlucks since it requires no additional plating or assembly.
o If the top starts browning too quickly during baking, you can loosely tent the pie with aluminum foil to prevent it from burning while the center continues to set.