
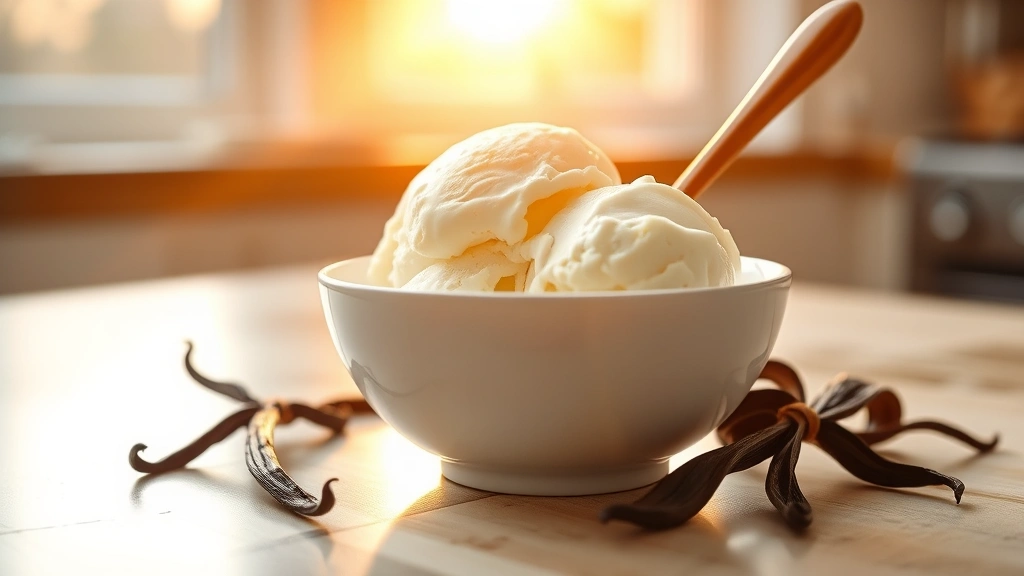
Making homemade ice cream with a Cuisinart ice cream maker is an absolute game-changer for any dessert lover! There’s something incredibly special about creating your own creamy, dreamy frozen treats right in your own kitchen. This classic vanilla ice cream recipe is the perfect base to master, and once you’ve got the technique down, you can experiment with endless flavor variations.
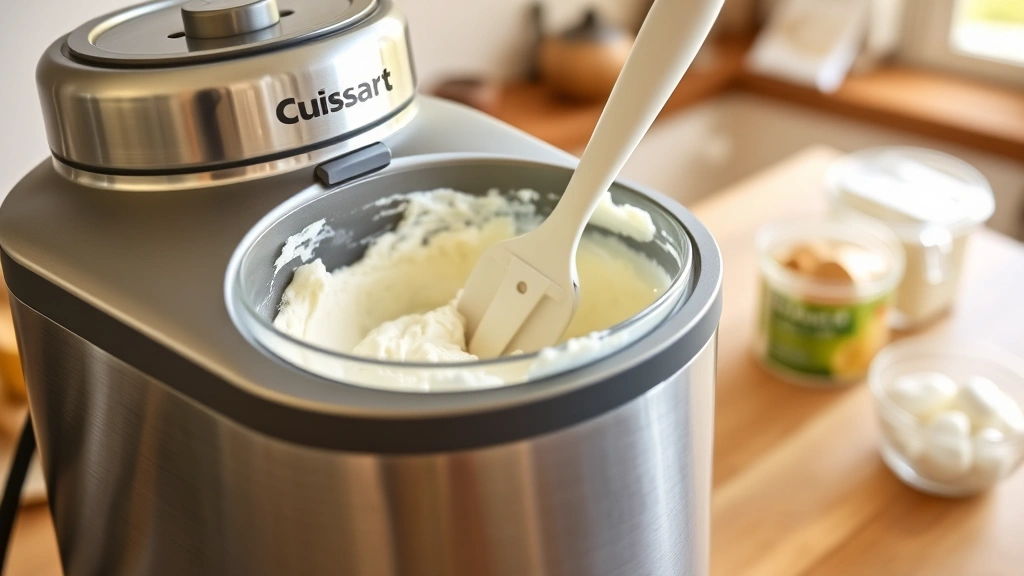
The beauty of a Cuisinart ice cream maker is how effortless it makes the whole process. Unlike traditional hand-churned methods, these machines do all the hard work for you while you relax and anticipate that first delicious scoop. Whether you’re hosting a summer dinner party or just treating yourself on a warm afternoon, homemade ice cream is always a crowd-pleaser.
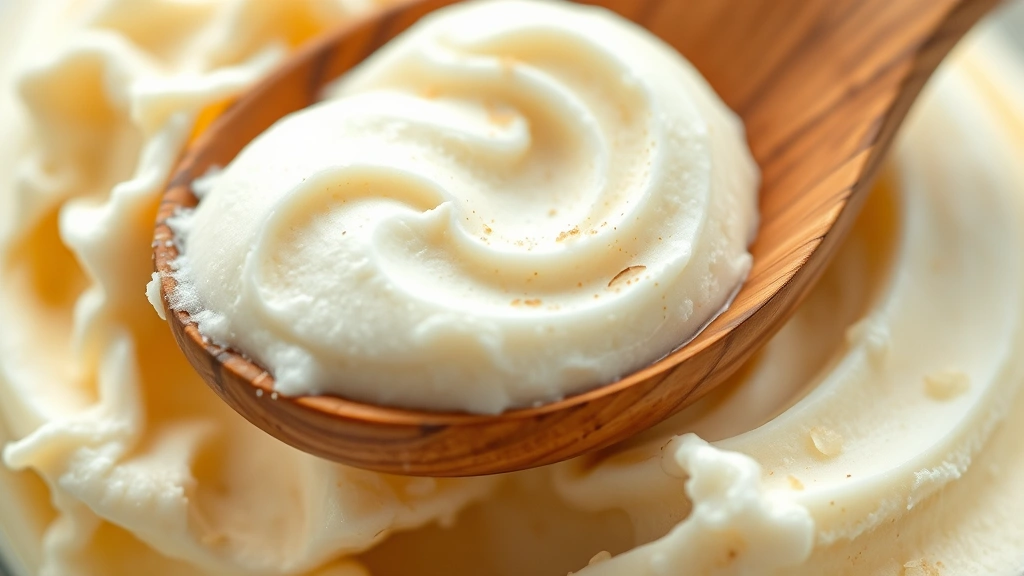
What I love most about making ice cream at home is controlling exactly what goes into it. No weird additives, no mystery ingredients—just pure, simple, delicious ice cream. This recipe uses a custard base, which creates that ultra-creamy texture that makes you feel like you’re scooping into a luxury gelato parlor. The key to success is patience: you need to properly chill your custard mixture before churning, and you absolutely cannot skip the freezing bowl step if your Cuisinart requires it.
I’ve been making this recipe for years, and it never disappoints. My family requests it constantly, and I love how versatile it is. You can stick with classic vanilla, or get creative with flavor infusions and mix-ins. For special occasions, I sometimes add fresh fruit purees or chocolate swirls. The possibilities are truly endless, and that’s what makes this such a fun recipe to have in your repertoire.
If you’re new to ice cream making, don’t be intimidated! This recipe is straightforward and forgiving. Just follow the steps carefully, and you’ll have restaurant-quality ice cream ready in about 30 minutes of churning. Trust me, once you taste the difference between homemade and store-bought, you’ll never go back. Your Cuisinart ice cream maker is about to become your new best friend in the kitchen!
For more delicious cream-based recipes, check out our heavy cream pasta guide and this fantastic chicken alfredo recipe. And if you’re planning a complete meal, our pickled red onion recipe makes a beautiful accompaniment to many dishes. Don’t forget about these wonderful sides like our chickpea salad and shishito peppers for a complete entertaining spread.
For more ice cream inspiration and techniques, I recommend checking out Bon Appétit’s ice cream collection, Serious Eats’ comprehensive guide, and New York Times Cooking’s frozen desserts.
Ingredients
- 2 cups heavy whipping cream
- 1 cup whole milk
- 3/4 cup granulated sugar
- 1 tablespoon vanilla extract (or 1 vanilla bean, split and scraped)
- 5 large egg yolks
- 1/4 teaspoon sea salt
- 2 tablespoons butter (optional, for extra richness)
Instructions
- Pour the heavy cream and whole milk into a medium saucepan and heat over medium heat until it reaches about 170°F (76°C), stirring occasionally. You want it steaming but not boiling—watch carefully so it doesn’t scald.
- While the cream mixture heats, whisk together the egg yolks and granulated sugar in a separate medium bowl for about 2-3 minutes until the mixture becomes pale and slightly thickened. This is an important step that helps create a smooth, creamy texture.
- Very slowly pour about 1/2 cup of the hot cream mixture into the egg yolk mixture while whisking constantly. This tempering process prevents the eggs from scrambling and is crucial for a silky custard.
- Continue whisking while slowly adding the remaining hot cream mixture to the egg yolk mixture, pouring in a steady stream. Keep whisking until fully combined and smooth.
- Pour the entire custard mixture back into the saucepan and return it to medium heat. Stir constantly with a wooden spoon or whisk for about 8-10 minutes, until the mixture reaches 160°F (71°C) and coats the back of the spoon.
- Remove the custard from heat and stir in the vanilla extract and sea salt. If using a fresh vanilla bean, you can skip the extract and use the scraped seeds from the bean instead for a more elegant presentation.
- Strain the custard through a fine-mesh sieve into a clean bowl to remove any lumps or cooked egg bits. This step ensures an incredibly smooth final product.
- If desired, stir in the butter for extra richness and silkiness. Let the custard cool to room temperature, about 15-20 minutes, stirring occasionally.
- Cover the bowl and refrigerate the custard for at least 4 hours, but ideally overnight. This chilling step is essential—it allows the flavors to develop and helps create that perfect creamy texture when churned.
- If your Cuisinart ice cream maker has a freezer bowl (most do), remove it from the freezer and ensure it’s thoroughly frozen. Check your specific model’s instructions for optimal temperature.
- Pour the chilled custard mixture into the ice cream maker and churn according to your machine’s instructions, typically for 20-30 minutes. The mixture should go from liquid to soft-serve consistency.
- Transfer the churned ice cream to an airtight freezer-safe container, smoothing the top with a spatula.
- Freeze for at least 4 hours, but preferably overnight, until the ice cream reaches your desired firmness. This final freeze sets the texture and allows the flavors to meld beautifully.
Pro Tips
- This recipe uses a cooked custard base rather than a no-cook method, which creates a richer, creamier texture that’s closer to premium ice cream. The eggs also add body and help prevent large ice crystals from forming.
- The tempering step (slowly adding hot cream to eggs) is absolutely critical. Never pour hot liquid directly into eggs without tempering, or you’ll end up with scrambled eggs instead of custard. Take your time with this step!
- Vanilla extract quality matters tremendously in ice cream. Use pure vanilla extract rather than imitation for a noticeably better flavor. Alternatively, a real vanilla bean creates the most luxurious result.
- Make sure your Cuisinart bowl is completely frozen before churning. If your machine requires a pre-freeze, don’t skip this step. Some models have self-cooling mechanisms, so check your specific instructions.
- The custard must be properly chilled before churning. If you skip this step or use warm custard, your ice cream will be grainy and won’t churn properly. Overnight refrigeration is ideal.
- Don’t open your freezer frequently during the final freezing stage. Each time you open the door, temperature fluctuates and can create ice crystals. If you must check on it, do so quickly.
- For flavor variations, try adding 1 teaspoon of almond extract, 2 tablespoons of salted caramel sauce, crushed cookies, or fresh fruit purees before the final freeze.
- If your ice cream becomes too soft after churning, simply transfer it to the freezer for another hour or two. If it’s too hard and scoops with difficulty, let it sit at room temperature for 5-10 minutes before scooping.
- Store homemade ice cream in an airtight container to prevent freezer burn and absorption of other flavors. Properly stored, it will keep for about two weeks, though it rarely lasts that long!
- This recipe contains raw or lightly cooked eggs. If you’re concerned about food safety, use pasteurized eggs or egg products instead.
- Bourbon, rum, or other spirits can be added for adult versions, but reduce the total liquid slightly and add spirits after the custard has cooled.