
I’m absolutely thrilled to share my favorite dairy-free ice cream recipe with you today! This creamy, dreamy frozen treat proves that you don’t need heavy cream or milk to create the most delicious, indulgent ice cream imaginable. Whether you’re lactose intolerant, following a vegan lifestyle, or simply looking to explore new flavor possibilities, this recipe is an absolute game-changer.
The secret to achieving that luxuriously smooth texture lies in using a combination of coconut milk and cashew cream, which creates a richness that rivals traditional ice cream. I’ve been making this recipe for years now, and it’s become a staple in our household, especially during those warm summer months when we’re all craving something cool and satisfying.
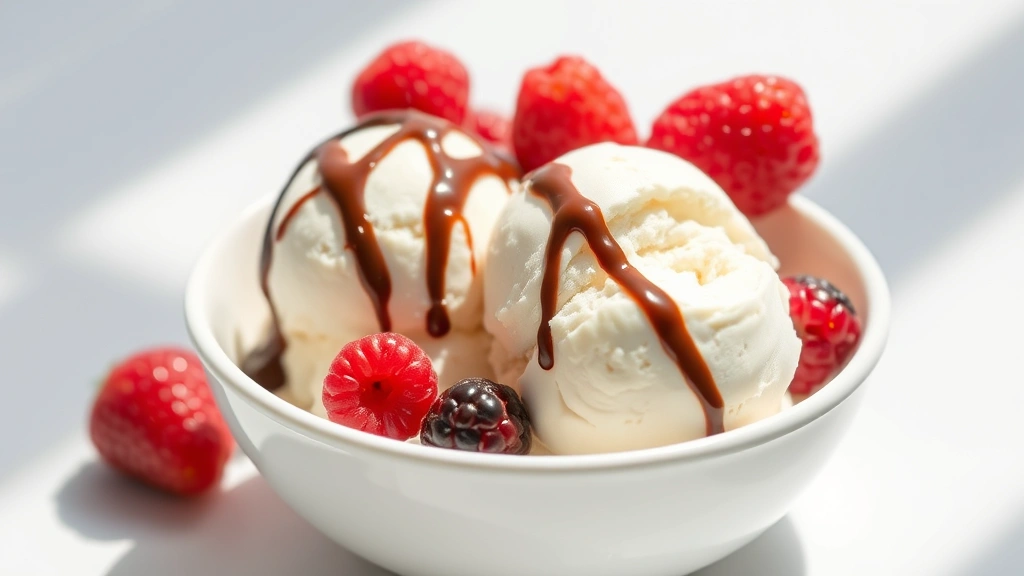
What I absolutely love about this dairy-free ice cream is its versatility. You can enjoy it plain and simple, or get creative with mix-ins and toppings. I often pair it with my Creamy Pesto Recipe for a unique savory-sweet combination, though I know that sounds unconventional! More traditionally, you can top it with your favorite fresh fruit or drizzle it with chocolate sauce.
The beauty of making ice cream at home is that you have complete control over the ingredients and sweetness level. No artificial additives, no mysterious ingredients you can’t pronounce—just pure, wholesome goodness. Plus, homemade ice cream tastes infinitely better than store-bought versions, and your guests will be absolutely amazed when you tell them it’s dairy-free.
According to Bon Appétit, the key to perfect homemade ice cream is proper churning and freezing time, which this recipe covers beautifully. I also recommend checking out Serious Eats for additional insights on ice cream science and technique. For more professional guidance, New York Times Cooking has wonderful resources on creating restaurant-quality frozen desserts at home.
Once you’ve mastered this basic recipe, you can explore endless flavor variations. Think vanilla bean, salted caramel, chocolate, strawberry, or even more adventurous options like lavender or matcha. The possibilities are truly limitless, and I encourage you to have fun experimenting with different extracts, spices, and mix-ins.
Making dairy-free ice cream is also a wonderful activity to do with kids. They love watching the transformation from liquid to frozen dessert, and it’s a great way to introduce them to the science of cooking. Plus, there’s nothing quite like the pride on a child’s face when they taste their homemade creation.
I’ve included detailed notes below with helpful tips and troubleshooting advice to ensure your ice cream turns out perfectly every single time. Whether this is your first time making homemade ice cream or you’re a seasoned pro, I’m confident you’ll find valuable information to make your experience successful and enjoyable.
Ingredients
- 1 can (13.5 oz) full-fat coconut milk
- 1 cup raw cashews, soaked in hot water for 30 minutes
- ¾ cup maple syrup or agave nectar
- 2 teaspoons vanilla extract
- ¼ teaspoon sea salt
- 2 tablespoons coconut oil, melted
- ½ cup unsweetened almond milk or oat milk
- 1 tablespoon cornstarch (optional, for extra creaminess)
- Fresh fruit for topping (optional)
- Dark chocolate chips for mix-in (optional)
Instructions
- Begin by preparing your cashew cream base. Drain the soaked cashews thoroughly and add them to a high-powered blender along with the full-fat coconut milk.
- Pour in the almond milk and add the maple syrup, vanilla extract, and sea salt to the blender.
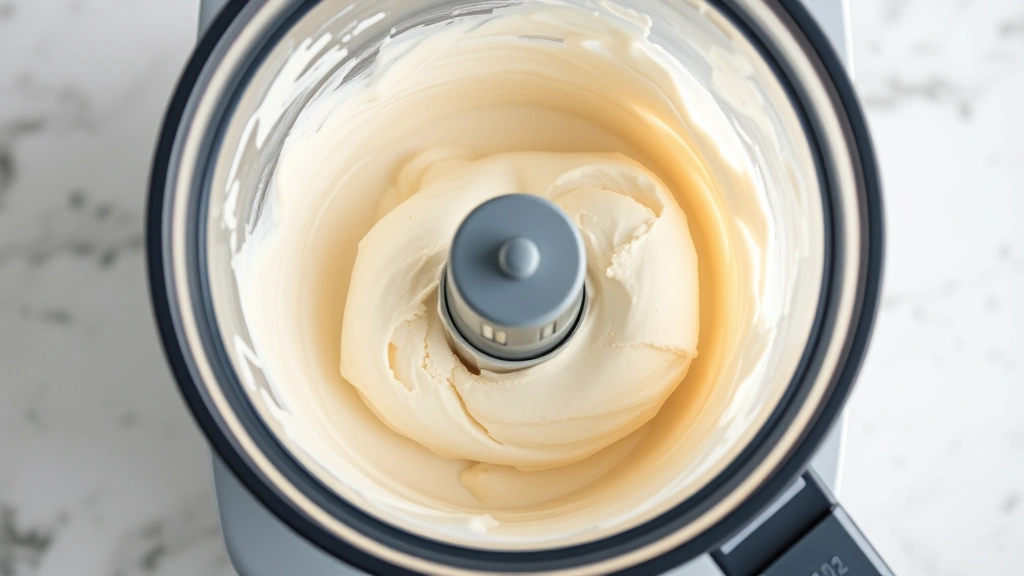
- Blend on high speed for 2-3 minutes until the mixture is completely smooth and creamy, with no visible cashew pieces remaining.
- Add the melted coconut oil and cornstarch (if using) to the blender and blend for an additional 30 seconds to fully incorporate.
- Strain the mixture through a fine-mesh sieve or nut milk bag into a large bowl to ensure a silky smooth texture and remove any remaining particles.
- Cover the bowl with plastic wrap and refrigerate the mixture for at least 4 hours, or preferably overnight, until it’s completely chilled.
- Once chilled, give the mixture a gentle stir to recombine any separated ingredients.
- Pour the chilled mixture into your ice cream maker and churn according to the manufacturer’s instructions, typically 20-25 minutes.
- While the mixture is churning, you can prepare any mix-ins you’d like to add, such as chocolate chips or fresh fruit pieces.
- When the ice cream reaches a soft-serve consistency, transfer it to a freezer-safe container.
- If adding mix-ins, fold them gently into the ice cream using a spatula, distributing them evenly throughout.
- Cover the container with plastic wrap or a lid and freeze for at least 2 hours until firm.
- Remove from the freezer 5-10 minutes before serving to allow it to soften slightly for easier scooping.
- Scoop into bowls or cones and serve immediately with your favorite toppings.
Pro Tips
- If you don’t have an ice cream maker, you can use the freezer method: pour the chilled mixture into a freezer-safe container and freeze for 30 minutes, then stir vigorously with a fork to break up ice crystals. Repeat this process every 30 minutes for 3-4 hours until you reach the desired consistency.
- Raw cashews are essential for this recipe as they create the creamy texture without any nutty flavor. Make sure they’re unsalted and raw, not roasted.
- The cornstarch addition is optional but highly recommended as it helps prevent ice crystals from forming and creates an even silkier texture.
- For a richer flavor, use full-fat canned coconut milk and don’t skip the melted coconut oil, as these ingredients are crucial to achieving that indulgent ice cream taste and texture.
- This recipe can be made vegan by ensuring all ingredients are plant-based, which they naturally are in this version.
- Store your finished ice cream in an airtight container in the freezer for up to one week. If it becomes too hard, let it sit at room temperature for 5-10 minutes before scooping.
- Flavor variations are endless: add 2 tablespoons of cocoa powder and an extra tablespoon of maple syrup for chocolate ice cream, or blend in fresh strawberries for a fruity version.
- Make sure your blender is truly high-powered to achieve maximum creaminess. A regular blender may not fully incorporate the cashews, resulting in a grittier texture.
- The soaking time for cashews is important for achieving a smooth consistency. Don’t skip this step or rush it with cold water.
- If you’re sensitive to coconut flavor, you can reduce the coconut milk to ½ cup and increase the almond milk to 1 cup, though this will make the ice cream slightly less creamy.
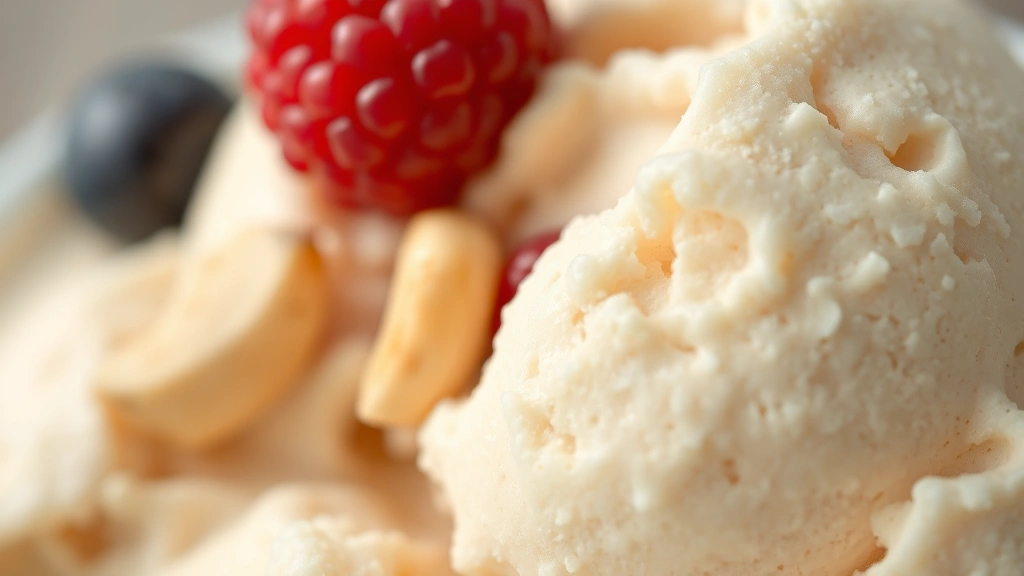
- This recipe pairs beautifully with fresh berries, dairy-free cookies, or a simple fruit compote for serving.