
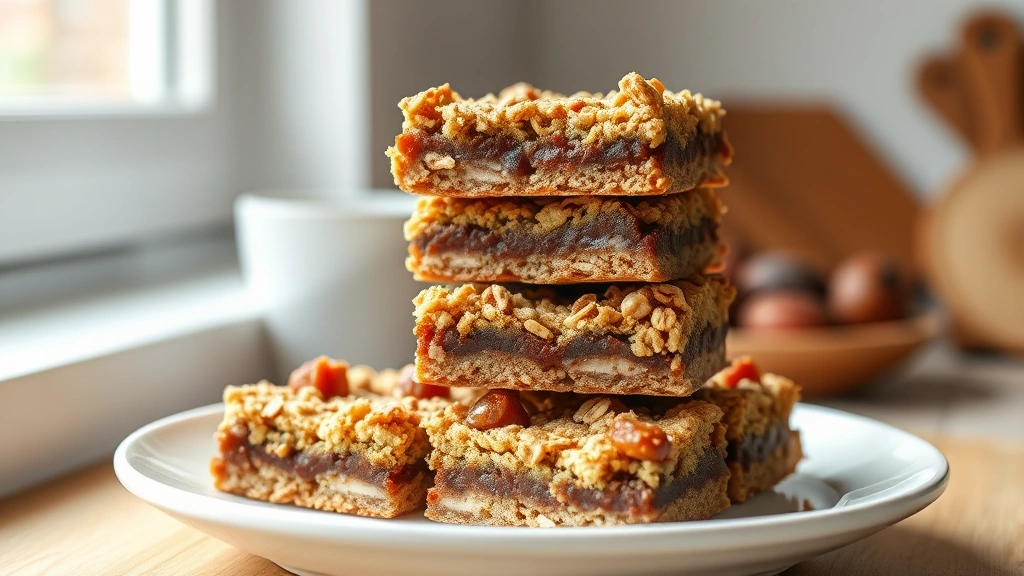
Date bars are one of those timeless desserts that deserve a permanent spot in your baking rotation. With their chewy, caramel-like date filling and buttery oat crust, these bars are absolute perfection for any occasion—whether you’re bringing them to a potluck, packing them in lunchboxes, or simply craving something sweet. What I love most about this recipe is how incredibly simple it is to make, yet the results taste like you spent hours in the kitchen.
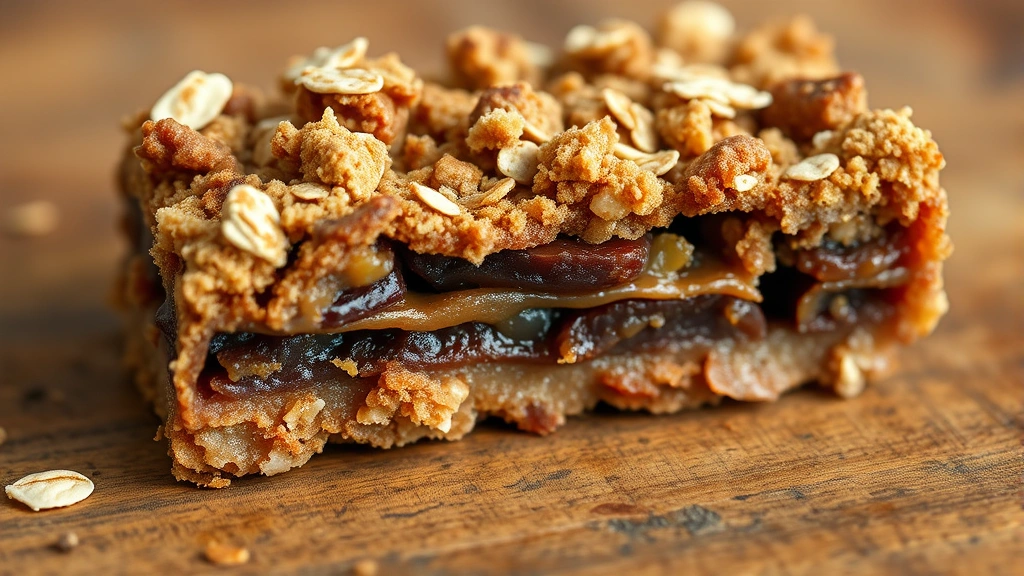
The magic of date bars lies in the contrast between the crispy-edged, buttery oat layer and the soft, almost fudgy date center. When you bite into one, you get that satisfying crunch followed by pure sweetness. The dates become jammy and rich as they cook, creating a filling that’s naturally sweet without being cloying. This is the kind of dessert that makes people ask for your recipe, and honestly, it’s so easy you might feel a little guilty sharing it!
I’ve been making these for years, and I’ve tested countless variations to get this version just right. The key is using soft, pitted dates (Medjool dates are my favorite) and not overbaking the bars. You want that filling to be slightly soft when they come out of the oven so they stay chewy as they cool. I also add a touch of vanilla and a hint of cinnamon to the date filling—it’s subtle but adds such beautiful depth of flavor.
These buttery baked treats are perfect for entertaining because you can make them ahead of time. They actually taste better the next day after the flavors have melded together. Plus, they’re much easier than making individual cookies, which means less time fussing and more time enjoying with friends and family.
Whether you’re a seasoned baker or just starting out, this recipe is foolproof. The oat crust comes together in minutes, the date filling requires minimal effort, and the whole process from start to finish takes less than an hour. Serve them with coffee, tea, or a cold glass of milk. Trust me, you’ll be making these date bars again and again.
For more baking inspiration, check out these fudgy chocolate bars or these tangy lemon treats. If you love the wholesome oat flavor, you’ll also adore chewy oatmeal cookies and homemade granola bars. For more detailed baking techniques, Serious Eats has wonderful baking science articles, and Bon Appétit offers creative date bar variations. You can also explore New York Times Cooking for classic bar recipes and Serious Eats’ collection of date recipes.
Ingredients
- 2 cups (200g) old-fashioned rolled oats
- 1 1/2 cups (190g) all-purpose flour
- 1 cup (200g) packed light brown sugar
- 1/2 teaspoon kosher salt
- 1/2 teaspoon baking soda
- 12 tablespoons (170g) unsalted butter, melted
- 2 cups (300g) pitted Medjool dates, roughly chopped
- 3/4 cup (180ml) water
- 2 tablespoons granulated sugar
- 1 tablespoon fresh lemon juice
- 1 teaspoon vanilla extract
- 1/4 teaspoon ground cinnamon
- Pinch of ground nutmeg

Instructions
- Preheat your oven to 350°F (175°C). Line a 9×13-inch baking pan with parchment paper, leaving some overhang on the sides for easy removal. This makes cleanup a breeze and prevents sticking.
- In a large mixing bowl, combine the oats, flour, brown sugar, salt, and baking soda. Whisk together until evenly distributed—make sure there are no lumps of brown sugar.
- Pour the melted butter over the dry mixture and stir with a wooden spoon until everything is moistened and the mixture resembles coarse crumbs. This should take about 2-3 minutes of stirring.
- Press about two-thirds of the oat mixture firmly into the bottom of your prepared pan, creating an even layer. You want it packed down so it holds together when baked. Reserve the remaining one-third for the top layer.
- While the crust is setting, prepare the date filling: combine the chopped dates, water, and granulated sugar in a medium saucepan over medium heat.
- Bring the mixture to a simmer, stirring occasionally, and cook for about 5-7 minutes until the dates begin to break down and the mixture thickens. The dates should become very soft and jammy.
- Remove from heat and stir in the lemon juice, vanilla extract, cinnamon, and nutmeg. Let the filling cool for about 2 minutes—this helps it set slightly and makes it easier to spread.
- Spread the date filling evenly over the oat crust layer using an offset spatula or the back of a spoon. Work gently so you don’t disturb the crust underneath.
- Sprinkle the reserved oat mixture over the top of the filling, distributing it evenly. Don’t press it down—you want a loose, crumbly topping that will bake into golden clusters.
- Bake for 25-35 minutes, until the top is light golden brown and the edges are set but the center still has a slight jiggle when you gently shake the pan.
- Remove from the oven and let cool completely in the pan—this is crucial for clean cutting and for the bars to set properly. This will take at least 1-2 hours at room temperature.
- Once cooled, use the parchment paper overhang to lift the entire slab out of the pan onto a cutting board.
- Using a sharp knife (dip it in hot water and wipe between cuts for clean edges), cut the slab into 16 equal bars—cut into 4 columns and 4 rows.
- Store in an airtight container at room temperature for up to 5 days, or freeze for up to 3 months. Layer parchment paper between bars if stacking to prevent sticking.
Pro Tips
- **About the dates:** Medjool dates are my top choice because they’re naturally sweet, soft, and create that luxurious fudgy texture. If you can only find Deglet Noor dates, they work too but may require an extra minute or two of cooking to fully soften. Always check that they’re pitted before using.
- **Butter matters:** Using quality unsalted butter makes a noticeable difference in flavor. Don’t skip melting it—this creates a better texture in the crust than creaming would.
- **Brown sugar tip:** Pack your brown sugar firmly into the measuring cup and level it off. This ensures you’re getting the right amount of moisture in your bars.
- **The filling consistency:** The date mixture should be thick enough to spread but still slightly jammy. If it seems too thick, add another tablespoon of water. If it’s too thin, cook it an extra minute or two.
- **Cooling is essential:** I know it’s tempting to cut into warm bars, but they need time to cool and set. The date filling firms up as it cools, making for much cleaner cuts and better texture.
- **Clean cutting technique:** For perfectly neat bars, use a hot, damp knife and wipe it clean between each cut. This prevents the date filling from sticking to the blade.
- **Make-ahead magic:** These bars actually taste better the next day once the flavors have melded. Make them a day ahead for entertaining.
- **Variations to try:** Add 1/2 teaspoon of espresso powder to the filling for subtle coffee notes. Or sprinkle a tiny pinch of sea salt on top of the filling before the final oat layer for a sweet-salty contrast.
- **Storage and freezing:** Room temperature storage in an airtight container keeps them fresh for 5 days. They freeze beautifully for up to 3 months—thaw at room temperature before serving.
- **Why they’re chewy:** The date filling contains natural sugars and moisture that keeps the bars tender. Don’t overbake or they’ll become too firm and cake-like instead of chewy.
- **Ingredient swaps:** Can’t do dairy? Use melted coconut oil instead of butter. Want a gluten-free version? Use certified gluten-free oats and a 1:1 gluten-free flour blend.
- **Serving suggestions:** These are perfect with strong coffee, tea, or a cold glass of milk. They’re also wonderful packed in lunchboxes or brought to potlucks and bake sales.