

Dirt cups are the ultimate no-bake dessert that kids and adults absolutely love! These adorable little cups feature layers of creamy chocolate pudding, crumbled Oreos, and whipped cream, all nestled in individual mason jars or clear cups. The “dirt” effect comes from the crushed cookie crumbles that look just like real soil, making this dessert as fun to look at as it is to eat.
I first made dirt cups at a children’s birthday party, and they were such a hit that I’ve been making them ever since. What I love most about this recipe is how incredibly simple it is—no baking required, minimal ingredients, and maximum impact. You can prep everything ahead of time and assemble the cups just before serving, making it perfect for busy weeknights or special occasions.
The beauty of dirt cups lies in their versatility. You can customize the pudding flavor, switch up your cookie choices, or even add gummy worms for extra fun. This recipe has become a staple in our kitchen because it checks all the boxes: it’s delicious, visually impressive, kid-friendly, and seriously easy to make.
If you’re looking for more fun desserts that kids will love, check out our no-bake desserts collection or our chocolate pudding recipes. For similar layered cup desserts, you might also enjoy our parfait recipes. Want to take your dirt cups to the next level? Learn more about dessert decoration techniques and creative plating ideas.
For additional inspiration, check out Bon Appétit’s dessert collection or Serious Eats’ dessert guide. You can also find similar recipes on New York Times Cooking and explore more no-bake dessert ideas.
Ingredients
- 2 cups whole milk
- 1 package (3.9 oz) instant chocolate pudding mix
- 1 cup heavy whipping cream
- 2 tablespoons granulated sugar
- 1 teaspoon vanilla extract
- 20 Oreo cookies (about 1.75 cups crushed)
- 6 clear cups or mason jars (8-12 oz capacity)
- Gummy worms for decoration (optional)
- Whipped cream for topping (optional)
Instructions
- Prepare your pudding according to package directions by whisking together the instant chocolate pudding mix with 2 cups cold milk in a medium bowl. Whisk for 1-2 minutes until thickened, then let it sit for 5 minutes to set properly.
- While the pudding sets, prepare the whipped cream by pouring 1 cup of heavy whipping cream into a clean mixing bowl. Using an electric mixer or whisk, beat the cream on medium-high speed until soft peaks form, about 2-3 minutes.
- Add 2 tablespoons of granulated sugar and 1 teaspoon of vanilla extract to the whipped cream. Continue beating for another 30-60 seconds until stiff peaks form and the cream is fully whipped. Set aside.
- Crush the Oreo cookies into varying sizes—you want some fine crumbles that look like dirt and some larger chunks for texture. Place the 20 Oreos in a food processor and pulse until you have about 1.75 cups of mixed crumbles, or place them in a sealed plastic bag and crush with a rolling pin.
- Divide the crushed Oreos into two portions: use about 1 cup for layering and reserve about 3/4 cup for topping the finished cups. This ensures you have enough “dirt” for both the interior layers and the final garnish.
- Begin assembling your dirt cups by spooning 2-3 tablespoons of chocolate pudding into the bottom of the first clear cup, creating an even layer on the bottom.
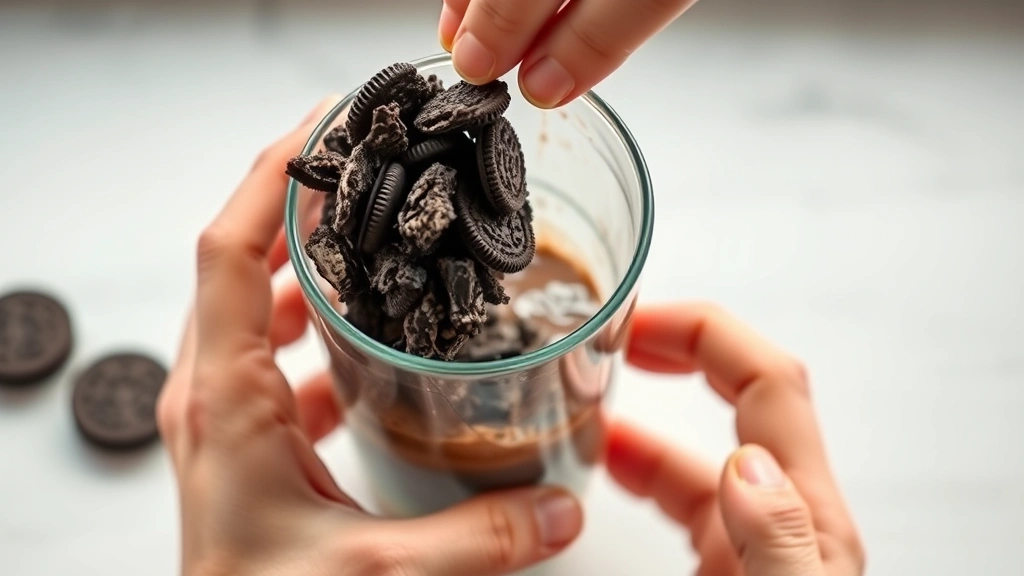
- Sprinkle about 2 tablespoons of the crushed Oreo crumbles over the pudding layer in each cup, creating a nice “dirt” effect.
- Add another layer of chocolate pudding (about 2-3 tablespoons) on top of the cookie crumbles, spreading it gently to create an even layer.
- Top each pudding layer with another 1-2 tablespoons of crushed Oreos, layering them carefully to create distinct dirt-like stripes.
- Repeat the layering process with the remaining pudding and cookie crumbles until you’ve filled each cup about three-quarters full, ending with a pudding layer.
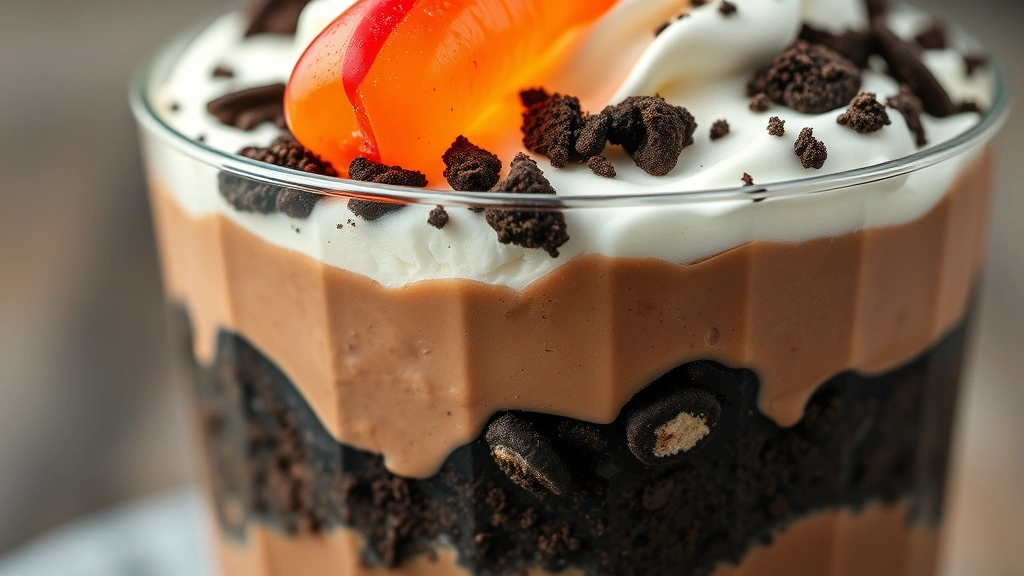
- Top each cup with a generous dollop of whipped cream, smoothing it into an even layer or creating decorative peaks with the back of a spoon.
- Sprinkle the reserved crushed Oreo crumbles generously over the whipped cream topping, creating a realistic dirt effect. Add gummy worms on top for decoration if desired.
- Refrigerate the dirt cups for at least 2 hours before serving to allow the flavors to meld and the pudding to fully set.
- Remove from refrigerator about 5 minutes before serving if the cups were very cold. Serve with a spoon and enjoy!
Pro Tips
- Make-Ahead Magic: Dirt cups can be assembled up to 24 hours in advance. Store them covered in the refrigerator, and add the whipped cream topping just before serving to prevent it from becoming watery.
- Cookie Substitution: While Oreos are traditional, you can use any chocolate sandwich cookies like Thin Mints, chocolate wafers, or homemade chocolate cookies. You can also mix in crushed graham crackers for a different texture.
- Pudding Variations: Experiment with different pudding flavors like vanilla, butterscotch, or cookies and cream. You can also use sugar-free pudding mix if you prefer a lighter version.
- Container Options: Use clear plastic cups, mason jars, wine glasses, or small dessert bowls. The key is choosing something transparent so the beautiful layers are visible.
- Whipped Cream Tips: For best results, use heavy cream that’s been chilled, along with chilled mixing bowls and beaters. If you don’t have time to make whipped cream from scratch, store-bought whipped cream works perfectly fine.
- Texture Variety: Crush some cookies finely and leave others in slightly larger chunks to create more visual interest and varied texture in each bite.
- Kid-Friendly Fun: Let children help assemble their own dirt cups for a fun activity. They’ll love creating the layers and decorating with gummy worms.
- Storage Instructions: Keep refrigerated in an airtight container for up to 3 days. These cups are not suitable for freezing due to the whipped cream topping.
- Serving Suggestions: Serve as an individual dessert at parties, potlucks, or family dinners. They’re also perfect for school lunch boxes when prepared in smaller containers.
- Dietary Modifications: For dairy-free versions, use coconut cream or cashew cream whipped instead of heavy cream, and choose plant-based pudding options.
- Portion Control: This recipe makes 6 generous servings, but you can easily double it for larger crowds or make single-serving versions in smaller cups.