
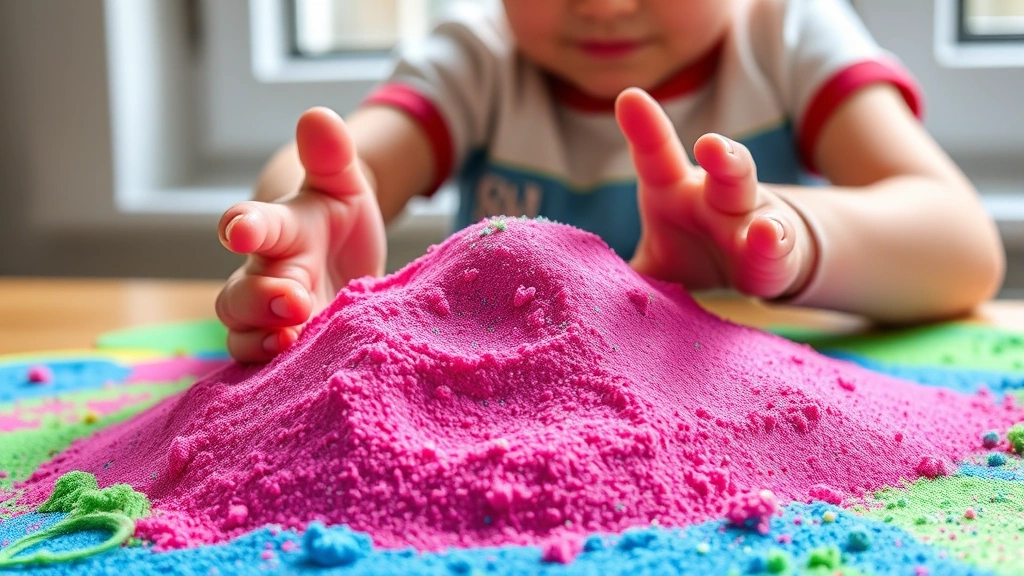
Making kinetic sand at home is one of the most fun and rewarding DIY projects you can tackle in your kitchen! This moldable, stretchy sand substitute has taken the world by storm, and for good reason—it’s endlessly entertaining for kids and adults alike. Unlike regular sand, kinetic sand sticks to itself rather than your hands, making it the perfect sensory toy that won’t leave your home covered in grit.
The beauty of this DIY kinetic sand recipe is that it uses simple household ingredients you probably already have on hand. Most recipes call for just three or four basic components: sand, cornstarch, water, and food coloring. The magic happens when these ingredients combine to create that signature stretchy, moldable texture that makes kinetic sand so addictive to play with.
What makes homemade kinetic sand superior to store-bought versions? For starters, you control the ingredients, which means no mysterious chemicals or additives. You can customize the colors to match your preferences, create multiple batches in different shades, and make as much as you want without breaking the bank. Plus, there’s something incredibly satisfying about creating a beloved toy from scratch.
I first discovered kinetic sand when my niece received some as a gift, and I was amazed by how she could play with it for hours without getting bored. The tactile sensation of molding and stretching it is genuinely soothing, which is why it’s become so popular for stress relief among adults too. Once I realized how simple it was to make, I became obsessed with creating different batches and experimenting with various colors and scents.
This kinetic sand recipe is perfect for rainy days, birthday party activities, or just keeping little hands occupied on a lazy afternoon. The best part? It lasts for months when stored properly in an airtight container. I’ve had batches that stayed fresh and moldable for over six months with minimal care.
For those looking for similar sensory experiences, you might also enjoy making homemade slime or DIY playdough. There’s something magical about creating your own toys and crafts, and kinetic sand is absolutely the easiest place to start.
If you’re concerned about mess and cleanup, don’t be! Unlike regular sand or playdough, kinetic sand doesn’t dry out, crack, or stick to surfaces permanently. It’s genuinely one of the cleanest sensory toys you can make. Once you master this basic recipe, you’ll want to experiment with glitter, scents, and different textures. Check out Bon Appétit for more creative DIY projects, and Serious Eats for kitchen science explanations that help you understand the chemistry behind your creations.
The sensory benefits of kinetic sand are well-documented—occupational therapists often recommend it for children with sensory processing needs, anxiety, or ADHD. The tactile input and the repetitive motion of molding and stretching can be incredibly calming and grounding. Many parents and teachers swear by kinetic sand as a tool for helping kids focus and manage big feelings.
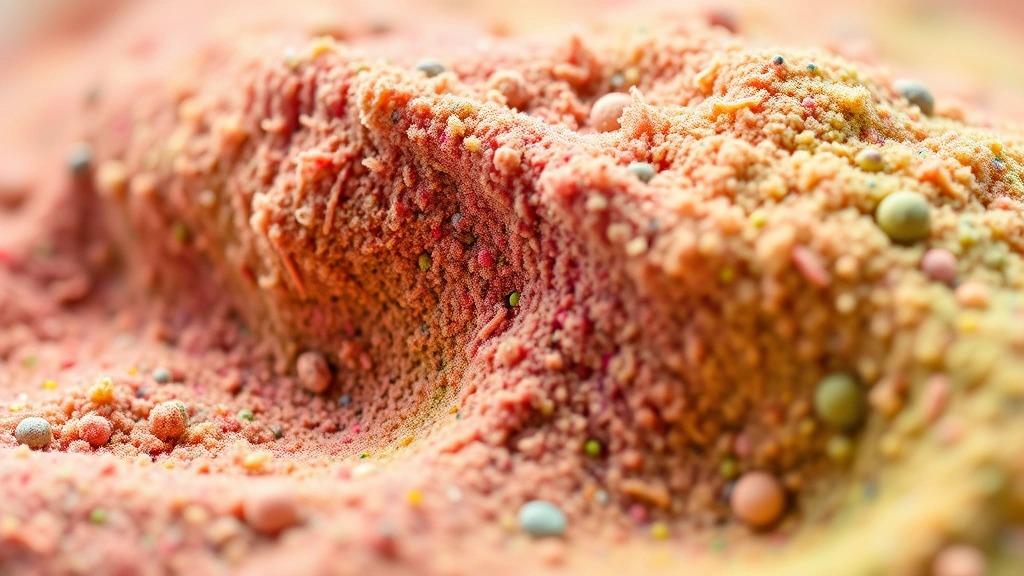
Once you’ve mastered the basic recipe, you can take it to the next level by adding essential oils for scent, incorporating biodegradable glitter, or mixing in small beads for extra texture. The possibilities are truly endless, and each batch can be a new adventure. For more creative kitchen and craft science, explore New York Times Cooking for inspiration on how everyday ingredients can be transformed into something magical.
Ingredients
- 4 cups kinetic sand or regular play sand (or beach sand)
- 2 cups cornstarch
- 1.5 cups warm water (start with less and add more as needed)
- 2-3 teaspoons food coloring or gel food coloring (optional but recommended)
- 1 teaspoon dish soap or hand soap (optional, helps with consistency)
- Essential oil for scent (optional, 5-10 drops of lavender, vanilla, or lemon)
- Biodegradable glitter (optional, for sparkle and shimmer)
- Small beads or foam balls (optional, for texture variation)

Instructions
- Measure out 4 cups of sand into a large mixing bowl. If using beach sand, make sure it’s clean and dry. If you don’t have sand available, you can substitute with fine flour, though the texture will be slightly different. For the best results, use actual sand from a craft store or beach.
- Add 2 cups of cornstarch to the bowl with the sand and mix thoroughly with a whisk or fork, breaking up any clumps. The cornstarch is what gives kinetic sand its signature stretchy, moldable texture, so don’t skip this ingredient.
- In a separate small bowl or measuring cup, combine 1.5 cups of warm (not hot) water with 2-3 teaspoons of food coloring if desired. Gel food coloring works better than liquid food coloring because it’s more concentrated and won’t make the mixture too wet. Stir until the color is completely dissolved and even throughout.
- Slowly pour the colored water mixture into the sand and cornstarch mixture while stirring constantly with a wooden spoon or sturdy whisk. Add the water gradually—you can always add more, but you can’t take it out. The mixture will start to come together and look crumbly at first.
- Continue stirring and mixing until the entire batch is evenly moistened and the color is distributed throughout. This should take about 2-3 minutes of consistent stirring. Use your hands to help mix if needed, as hands are often more effective than utensils for combining everything evenly.
- Test the consistency by squeezing a handful of the mixture. It should hold together when squeezed but fall apart when you relax your grip. If it’s too dry and crumbly, add water one tablespoon at a time. If it’s too wet and sticky, sprinkle in a bit more cornstarch and mix well.
- Once you’ve achieved the perfect consistency, add 1 teaspoon of dish soap if desired. This helps reduce static, prevents the sand from drying out as quickly, and makes it even easier to clean up. Mix thoroughly to incorporate the soap throughout the entire batch.
- If using essential oils, add 5-10 drops now and mix well. Popular scents include lavender for a calming effect, vanilla for a sweet aroma, or citrus oils for an energizing scent. The oil will disperse throughout the batch as you mix.
- For added fun and texture, fold in biodegradable glitter, small foam beads, or other safe additives at this point. Mix gently to distribute these additions evenly throughout the kinetic sand.
- Transfer the finished kinetic sand to an airtight container such as a plastic storage bin with a tight-fitting lid or a large mason jar. This prevents it from drying out and keeps it fresh for months. Label your container with the date and any special ingredients like scent or glitter.
- Let the kinetic sand sit for 24 hours in the sealed container before opening and playing with it. This resting period allows all the ingredients to fully integrate and the texture to reach its optimal consistency. When you open it the next day, it will feel even better than when you first made it.
- Before playing, knead the kinetic sand with your hands for a minute or two to fully activate it and bring out its stretchy, moldable qualities. If it seems a bit stiff after storage, add just a few drops of water and knead again until it reaches the perfect consistency.
- Store your kinetic sand in an airtight container between play sessions. It will keep for 6-12 months depending on storage conditions and how often you add water. If it dries out slightly over time, just add a few drops of water and knead thoroughly to restore the texture.
- To clean up after playtime, simply sweep or vacuum any sand that escapes—it won’t stick to surfaces like regular sand does. Wash your hands with soap and water, and you’re done! The cleanup is genuinely one of the best features of kinetic sand compared to other sensory toys.
Pro Tips
- The key to perfect kinetic sand is getting the water-to-cornstarch ratio just right. Start conservative with water and add more gradually—you can always add more, but you can’t remove it easily.
- Gel food coloring works much better than liquid food coloring because it’s more concentrated and won’t add excess moisture to your mixture. If you only have liquid food coloring, use less of it to avoid making the sand too wet.
- This recipe is completely safe for children of all ages, though adult supervision is always recommended during crafting. All ingredients are non-toxic, though kinetic sand should not be ingested in large quantities.
- If your kinetic sand becomes too dry during storage, add just one or two drops of water at a time and knead thoroughly. It’s much easier to add water than to dry it out if you add too much.
- For a fun sensory experience, add a few drops of essential oil to your kinetic sand. Lavender promotes relaxation, peppermint is energizing, and vanilla is universally loved. Always use food-grade or therapeutic-grade oils.
- Different sand types will produce slightly different textures. Fine sand creates smoother kinetic sand, while coarser sand will have a grittier feel. Experiment to find your preference!
- You can create an entire rainbow by dividing the batch into portions and coloring each with a different food coloring before mixing with the sand and cornstarch.
- Kinetic sand is perfect for sensory bins. Combine multiple colors, add small toys, and let kids explore freely. This promotes fine motor skills, creativity, and stress relief.
- Store kinetic sand away from heat sources and direct sunlight, which can cause it to dry out faster. A cool, dark closet is ideal.
- If you’re making this for someone with sensory sensitivities, you can omit the food coloring, essential oils, and glitter to create plain kinetic sand that’s purely tactile.
- Once you master the basic recipe, experiment with add-ins like tiny pom-poms, foam beads, or even edible glitter for variations. Each texture creates a unique sensory experience.