
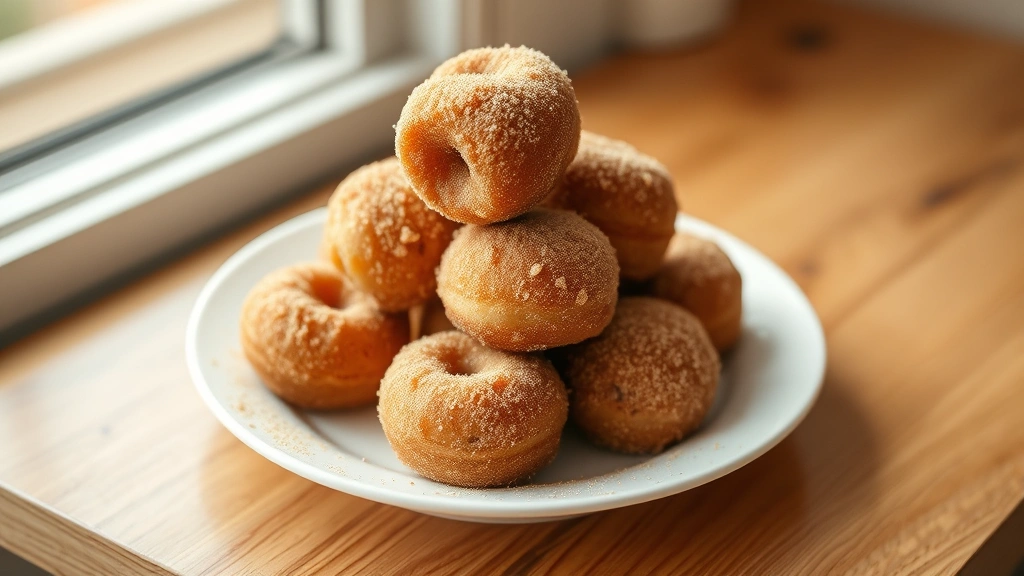
There’s something absolutely magical about homemade donut holes – they’re pillowy, tender, and infinitely better than anything store-bought. This donut holes recipe is so simple, you’ll wonder why you haven’t been making them all along! These little bites of heaven are perfect for breakfast, brunch, or an afternoon treat. The best part? They come together in just over an hour, and most of that time is rising and frying.
I absolutely love making these for my family because they’re foolproof, economical, and bring pure joy to everyone who tries them. Unlike many donut recipes that require special equipment or complicated techniques, this one uses basic ingredients you probably already have in your kitchen. We’re talking all-purpose flour, sugar, eggs, butter, and a few pantry staples. The dough is soft and forgiving, making it perfect for both beginner and experienced bakers.
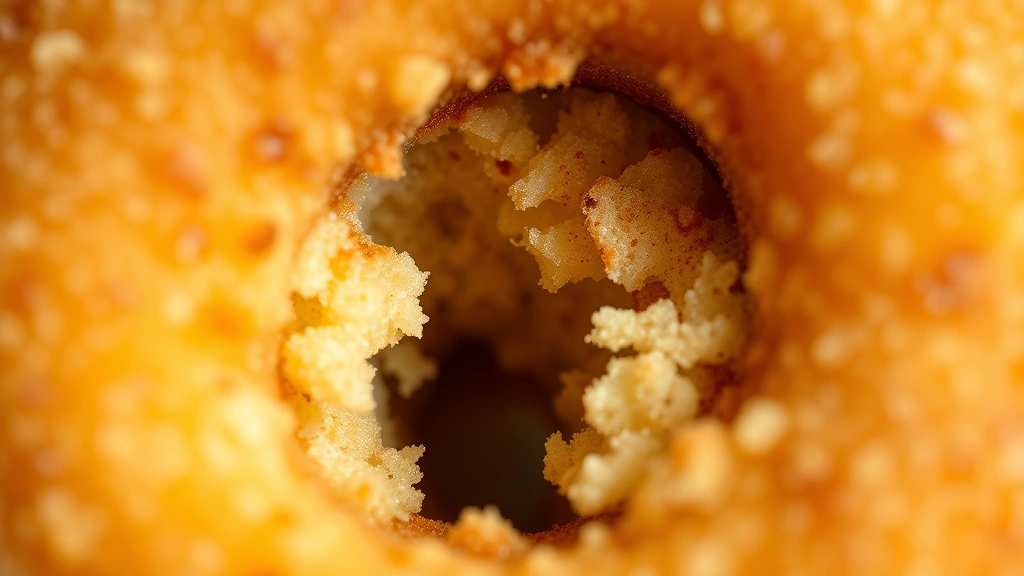
What makes these donut holes truly exceptional is the technique. We’ll use a combination of baking soda and baking powder to create that signature light, airy texture that makes you want to eat a dozen in one sitting. The dough gets a quick rise, which develops just enough flavor without requiring hours of waiting. Then comes the fun part – frying them until they’re golden brown and crispy on the outside while remaining wonderfully tender on the inside.
You can coat these in simple cinnamon sugar for a classic finish, or get creative with chocolate glaze, vanilla frosting, or even a maple glaze. I’ve included my favorite coating options in the notes section, but honestly, these are delicious plain too. They’re perfect for sharing with neighbors, bringing to potlucks, or enjoying with your morning coffee. Make a double batch because they disappear faster than you’d expect!
One of my favorite things about this recipe is how customizable it is. If you want to make old-fashioned style donut holes, simply let the dough rest a bit longer. Prefer a cake-like texture? You can adjust the liquid ratios slightly. Want to make them extra special? Try a Boston cream filling or a rich chocolate glaze. This versatile base recipe serves as your canvas for creativity.
If you’re looking for other delicious fried treats or want to explore more pastry recipes, I highly recommend checking out our collection of indulgent recipes. Whether you’re planning a special breakfast or wanting to impress guests with homemade pastries, these donut holes are an absolute crowd-pleaser. Let me walk you through every step to ensure your success!
For those wondering about the difference between cake and yeast donut holes, this recipe falls somewhere beautifully in between. We’re using a quick-rise method that gives you the tender crumb of a cake donut with subtle flavor development. It’s truly the best of both worlds. If you ever want to compare techniques, our quick and easy recipes showcase similar time-saving methods.
Ingredients
- 2 cups all-purpose flour
- 1/4 cup granulated sugar
- 2 teaspoons baking powder
- 1/2 teaspoon baking soda
- 1/2 teaspoon salt
- 1/2 teaspoon vanilla extract
- 1/4 teaspoon nutmeg, freshly grated
- 1 large egg
- 1/4 cup whole milk
- 1/4 cup buttermilk
- 2 tablespoons unsalted butter, melted
- Oil for frying (vegetable or canola oil)
- For coating: 1/4 cup granulated sugar mixed with 1 teaspoon ground cinnamon
Instructions
- In a large mixing bowl, whisk together the flour, sugar, baking powder, baking soda, salt, and nutmeg. Make sure to break up any lumps in the baking soda as you whisk.
- In a separate bowl, crack the egg and beat it lightly, then add the milk, buttermilk, melted butter, and vanilla extract. Whisk these wet ingredients together until well combined.
- Create a well in the center of your dry ingredients and pour the wet mixture into it. Gently fold the ingredients together using a spatula or wooden spoon, mixing just until the dough comes together. The dough should be slightly sticky but manageable – do not overmix as this will make the donut holes tough.
- Turn the dough out onto a lightly floured surface and gently knead it 2-3 times just to bring it together. The dough should be soft and slightly tacky. Let it rest for 10 minutes under a clean kitchen towel.
- After resting, roll the dough out to about 1/2-inch thickness on a floured surface. Using a small donut hole cutter or the large end of a piping tip, cut out circles from the dough. You should get about 24 holes.
- Gather up the scraps, gently re-roll them, and cut out additional donut holes. Place all cut donut holes on a parchment-lined baking sheet, spacing them slightly apart.
- Cover the donut holes loosely with a clean kitchen towel or plastic wrap and let them rise at room temperature for 20-30 minutes. They should puff up slightly and feel airy when you gently touch them.
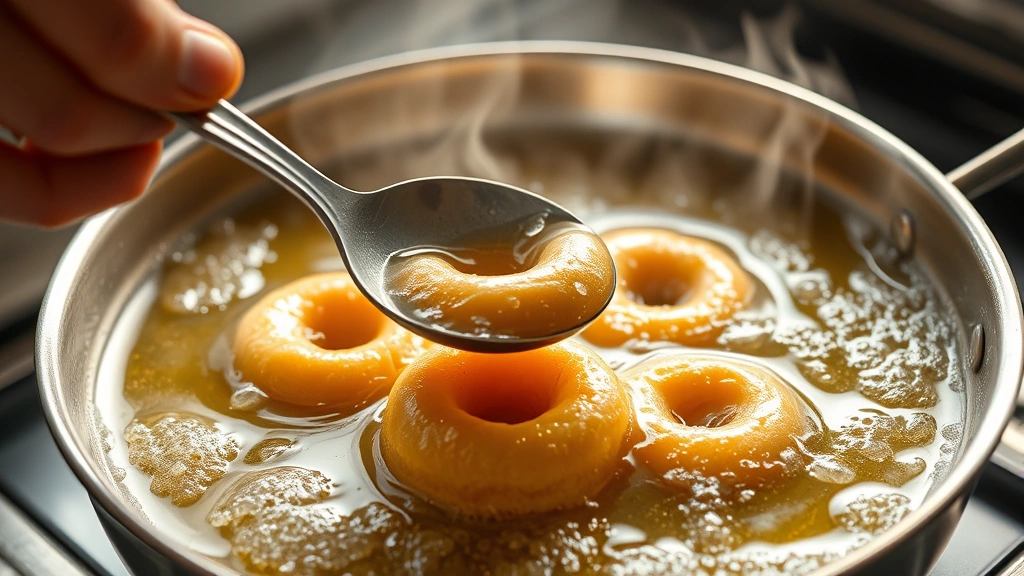
- While the donut holes are rising, prepare your oil for frying. Pour oil into a deep heavy-bottomed pot or Dutch oven to a depth of about 3 inches. Insert a candy thermometer and heat the oil to 350°F (175°C).
- Working in batches to avoid crowding the pot, carefully drop 5-6 donut holes into the hot oil using a slotted spoon. Be careful as the oil may bubble up.
- Fry for about 45-60 seconds on the first side, then use a slotted spoon or spider strainer to gently flip the donut holes over.
- Fry for another 45-60 seconds on the second side until they are deep golden brown on both sides. The total frying time should be about 90 seconds per batch.
- Using a slotted spoon or spider strainer, remove the fried donut holes from the oil and place them on a paper towel-lined plate to drain excess oil. Work quickly and carefully.
- While the donut holes are still warm, place the cinnamon sugar mixture in a shallow bowl and toss the donut holes in it until well coated. You can do this in batches as you finish frying.
- Continue frying the remaining donut holes in batches, always maintaining the oil temperature between 325-350°F (160-175°C) for best results.
- Serve the donut holes warm or at room temperature. They are best enjoyed within a few hours of making but can be stored in an airtight container for up to 2 days.
Pro Tips
- Oil temperature is absolutely critical for success. Too hot and the outside burns before the inside cooks through; too cool and they absorb excess oil and become greasy. Use a reliable candy or deep-fry thermometer and keep checking throughout the frying process.
- For chocolate-glazed donut holes, whisk together 1 cup powdered sugar, 2 tablespoons cocoa powder, 3 tablespoons milk, and 1 tablespoon melted butter until smooth. Dip warm donut holes into the glaze and let excess drip off before placing on a wire rack.
- Make a vanilla glaze by whisking together 1 cup powdered sugar, 2-3 tablespoons milk, and 1/2 teaspoon vanilla extract until you reach a dipping consistency. This is perfect for a more sophisticated presentation.
- Don’t overmix the dough. Once you combine the wet and dry ingredients, stop as soon as everything is incorporated. Small lumps are fine and will actually help create a more tender crumb.
- Buttermilk is key to this recipe as it adds tanginess and helps activate the baking soda for better rise. If you don’t have buttermilk, make a substitute by adding 1 teaspoon of lemon juice or white vinegar to regular milk and letting it sit for 5 minutes.
- For maple-glazed donut holes, combine 1 cup powdered sugar with 2 tablespoons pure maple syrup and 2 tablespoons milk. Drizzle over warm donut holes for a fall-inspired treat.
- You can make these donut holes ahead by preparing the dough the night before. Keep it covered in the refrigerator, then bring to room temperature before cutting and frying the next day.
- If you don’t have a donut hole cutter, use a melon baller or even the large end of a decorating tip. The size doesn’t need to be perfect – these rustic holes are charming!
- Store leftover donut holes in an airtight container at room temperature for up to 2 days. Refresh them by warming in a 300°F oven for about 5 minutes if they’ve dried out.
- For a savory twist, omit the cinnamon sugar coating and dust warm donut holes with grated Parmesan cheese and a pinch of garlic powder. Serve with marinara sauce for dipping.
- Nutmeg is what gives these donut holes that authentic bakery flavor. Don’t skip it – just use fresh nutmeg if possible and grate it yourself for the best taste.