
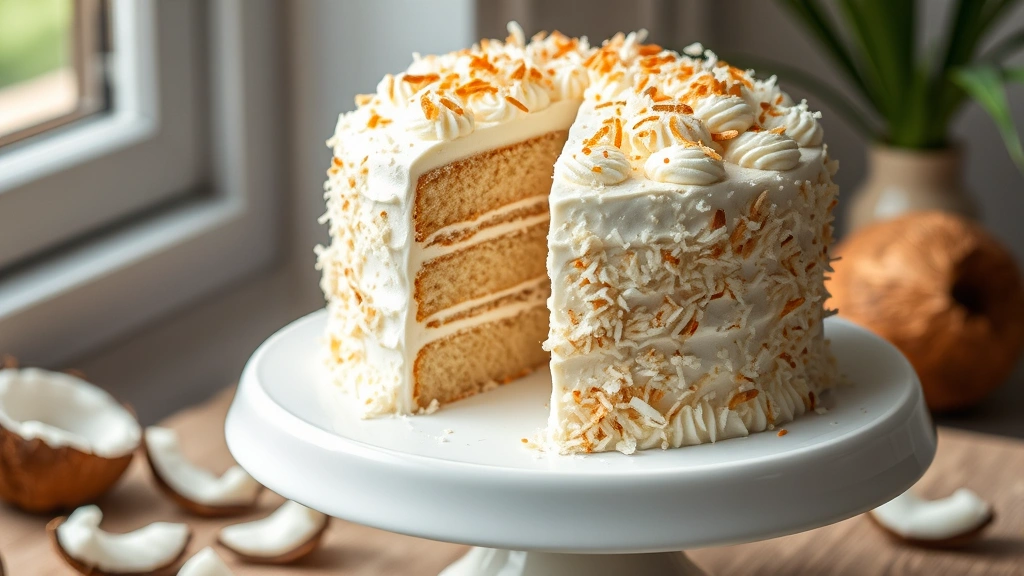
There’s something absolutely magical about a slice of coconut cake—it’s the dessert that brings people together and makes every celebration feel extra special. This easy coconut cake recipe is everything you want in a homemade dessert: moist, fluffy, and bursting with coconut flavor from every single bite. What I love most about this recipe is that it doesn’t require any fancy techniques or hard-to-find ingredients. You probably already have everything you need in your kitchen right now.
I’ve been making cakes for years, and I can tell you with absolute confidence that this is the one recipe that never fails to impress. The secret lies in using both shredded coconut and coconut milk in the batter, which creates an incredibly tender crumb and authentic coconut flavor that you just can’t achieve any other way. The frosting is equally simple but absolutely divine—a creamy coconut buttercream that’s perfectly sweet and pairs beautifully with the cake layers.
What makes this recipe truly special is that it’s designed for real home bakers. You don’t need professional equipment or years of baking experience. This cake comes together in about thirty minutes of hands-on time, and the result looks like you spent all day in the kitchen. Your family and friends will be asking for the recipe, I promise you that. Whether you’re baking this for a birthday, a special occasion, or just because it’s Friday, this easy coconut cake recipe is about to become your new favorite.
I always tell people that baking should be joyful and achievable, and this recipe embodies that philosophy perfectly. The combination of vanilla cake with coconut creates something that feels both comforting and elegant. Serve it with fresh berries, or keep it simple with just the frosting and toasted coconut on top. Either way, you’re in for an absolute treat. For more cake inspiration, check out our collection of favorite recipes, and don’t miss our tips on creating the perfect texture in your baked goods.
One of the things I appreciate most about this recipe is its versatility. You can make it ahead of time, freeze the layers, and assemble it when you’re ready. You can also easily adapt it to your preferences—add a splash of rum if you want an adult version, or keep it family-friendly as written. The frosting can be made thicker or thinner depending on how you like it, and you can adjust the amount of toasted coconut on the outside to suit your taste. This flexibility makes it perfect for any occasion.
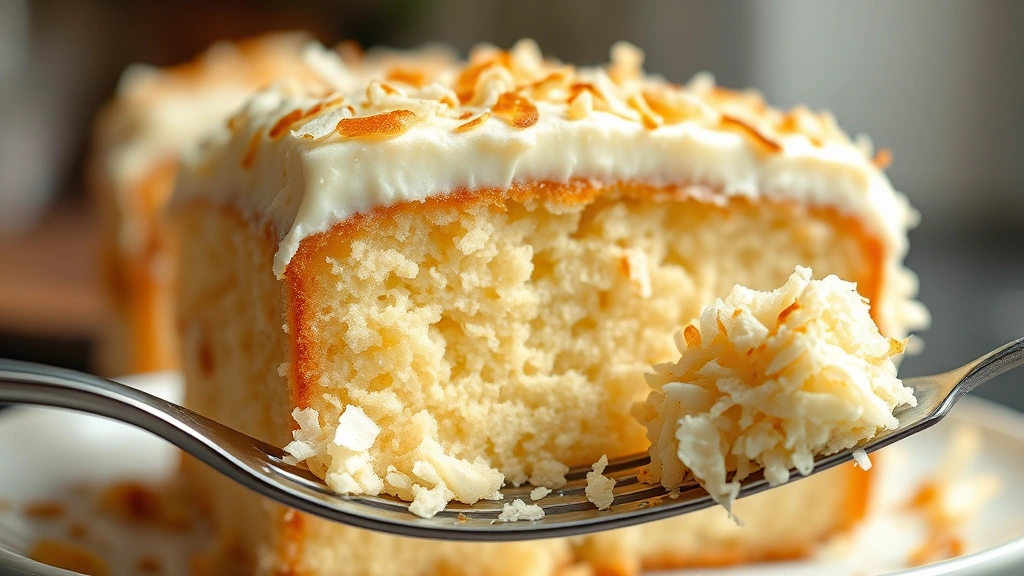
Let me walk you through exactly what to expect when you make this cake. The batter comes together quickly with simple mixing—no need for a stand mixer, though it certainly helps. The cake rises beautifully in the oven, and your kitchen will smell absolutely incredible. When it’s done baking, you’ll have gorgeous golden layers that are moist and tender. Then comes the fun part: frosting and decorating. This is where you can really have fun and make it your own. For additional inspiration on creating beautiful desserts, visit our guide on working with different ingredients.
The beauty of this recipe is that it’s forgiving. Even if your layers aren’t perfectly level or your frosting isn’t perfectly smooth, the result is still absolutely delicious and beautiful. That’s the mark of a truly great recipe—one that works for bakers of all skill levels. I’ve had complete beginners make this cake and absolutely nail it. I’ve also seen experienced bakers make it and love how straightforward it is. That’s what keeps me coming back to this recipe again and again.
Ingredients
- 2 3/4 cups all-purpose flour
- 1 tablespoon baking powder
- 1/2 teaspoon salt
- 1 cup (2 sticks) unsalted butter, softened
- 2 cups granulated sugar
- 4 large eggs, room temperature
- 1 cup shredded sweetened coconut
- 3/4 cup coconut milk
- 1/2 cup sour cream
- 2 teaspoons vanilla extract
- 1 teaspoon coconut extract (optional but recommended)
- 1 cup (2 sticks) unsalted butter, softened (for frosting)
- 4 cups powdered sugar
- 1/2 cup coconut milk
- 1 teaspoon vanilla extract
- 1/2 teaspoon coconut extract
- Toasted shredded coconut for garnish
Instructions
- Preheat your oven to 350°F (175°C). Grease and flour two 9-inch round cake pans, or line the bottoms with parchment paper for easier removal. Set aside.
- In a medium bowl, whisk together the flour, baking powder, and salt. Set this dry mixture aside—this is an important step that helps distribute the leavening agent evenly throughout your cake.
- In a large mixing bowl, cream together the softened butter and granulated sugar. Beat on medium-high speed for about 3-4 minutes until the mixture is light, fluffy, and pale in color. This process incorporates air into the batter, which helps your cake rise beautifully.
- Add the eggs to the butter mixture one at a time, beating well after each addition. Make sure each egg is fully incorporated before adding the next one. This ensures a smooth, even batter with no lumps.
- In a small bowl, combine the coconut milk, sour cream, vanilla extract, and coconut extract if using. Stir these together until well mixed.
- Add half of the dry ingredients to the butter mixture, beating on low speed just until combined. Be careful not to overmix at this stage.
- Add half of the coconut milk mixture, beating on low speed just until combined. Again, mix only until you don’t see streaks of flour.
- Add the remaining dry ingredients, beating on low speed just until combined.
- Add the remaining coconut milk mixture, beating on low speed just until combined. The batter should now be smooth and well mixed, but not overmixed.
- Fold in the shredded coconut by hand using a spatula, stirring gently until the coconut is evenly distributed throughout the batter.
- Divide the batter evenly between the prepared pans. Use a spatula or the back of a spoon to smooth the tops so they’re relatively level.
- Bake for 28-32 minutes, until a toothpick inserted into the center of each cake comes out with just a few moist crumbs. The tops should be golden brown and spring back when lightly touched.
- Remove the cakes from the oven and let them cool in the pans for about 10 minutes. Then turn them out onto wire cooling racks and let them cool completely, about 1-2 hours, before frosting.
- While the cakes cool, prepare the frosting. In a large mixing bowl, beat the softened butter on medium speed for about 2 minutes until creamy.
- Gradually add the powdered sugar, one cup at a time, beating on low speed until combined. Once all the sugar is added, increase the speed to medium and beat for about 2-3 minutes until fluffy.
- Add the coconut milk, vanilla extract, and coconut extract to the frosting. Beat on medium speed until the frosting reaches a spreadable consistency. If it’s too thin, add more powdered sugar. If it’s too thick, add a tiny bit more coconut milk.
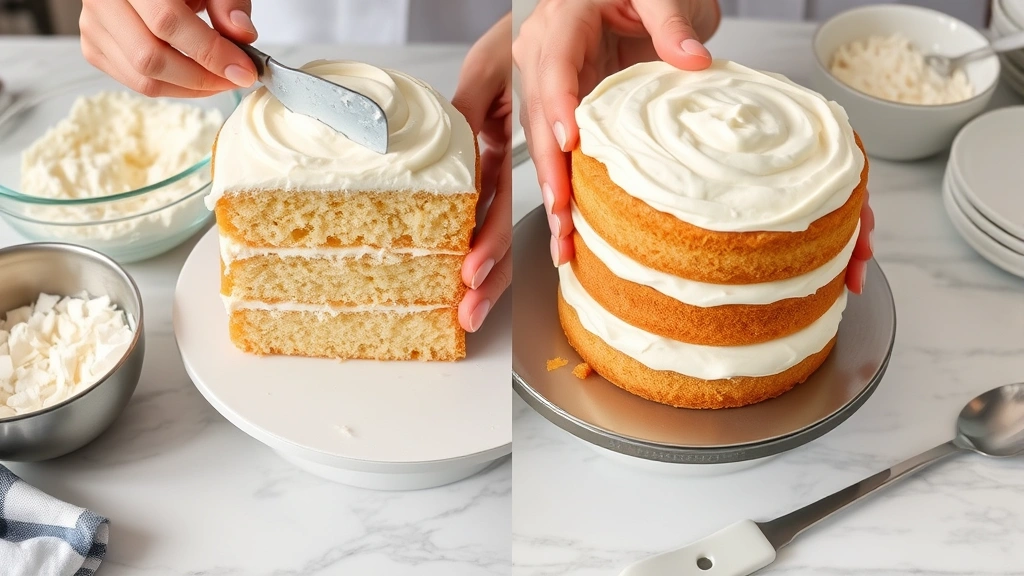
- Place the first cake layer on a cake board or serving plate. Using an offset spatula or knife, spread a generous layer of frosting on top, leaving about a half-inch border around the edge.
- Carefully place the second cake layer on top of the frosting. Press down gently so the layers are level and secure.
- Frost the top and sides of the cake with the remaining frosting. Take your time with this step and have fun making it look beautiful. You can create swirls, smooth it out, or keep it rustic—whatever you prefer.
- Press toasted shredded coconut all over the outside of the cake, covering the frosting completely. You can also sprinkle some on top for extra coconut goodness.
- Refrigerate the finished cake for at least 30 minutes before serving. This helps the frosting set and makes the cake easier to slice.
- Slice with a sharp knife, wiping the blade clean between cuts for the prettiest presentation. Serve and enjoy!
Pro Tips
Don’t Overmix: Once you add the wet and dry ingredients together, mix just until combined. Overmixing can lead to a tough, dense cake. Stop as soon as you don’t see streaks of flour.
Toast Your Own Coconut: If you want to save money and get the best flavor, buy unsweetened shredded coconut and toast it yourself in a 325°F oven for about 5-7 minutes, stirring halfway through. It makes a huge difference in flavor.
Make Ahead Options: You can bake the cake layers up to two days ahead and store them wrapped tightly in plastic wrap at room temperature. You can also freeze them for up to three months. The frosting can be made a day ahead and stored in an airtight container in the refrigerator.
Cream Cheese Variation: For a tangy twist, substitute half of the butter in the frosting with cream cheese. This creates a delicious coconut cream cheese frosting that pairs beautifully with the cake.
Frosting Consistency: The frosting should be thick enough to hold its shape but soft enough to spread easily. If your kitchen is very warm, the frosting may be too soft. Just refrigerate it for 15-20 minutes before frosting the cake.
Layering Tips: If your cake layers dome slightly on top, you can level them with a serrated knife or cake leveler before frosting. This creates a more stable, professional-looking cake. Don’t worry if you’re not perfect at this—a little imperfection adds charm.
Serving Suggestions: Serve this cake at room temperature for the best flavor and texture. It’s delicious on its own, but you can also serve it with fresh berries, whipped cream, or a tropical fruit salad. A glass of cold milk or coffee pairs perfectly with a slice.
Storage: Store the finished cake covered at room temperature for up to two days, or in the refrigerator for up to four days. You can also freeze the whole frosted cake for up to one month—just wrap it well in plastic wrap and foil.
Pingback: Easy Ground Turkey and Pasta Skillet Recipe – Simple Recipe Finder