
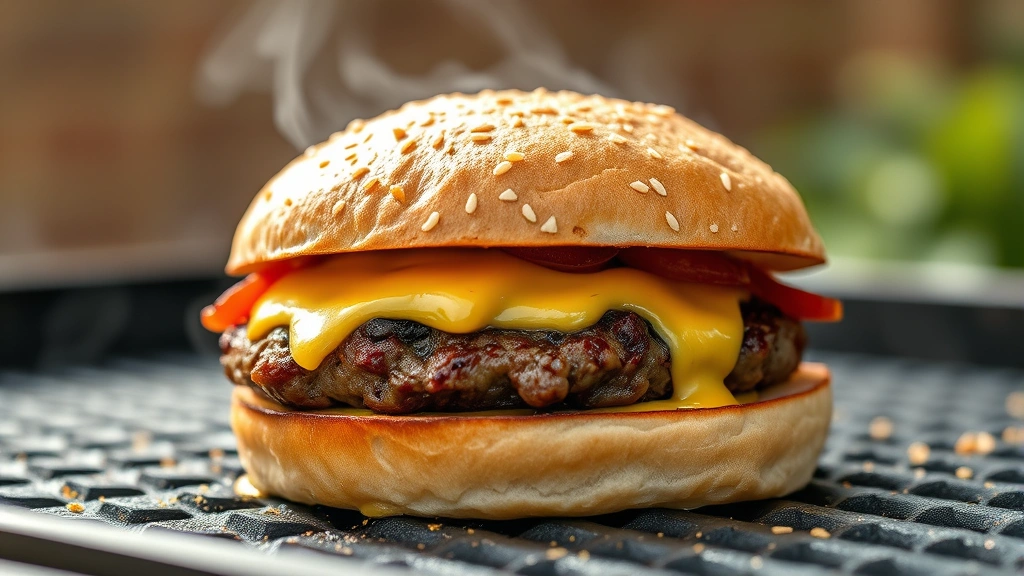
There’s something absolutely magical about a burger cooked on a flat top grill. The sizzle, the crust, the way the cheese melts perfectly into every crevice—it’s pure comfort food heaven. I’ve been making burgers on my flat top grill for years, and I’m thrilled to share my secrets with you today.
Flat top grills are incredible for burger cooking because they create an even cooking surface that allows for perfect crust development while keeping the interior juicy and tender. Unlike traditional grill grates, a flat top gives you complete control over the heat distribution, which means no more hot spots or undercooked centers. The key to the best flat top grill burger is starting with quality ground beef, not overworking it, and using the smash technique at just the right moment.
This recipe has become legendary at our backyard gatherings, and honestly, it’s so simple that anyone can master it. I love the caramelization you get on a flat top—those crispy, golden edges are what burger dreams are made of. Whether you’re cooking for a casual weeknight dinner or hosting a summer cookout, these burgers will absolutely steal the show. The beauty of flat top cooking is that you can make multiple burgers simultaneously, so feeding a crowd becomes easy and fun.
I always recommend investing in a quality flat top grill if you love burgers as much as I do. The grilling techniques you’ll develop will elevate your entire outdoor cooking game. For more inspiration on beef recipes, check out my collection. You might also enjoy learning about comfort food classics that pair perfectly with these burgers. I’ve also created a guide on outdoor entertaining that includes burger bar ideas, and you’ll definitely want to explore my summer grilling collection for side dishes.
For additional inspiration, check out Bon Appétit’s smash burger technique or Serious Eats’ burger guide. The New York Times smashed burger recipe is also worth exploring. You might also find Bon Appétit’s classic burger interesting, and Serious Eats’ detailed smash burger analysis is incredibly detailed.
Ingredients
- 1 pound ground beef (80/20 blend, cold)
- 1 teaspoon kosher salt
- ½ teaspoon freshly ground black pepper
- ¼ teaspoon garlic powder
- ¼ teaspoon onion powder
- 4 slices American cheese (or your favorite melting cheese)
- 4 hamburger buns, lightly buttered
- 2 tablespoons unsalted butter, divided
- 4 slices tomato
- 4 leaves crisp lettuce (iceberg or butter lettuce)
- 4 tablespoons mayonnaise
- 2 tablespoons dill pickle relish
- 1 small yellow onion, thinly sliced (optional, for caramelizing)
- Kosher salt and black pepper for seasoning
Instructions
- Preheat your flat top grill to medium-high heat (around 375-400°F). Allow it to heat for at least 10 minutes so the surface is evenly hot. While the grill preheats, prepare all your ingredients and set them within arm’s reach—this is crucial because flat top burger cooking moves quickly.
- Remove the ground beef from the refrigerator and gently divide it into 4 equal portions (about 4 ounces each). Using your hands, lightly form each portion into a loose ball—do not pack it tightly or overwork the meat, as this will result in dense, tough burgers. Make a small indent in the center of each patty with your thumb; this prevents the burger from puffing up during cooking.
- Test the flat top temperature by sprinkling a few drops of water on the surface—they should sizzle immediately and evaporate. This indicates the grill is ready. If you’re making caramelized onions, add 1 tablespoon of butter to one side of the grill and cook the sliced onions over medium heat, stirring occasionally, for 8-10 minutes until they’re golden and sweet.
- Place all 4 burger patties on the hottest part of the flat top grill, spacing them about 2 inches apart. Season the tops generously with kosher salt and freshly ground black pepper. Let them cook undisturbed for about 2-3 minutes—resist the urge to move them around. You should hear a satisfying sizzle.
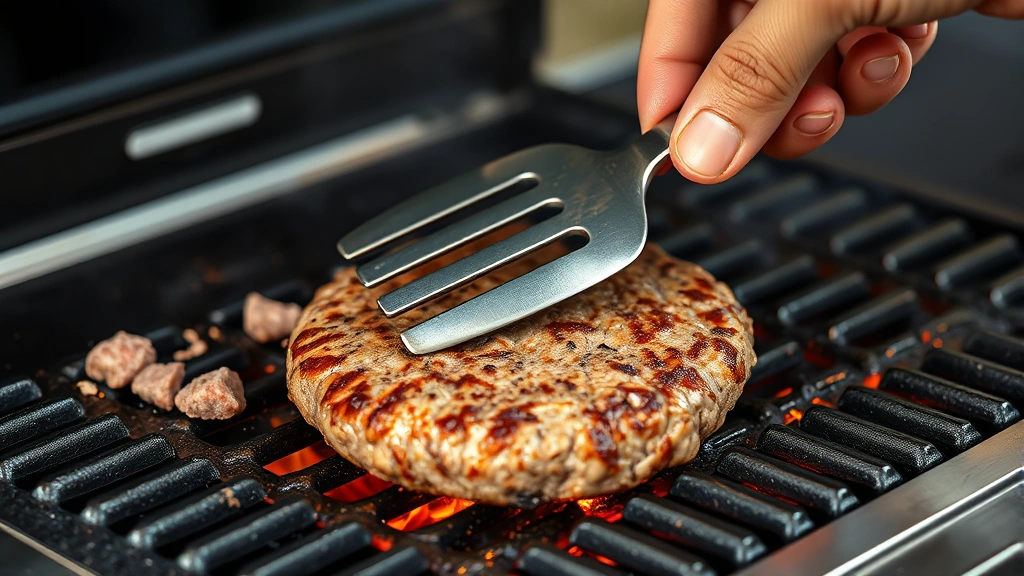
- Using a sturdy flat spatula, firmly press down on each burger patty for about 30 seconds, applying steady pressure. This smashing technique creates those beautiful, crispy edges and helps develop the crust. This is the signature move that makes flat top burgers so incredible—don’t skip this step.
- Continue cooking the smashed patties for another 1-2 minutes without moving them, allowing the crust to deepen and caramelize. You should see the edges becoming dark and crispy, and you’ll notice the meat starting to release from the grill surface.
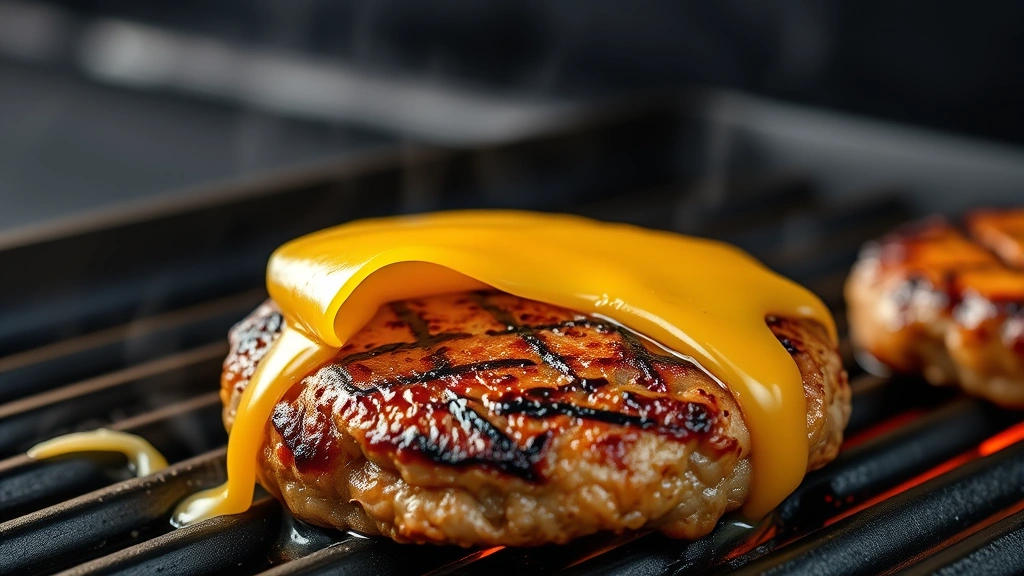
- Using your flat spatula, carefully flip each burger patty in one smooth motion. Season this side with salt and pepper as well. Cook for about 1-2 minutes on the second side, then top each patty with a slice of American cheese.
- Add a small dollop of butter to the flat top next to each burger, or place a small piece directly on top of the cheese. This adds richness and helps the cheese melt beautifully. Cover each burger loosely with a metal dome or makeshift cover (even a baking sheet works) for about 30-45 seconds to trap the heat and melt the cheese completely.
- While the burgers finish cooking and the cheese melts, lightly butter the cut sides of your hamburger buns and place them on a less-hot section of the flat top or a separate grill area. Toast them for about 1-2 minutes until they’re golden and slightly crispy. Watch them carefully so they don’t burn.
- Remove the toasted buns from the grill and set them aside on a clean surface or plate. The bottom bun goes on first, lightly spread with a mixture of mayonnaise and dill pickle relish if desired.
- Using your flat spatula, carefully transfer each cheese-topped burger to the prepared bottom bun. The cheese should be completely melted and draped over the patty. If using caramelized onions, add them on top of the cheese now.
- Layer the tomato slice and crisp lettuce on top of the cheese-covered patty. Top with the buttered, toasted top bun and serve immediately while everything is warm and the cheese is still melting.
- Serve your flat top grill burgers immediately with classic sides like crispy fries, coleslaw, or a cold beverage. These burgers are best enjoyed hot and fresh off the grill.
Pro Tips
- **Ground Beef Selection**: The 80/20 blend (80% lean, 20% fat) is absolutely essential for the juiciest, most flavorful burgers. Don’t use leaner beef, as it will result in dry burgers. Keep the meat cold until the moment you cook it—this helps it hold together better during the smash.
- **The Smash Technique**: This is where flat top burgers truly shine. The smashing creates maximum surface area contact with the hot grill, resulting in incredible crust development and caramelization. A proper smash should be firm but quick—don’t press continuously, just apply pressure for about 30 seconds.
- **Cheese Selection**: American cheese is traditional because it melts beautifully and evenly, but you can absolutely use cheddar, Swiss, or pepper jack for different flavor profiles. Avoid pre-sliced cheese that contains stabilizers; opt for deli-counter sliced whenever possible.
- **Flat Top Grill Care**: Clean your flat top grill properly after each use. While it’s still warm, scrape off any residue with a grill scraper, then wipe it down with an oiled cloth. Proper maintenance ensures even heat distribution for consistent results.
- **Timing is Everything**: Flat top burgers cook quickly, so have all your toppings assembled and ready before you start cooking. The entire cooking process, from raw patty to finished burger, takes only about 8-10 minutes.
- **Customization Options**: Create a burger bar with various toppings like crispy bacon, sautéed mushrooms, pickles, jalapeños, different cheeses, and specialty sauces. Let guests customize their own burgers.
- **Temperature Control**: If your burgers are cooking too fast or too slow, adjust the flat top temperature slightly. It should take about 3-4 minutes total cooking time for a medium burger. Use an instant-read thermometer to check doneness: 160°F for well-done, 155°F for medium, 145°F for medium-rare.
- **Resting**: Unlike thick steaks, these thin smashed burgers don’t need resting time. Serve them immediately for the best experience when the cheese is still actively melting.
- **Make-Ahead Tip**: You can form the burger patties a few hours in advance and store them on a parchment-lined plate in the refrigerator. This actually helps them hold together better during cooking.
- **Batch Cooking**: The beauty of a flat top is that you can cook multiple burgers simultaneously. Most standard flat tops can accommodate 6-8 burgers comfortably, making this perfect for entertaining.