
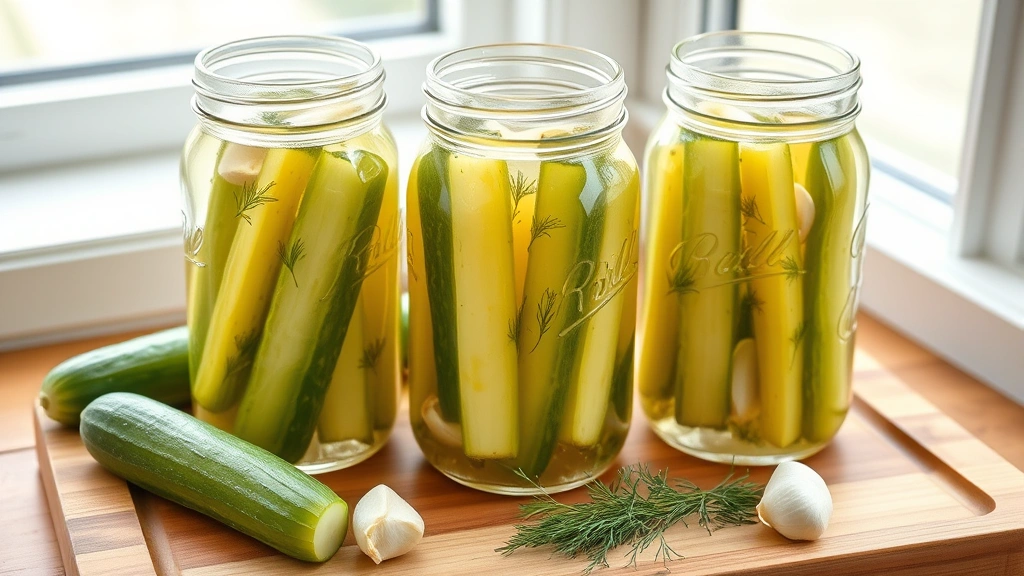
There’s nothing quite like the satisfaction of opening your refrigerator and seeing jars of crispy, tangy fridge pickles staring back at you. Not only are homemade pickles absolutely delicious, but they’re also incredibly easy to make without any canning equipment or special skills. This fridge pickles recipe is perfect for beginners and seasoned home cooks alike, delivering restaurant-quality results in just a few simple steps.
What makes fridge pickles so special is their fresh, bright flavor and perfect crunch. Unlike traditional canned pickles that require a water bath canner and sterilized jars, fridge pickles are quick-pickled and stored in your refrigerator, making them ready to eat in just 24 hours. The beauty of this method is that you can customize every aspect—from the vegetables you choose to the spices and herbs you add. Whether you prefer dill, garlic, hot peppers, or a combination of flavors, this recipe is incredibly flexible.
I’ve been making fridge pickles for years, and I’ve perfected the ratio of vinegar to water to sugar to create the ideal balance of tangy, sweet, and savory. The key to achieving that perfect crunch is using fresh, firm vegetables and keeping them submerged in the brine. The pickling liquid itself is simple but mighty—a combination of white vinegar, water, salt, sugar, and aromatics that transforms ordinary cucumbers (or other vegetables) into something truly extraordinary.
One of my favorite things about this recipe is how versatile it is. You can use it with chickpeas for a unique salad topping, or pickle shishito peppers for a spicy kick. These pickles are perfect as a side dish, a condiment for sandwiches, or a crunchy addition to charcuterie boards. You can also serve them alongside rich dishes like creamy alfredo sauce to cut through the richness with their bright acidity.
The process is straightforward: prepare your vegetables, make the pickling brine, combine everything in clean jars, and let the magic happen in your fridge. Within 24 hours, you’ll have perfectly pickled vegetables that will last for weeks. This recipe is not only delicious but also a wonderful way to preserve seasonal vegetables and experiment with different flavor combinations. Whether you’re new to pickling or looking to refine your technique, this fridge pickles recipe will become a staple in your kitchen.
Ingredients
- 2 pounds fresh cucumbers (pickling varieties work best), cut into spears or rounds
- 4 cloves fresh garlic, peeled and halved
- 2 tablespoons fresh dill (or 1 tablespoon dried dill)
- 1 teaspoon black peppercorns
- 1/2 teaspoon red pepper flakes (optional, for heat)
- 2 bay leaves
- 1 cup white vinegar (5% acidity)
- 1 cup water
- 2 tablespoons granulated sugar
- 1 tablespoon pickling salt (or kosher salt)
- Optional additions: 1 teaspoon mustard seeds, 1/2 teaspoon celery seeds, 2-3 fresh thyme sprigs, or 1 teaspoon turmeric
Instructions
- Start by thoroughly washing your cucumbers under cool running water, rubbing them gently with your hands to remove any dirt or debris. Pat them completely dry with paper towels—removing excess moisture is crucial for achieving that signature crunch.
- Cut the cucumbers into your desired shape: spears (lengthwise cuts), rounds (cut into circles), or leave small pickling cucumbers whole if using them. Trim off the blossom end of each cucumber, as it contains an enzyme that can cause softening.
- Prepare your clean glass jars by rinsing them thoroughly with hot water. You can use any clean glass jars—pint jars, quart jars, or even mason jars work perfectly for fridge pickles.
- Divide the garlic cloves, fresh dill, peppercorns, red pepper flakes (if using), and bay leaves evenly among your jars, placing them on the bottom and sides.
- Pack the cucumber spears or rounds tightly into the jars, standing them upright. Fill the jars until the cucumbers reach about 1 inch from the top of the jar, being careful not to crush them.
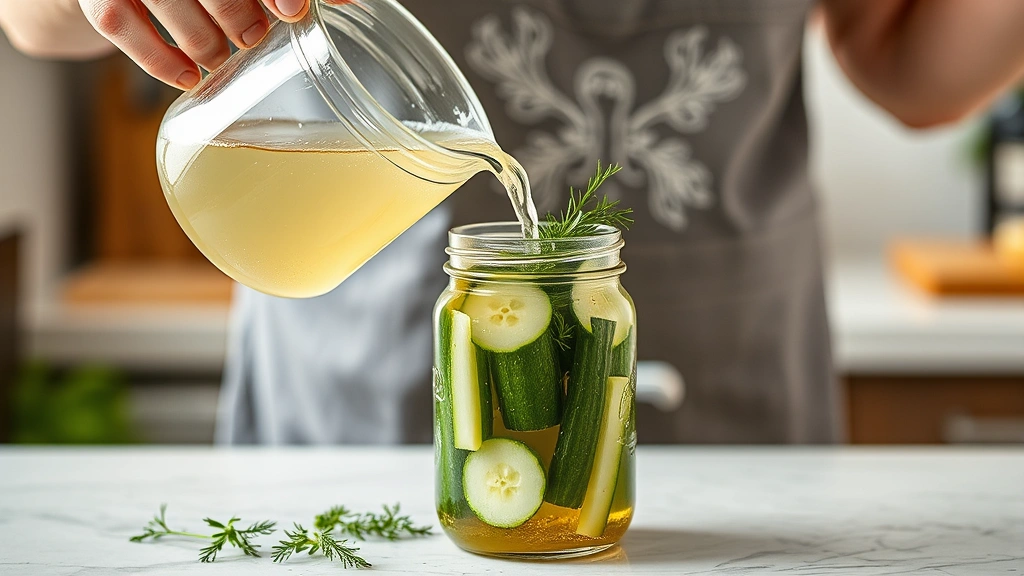
- In a small saucepan, combine the white vinegar, water, granulated sugar, and pickling salt. Bring the mixture to a boil over medium-high heat, stirring occasionally to dissolve the sugar and salt completely.
- Once the brine reaches a rolling boil and the sugar and salt are completely dissolved (about 3-5 minutes), remove it from the heat and let it cool for 2-3 minutes.
- Carefully pour the hot brine over the cucumbers in each jar, filling them to about 1/2 inch from the top. Make sure all the cucumbers are completely submerged in the brine—any vegetables exposed to air may become soft or develop mold.
- If any cucumbers are floating above the brine, weigh them down using a small glass weight, a clean fermentation lid, or even a small clean glass jar filled with water placed inside the larger jar.
- Allow the jars to cool to room temperature on your countertop for about 30 minutes, then cover them with clean lids or plastic wrap.
- Place the jars in your refrigerator and allow them to chill for at least 24 hours before opening. This resting time allows the flavors to fully develop and the cucumbers to absorb the pickling brine.
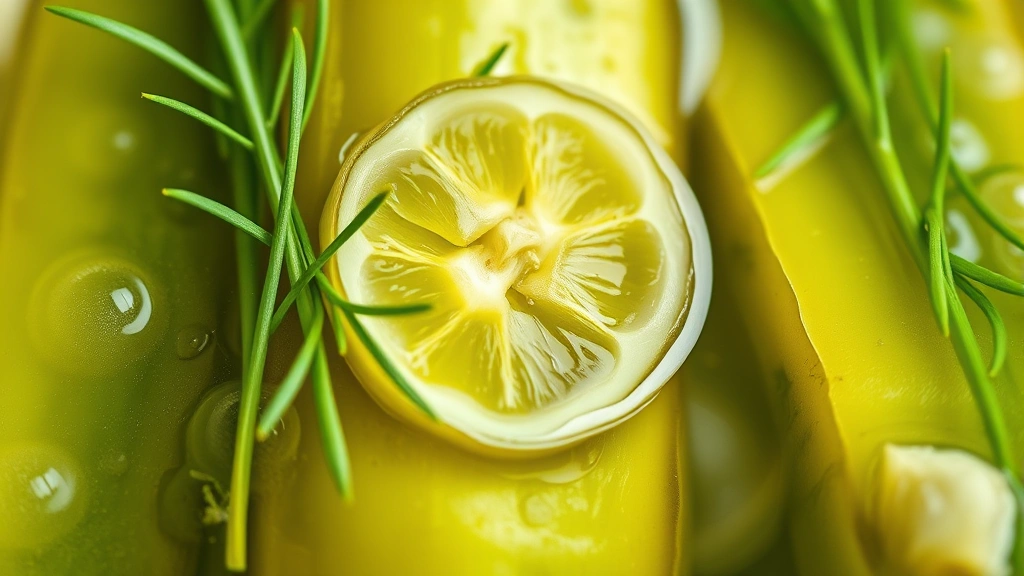
- After 24 hours, your fridge pickles are ready to eat! They’ll be perfectly crisp and flavorful, with a beautiful balance of tangy vinegar, fresh herbs, and aromatic spices.
- Store your fridge pickles in the refrigerator for up to 4-6 weeks, keeping them submerged in the brine. The longer they sit, the more flavorful they become, so don’t hesitate to make them ahead of time.
Pro Tips
- Cucumber Selection: Choose firm, fresh pickling cucumbers (like Kirby or other small varieties) rather than slicing cucumbers. Pickling varieties have fewer seeds and thinner skins, making them ideal for this recipe. If you can’t find pickling cucumbers, use the smallest, firmest regular cucumbers you can find.
- Removing the Blossom End: The blossom end of the cucumber contains enzymes that can cause softening during pickling. Always trim this end off before pickling. The blossom end is the opposite end from where the stem was attached.
- Vinegar Matters: Use white vinegar or distilled vinegar with 5% acidity for the best results. Apple cider vinegar will work but will impart a different flavor. Never use homemade vinegar, as its acidity level is unknown and could compromise food safety.
- Salt Selection: Use pickling salt or kosher salt (like Diamond Crystal brand), not table salt. Table salt contains anti-caking agents that will make your brine cloudy. If using a different kosher salt brand (like Morton’s), note that it’s denser and you may need slightly less.
- Jar Sterilization: While fridge pickles don’t require the same level of sterilization as canned pickles (since they’re refrigerated), wash your jars in hot, soapy water and rinse well, or run them through a hot dishwasher cycle.
- Flavor Customization: This recipe is incredibly flexible! Try adding: fresh tarragon or basil for an herbal twist, sliced jalapeños for heat, whole cloves or allspice berries for warmth, or even a cinnamon stick for sweetness. You can also experiment by pickling other vegetables like shishito peppers using this same brine recipe.
- Keeping Vegetables Submerged: This is absolutely critical for success. Vegetables exposed to air can develop mold or soft spots. Use fermentation weights, a clean cabbage leaf, or even a smaller jar to keep everything submerged.
- Temperature Consistency: Store your pickles in a consistently cold part of your refrigerator (ideally 35-40°F). Fluctuating temperatures can affect texture and flavor development.
- Using Your Pickles: Enjoy them as a side dish, chop them for salads, use them as a condiment on sandwiches, or serve with charcuterie boards. The tangy brine is also wonderful for dressings and marinades.
- Make-Ahead Friendly: Fridge pickles are perfect for meal prep and entertaining. Make several jars at once and store them in your refrigerator for up to 6 weeks. They actually taste better after a few days as the flavors continue to develop.
- Adjusting Sweetness or Tanginess: If you prefer your pickles less sweet, reduce the sugar to 1 tablespoon. For a more tangy flavor, increase the vinegar to 1.25 cups and reduce the water to 3/4 cup. Taste and adjust to your preference.
- No Special Equipment Needed: Unlike traditional canning, this recipe requires no special equipment—just a small saucepan, clean jars, and your refrigerator. It’s truly a beginner-friendly pickling method.
- Complementary Dishes: Serve alongside rich dishes like chicken alfredo to cut through the richness with bright acidity and crunch.