
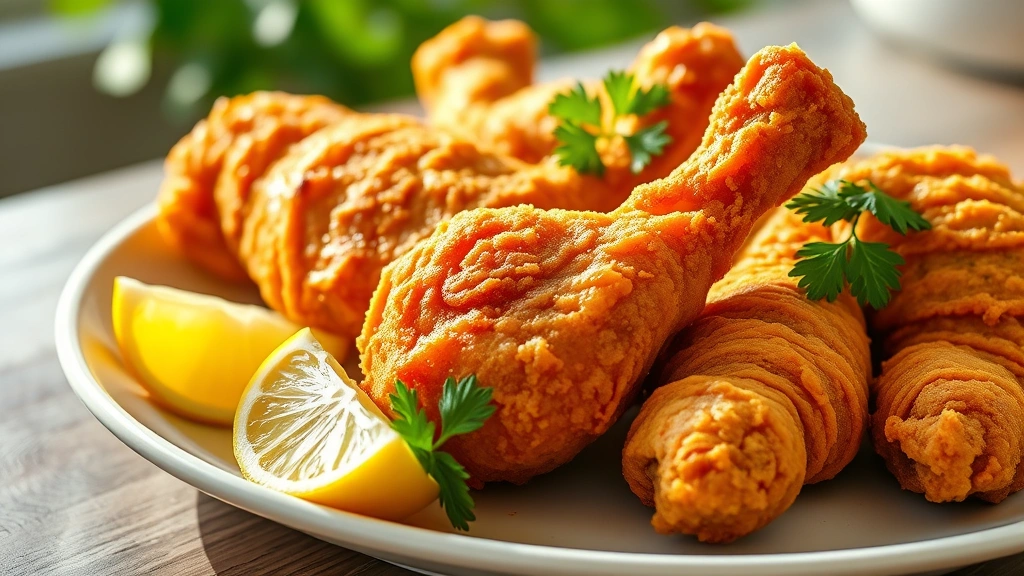
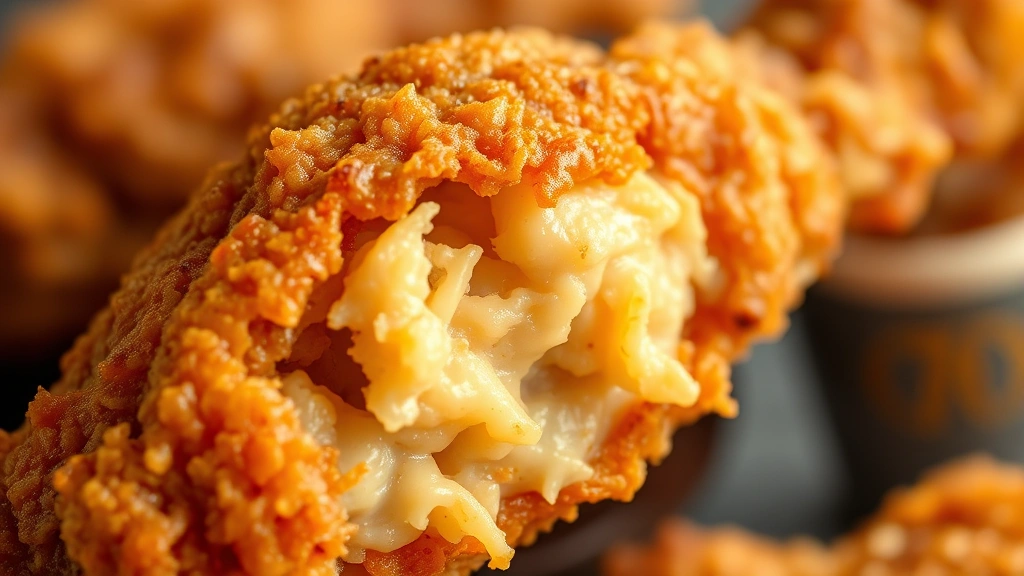
There’s nothing quite like perfectly crispy, golden fried chicken legs fresh from the oil. This classic comfort food is a staple in Southern kitchens, and for good reason—when done right, it’s absolutely irresistible. The key to achieving that coveted crispy exterior and juicy, tender meat inside lies in proper preparation, seasoning, and technique.
I’ve perfected this fried chicken legs recipe over years of experimentation, and I’m thrilled to share my foolproof method with you. Whether you’re hosting a casual family dinner or planning a backyard gathering, this recipe will have everyone coming back for seconds. The beauty of fried chicken legs is that they’re economical, forgiving, and absolutely delicious when prepared with care and attention to detail.
What makes this recipe special is the combination of a well-seasoned buttermilk marinade and a perfectly crafted flour coating. The buttermilk not only tenderizes the chicken but also helps the coating adhere beautifully during frying. I’ve also included tips for achieving maximum crispiness and ensuring your chicken stays juicy throughout cooking. This recipe serves 4-6 people and pairs wonderfully with classic sides like creamy pasta or pickled red onions for brightness.
The technique I’m sharing is restaurant-quality but incredibly approachable for home cooks. You don’t need special equipment or hard-to-find ingredients—just good chicken, quality buttermilk, and the right seasoning blend. I recommend checking out Serious Eats’ guide to frying for additional frying science, and Bon Appétit’s chicken recipes for inspiration. The result is golden, crispy fried chicken legs that rival any restaurant version.
Once you master this basic technique, you can experiment with different seasonings, spice levels, and even complementary flavor profiles. Many Southern cooks swear by adding a touch of cayenne or paprika to the flour mixture for extra depth. Others prefer keeping it simple and classic. The beauty of this recipe is its versatility—it’s a foundation you can build upon. For a complete meal, consider serving alongside fresh salads like this chickpea salad for a lighter balance.
Throughout this guide, I’ll walk you through every step, from selecting the right chicken to achieving perfect oil temperature. I’ll share my secrets for keeping the oil clean during frying, preventing soggy coating, and storing leftovers properly. Whether this is your first time making fried chicken or you’re looking to refine your technique, you’ll find valuable insights here. Let’s create some seriously delicious fried chicken legs together!
Ingredients
- 8-10 chicken legs (drumsticks and thighs), about 3-4 pounds total
- 2 cups buttermilk
- 2 tablespoons kosher salt, divided
- 1 tablespoon fresh cracked black pepper, divided
- 1 teaspoon garlic powder
- 1 teaspoon onion powder
- ½ teaspoon cayenne pepper
- 2 cups all-purpose flour
- 1 tablespoon paprika
- 1 teaspoon dried thyme
- ½ teaspoon dried oregano
- Vegetable oil or peanut oil for frying (about 2-3 quarts)
- Fresh lemon wedges for serving
- Fresh parsley for garnish (optional)
Instructions
- Pat your chicken legs dry with paper towels and place them in a large bowl or gallon-sized zip-top bag. This step is crucial because moisture on the surface of the chicken can interfere with the buttermilk marinade adhering properly.
- Pour the buttermilk over the chicken, making sure every piece is submerged and well coated. Add 1 tablespoon of kosher salt, ½ teaspoon of black pepper, garlic powder, onion powder, and cayenne pepper to the buttermilk mixture, stirring well to combine all the seasonings evenly.
- Cover the bowl or seal the zip-top bag and refrigerate for at least 8 hours, or preferably overnight. This extended marinating time allows the buttermilk’s lactic acid to tenderize the chicken while the seasonings penetrate the meat. You can marinate for up to 24 hours for even more flavor.
- When you’re ready to fry, remove the chicken from the refrigerator and let it sit at room temperature for about 15 minutes. This helps ensure even cooking throughout the chicken legs.
- In a shallow bowl or on a large plate, combine the all-purpose flour, paprika, dried thyme, dried oregano, remaining 1 tablespoon of kosher salt, and remaining ½ teaspoon of black pepper. Mix these dry ingredients thoroughly with a fork to distribute the seasonings evenly throughout the flour.
- Heat your oil to 350°F in a large, heavy-bottomed Dutch oven or deep skillet. Using a thermometer is essential here—too cool and your chicken will be greasy; too hot and the exterior will burn before the inside cooks through. Let the oil reach temperature slowly and steadily.
- Remove one piece of chicken from the buttermilk marinade, allowing excess buttermilk to drip back into the bowl. Don’t pat it dry—the moisture helps the flour coating adhere beautifully.
- Dredge the chicken piece thoroughly in the flour mixture, making sure to coat all sides, crevices, and under any skin flaps. Press the flour gently into the chicken so it adheres well. Place the coated chicken on a clean plate and repeat with remaining pieces.
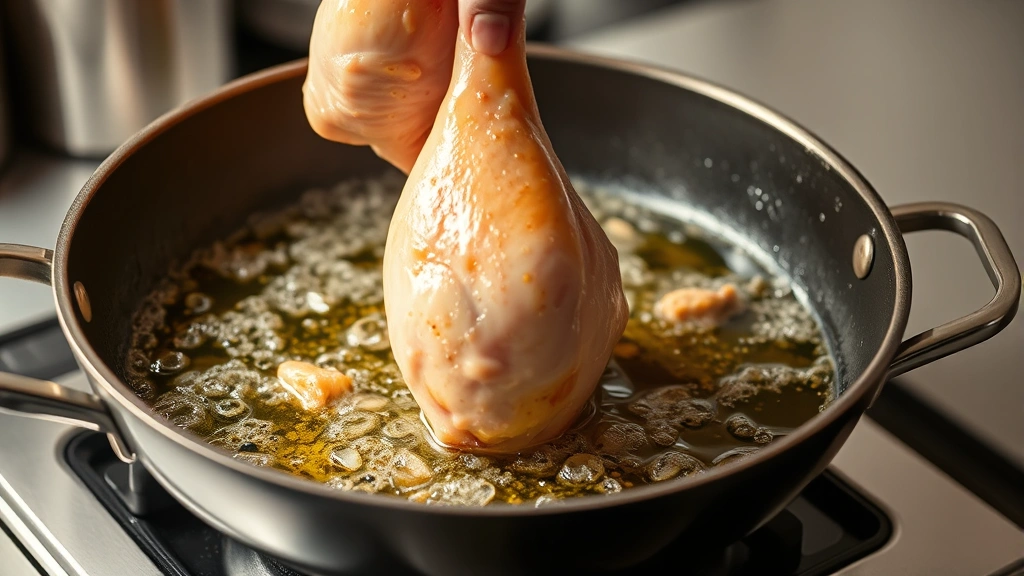
- Once all chicken pieces are coated, carefully place them skin-side down into the preheated oil. Work in batches if necessary to avoid overcrowding the pan—crowding reduces oil temperature and results in greasy chicken. Maintain that 350°F temperature throughout cooking.
- Fry the chicken undisturbed for about 12-14 minutes for drumsticks and 14-16 minutes for thighs, until the coating is deep golden brown and crispy. The exact time depends on the size of your pieces and your oil temperature, so don’t rush this step.
- Using tongs, carefully flip each piece and fry for another 8-10 minutes on the second side until that side is also deep golden brown and the internal temperature of the thickest part reaches 165°F when measured with a meat thermometer.
- Remove the cooked chicken from the oil using tongs or a slotted spoon, allowing excess oil to drain back into the pan. Transfer the chicken to a paper towel-lined plate or wire rack set over paper towels to drain.
- Let the fried chicken rest for about 5 minutes before serving. This allows the juices to redistribute throughout the meat and helps the coating set up to its crispiest texture.
- Serve the fried chicken legs hot with fresh lemon wedges, your favorite dipping sauces, and classic sides. Garnish with fresh parsley if desired for a pop of color and freshness.
Pro Tips
Buttermilk Marinade Benefits: The acidic buttermilk tenderizes the chicken while adding subtle flavor. If you don’t have buttermilk on hand, you can make a substitute by adding 2 tablespoons of lemon juice or white vinegar to 2 cups of regular milk and letting it sit for 5 minutes. However, real buttermilk produces superior results. Don’t skip the marinating time—it’s not optional for the best texture and flavor.
Oil Selection and Temperature: Vegetable oil and peanut oil are ideal for frying because they have high smoke points (around 400-450°F). Never use olive oil for frying. A reliable meat thermometer is essential for monitoring oil temperature accurately. Temperature fluctuations during cooking can be corrected by adjusting your heat, but maintain that sweet spot of 350°F as much as possible.
Flour Coating Mastery: The flour mixture is where much of your flavor comes from, so don’t skimp on seasonings. Some cooks prefer a spicier blend with additional cayenne or even smoked paprika. Others add a pinch of garlic powder and onion powder for extra savory depth. The key is achieving a coating that’s flavorful enough to taste good on its own.
Frying Technique: Never overcrowd your pan—maintain space between pieces so the oil can circulate properly. Overcrowding drops the oil temperature and traps steam, resulting in soggy coating instead of crispy. Work in batches if necessary. Don’t flip your chicken too early or too frequently. Resist the urge to poke and prod—let the coating set up and brown properly before flipping.
Maintaining Oil Quality: Use a fine-mesh strainer or slotted spoon to remove flour particles from the oil between batches. These burnt bits can affect flavor and cause the oil to break down faster. You can reuse frying oil 2-3 times if properly strained and stored in an airtight container away from light and heat.
Storage and Reheating: Leftover fried chicken can be stored in an airtight container in the refrigerator for up to 3 days. To reheat while maintaining crispiness, place pieces on a wire rack over a baking sheet and warm in a 375°F oven for about 10-12 minutes. Never use the microwave for leftovers as it makes the coating soggy. Fried chicken is also delicious served cold or at room temperature.
Serving Suggestions: Pair your fried chicken legs with classic sides like creamy coleslaw, buttermilk biscuits, collard greens, or mac and cheese. Fresh lemon wedges brighten the richness of fried chicken beautifully. Consider offering dipping sauces like ranch, hot sauce, or honey butter on the side for added interest and customization.