
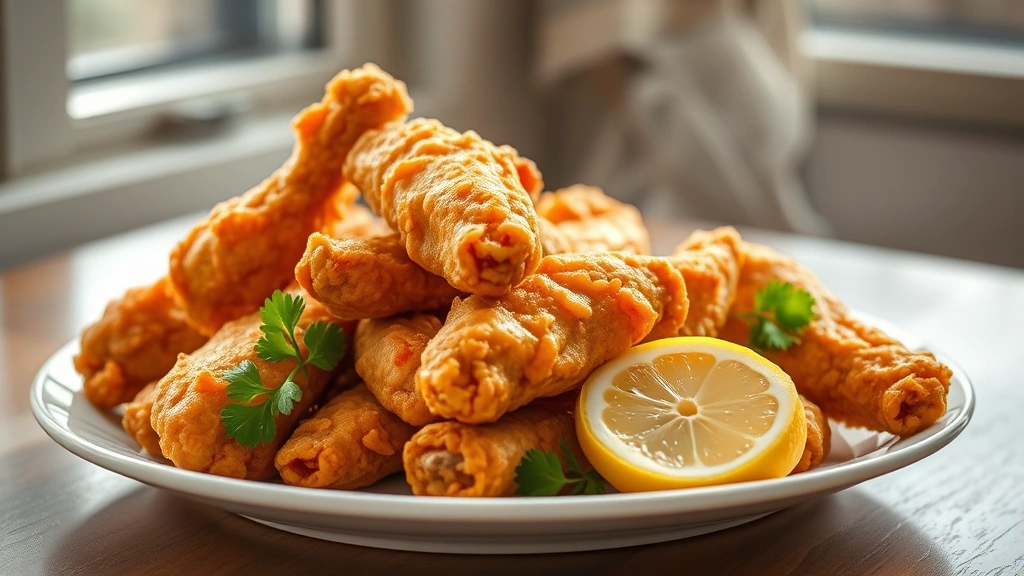
There’s nothing quite like perfectly crispy, golden fried chicken wings—they’re the ultimate comfort food that brings everyone to the table! Whether you’re hosting a game day gathering, planning a casual dinner, or just craving something absolutely delicious, this fried chicken wings recipe is about to become your new go-to.
I’ve perfected this recipe over years of experimenting, and I’m so excited to share all my secrets with you today. The key to achieving that restaurant-quality crunch while keeping the meat incredibly juicy inside is all about the preparation and technique. We’re talking about a perfectly seasoned flour coating, the right oil temperature, and some insider tips that will have your family asking for seconds (and thirds!).
This recipe uses a simple yet flavorful dry brine method that seasons the chicken from the inside out, followed by a buttermilk dredge and seasoned flour coating that creates that signature crispy exterior. I love serving these with homemade dipping sauces, crispy sides like creamy pasta dishes, or fresh salads.
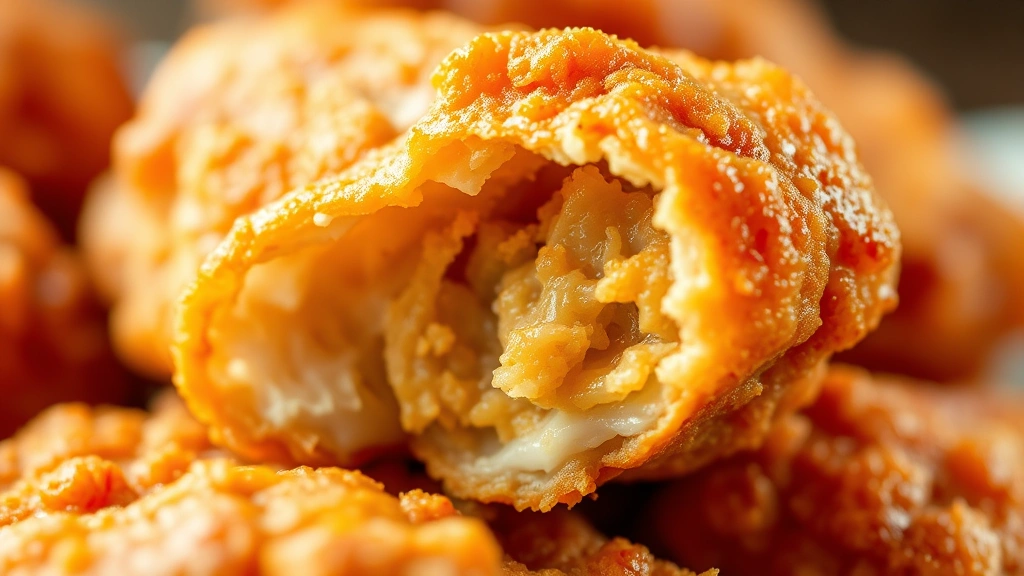
What makes these wings truly special is the attention to detail in every step. From selecting the right chicken wings to monitoring your oil temperature carefully, every element matters. The result? Wings that are golden-brown, impossibly crispy on the outside, and tender and juicy on the inside. Trust me, once you master this technique, you’ll be making these wings again and again.
If you’re looking for other crowd-pleasing chicken dishes, you might also enjoy exploring easy chicken alfredo or other creative chicken preparations. But these wings? They’re in a league of their own. Let’s get cooking!
For more inspiration on perfecting your fried chicken technique, check out Serious Eats’ fried chicken guide and Bon Appétit’s crispy fried chicken wings. You can also explore New York Times’ fried chicken recipes for additional variations.
Ingredients
- 3 pounds chicken wings, separated into flats and drumettes (about 16-18 pieces)
- 2 cups buttermilk
- 2 tablespoons kosher salt, divided
- 1 tablespoon black pepper, divided
- 2 cups all-purpose flour
- 2 tablespoons garlic powder
- 1 tablespoon onion powder
- 1 tablespoon smoked paprika
- 1 teaspoon cayenne pepper (optional, for heat)
- 1 teaspoon dried thyme
- 1 teaspoon dried oregano
- Vegetable oil for frying (about 2-3 quarts)
- Fresh parsley for garnish (optional)
- Lemon wedges for serving
Instructions
- Pat your chicken wings completely dry with paper towels—this is crucial for achieving maximum crispiness. Don’t skip this step! Moisture is the enemy of crispy skin, so take your time and ensure every wing is thoroughly dried.
- In a large bowl, combine the buttermilk with 1 tablespoon of kosher salt and ½ tablespoon of black pepper. Stir well to combine.
- Add all the dried chicken wings to the buttermilk mixture, making sure each piece is fully submerged and coated. Cover the bowl with plastic wrap and refrigerate for at least 2 hours, or up to 12 hours for even better flavor penetration.
- When you’re ready to fry, remove the chicken wings from the buttermilk and let them sit at room temperature for about 15-20 minutes. This helps them cook more evenly.
- In a large shallow dish or bowl, whisk together the flour, garlic powder, onion powder, smoked paprika, cayenne pepper, dried thyme, dried oregano, remaining 1 tablespoon of kosher salt, and remaining ½ tablespoon of black pepper.
- Heat your oil in a large, heavy-bottomed pot or deep skillet to 325°F (163°C). Use a reliable thermometer to monitor the temperature—this is essential for perfect results. The oil should reach about 2-3 inches deep.
- Working in batches to avoid overcrowding the pot, remove a few chicken wings from the buttermilk one at a time, allowing excess buttermilk to drip off back into the bowl.
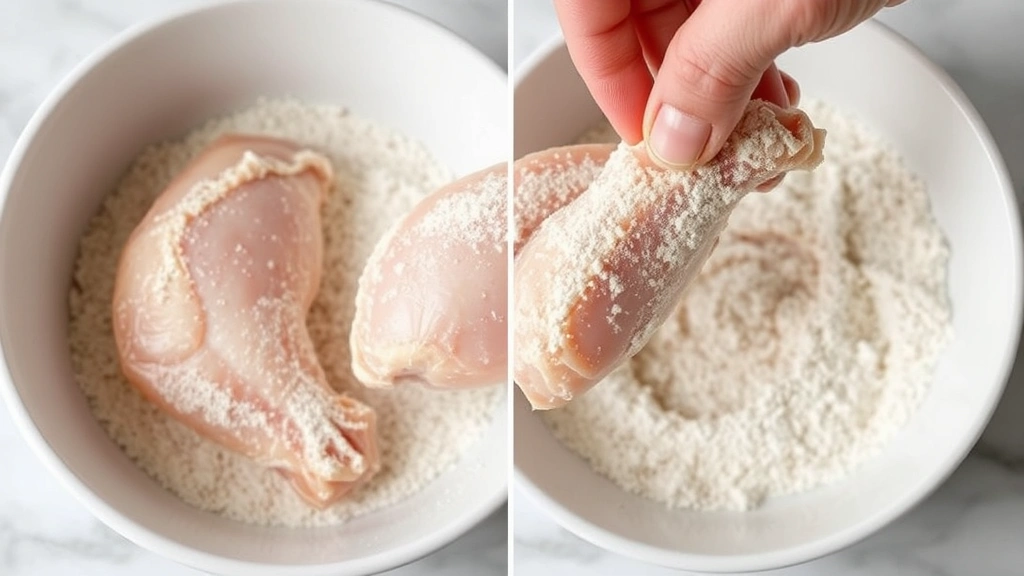
- Dredge each wing thoroughly in the seasoned flour mixture, making sure to coat all sides generously. Tap off any excess flour—you want a good coating but not a thick, clumpy one.
- Carefully place the floured wings into the hot oil, working in batches of about 6-8 pieces depending on your pot size. Don’t overcrowd the pot, as this will lower the oil temperature and result in greasy wings instead of crispy ones.
- Fry the wings for 12-15 minutes total, turning them halfway through cooking, until they’re golden brown and crispy on all sides. The internal temperature should reach 165°F (74°C) when measured with a meat thermometer in the thickest part of the wing.
- Using a slotted spoon or spider strainer, transfer the cooked wings to a paper towel-lined plate or wire rack. Season immediately with a pinch of fleur de sel or finishing salt while they’re still hot.
- Allow the oil to return to 325°F between batches before frying the next batch. This ensures consistent cooking and crispiness throughout all your wings.
- Once all wings are cooked, transfer them to a serving platter, garnish with fresh parsley if desired, and serve immediately with lemon wedges and your favorite dipping sauces. Enjoy while they’re at their crispiest!
Pro Tips
- **Oil Temperature is Everything**: This is the most critical factor in achieving crispy wings. Too hot and the outside burns before the inside cooks; too cool and you’ll end up with greasy, soggy wings. Invest in a good instant-read thermometer and monitor constantly.
- **Don’t Skip the Dry Brine**: The buttermilk soak with salt is what makes these wings so incredibly flavorful and juicy inside. The acid in the buttermilk tenderizes the meat while the salt seasons it thoroughly.
- **Batch Frying is Key**: Resist the urge to fry all the wings at once. Overcrowding the pot dramatically reduces oil temperature, which will ruin your crispy exterior. Small batches ensure perfect results every time.
- **Paper Towels Matter**: After frying, place wings on a wire rack set over paper towels rather than directly on paper towels. This allows steam to escape from the bottom, keeping them crispy longer.
- **Seasoning Variations**: Feel free to customize the flour mixture based on your preferences. Try adding Italian seasoning, Cajun spices, Old Bay seasoning, or even a touch of curry powder for different flavor profiles.
- **Make-Ahead Option**: You can prep the wings through step 3 up to 24 hours in advance. Keep them refrigerated until ready to dredge and fry. The longer they marinate, the more flavorful they become.
- **Sauce Pairing Ideas**: These wings are amazing with classic buffalo sauce, ranch dip, honey mustard, sriracha mayo, or creamy alfredo for a gourmet twist.
- **Storage Instructions**: Leftover wings can be stored in an airtight container in the refrigerator for up to 3 days. Reheat in a 375°F oven for about 8-10 minutes to restore crispiness. Avoid microwaving, which will make them soggy.
- **Oil Reuse**: Strain your cooking oil through a fine mesh strainer or cheesecloth after use. Properly strained oil can be reused 2-3 times for frying. Store in a cool, dark place.
- **Scaling the Recipe**: This recipe doubles easily! Just make sure your pot is large enough and you have sufficient oil. Never fill the pot more than halfway with oil to prevent dangerous splattering.
- **Perfect for Entertaining**: These wings are ideal for game day parties, casual gatherings, or weeknight dinners. You can prep everything ahead of time and fry just before serving for maximum freshness.
Pingback: How to make the Best Teriyaki Beef Recipe Ever! – Simple Recipe Finder