
Friendship bread starter is a beautiful heirloom tradition that creates a living, bubbling culture of sourdough magic in your kitchen! This cherished starter has been passed down through generations, and now you can create your own to share with friends and family. Unlike traditional sourdough starters that require precise timing and constant attention, friendship bread starter is remarkably forgiving and actually improves with the “feed and divide” cycle that makes sharing so special.
The magic of friendship bread starter lies in its simplicity and community spirit. You’ll start with basic pantry ingredients—flour, sugar, milk, and a bit of yeast to jumpstart the fermentation process—and within 10 days, you’ll have a bubbling, active culture ready to transform into beautiful loaves of bread. What makes this starter truly special is the built-in sharing component; the recipe naturally produces enough starter to keep some for yourself while gifting portions to friends, creating an actual “friendship” chain of bakers.
This recipe creates a sweet, mild-flavored starter that’s perfect for enriched breads and traditional friendship bread loaves. The 10-day process involves simple daily feedings and stirrings—no special equipment needed! By day 10, your starter will be at peak activity, with a wonderful yeasty aroma and visible bubbles throughout. According to Serious Eats, understanding your starter’s behavior is key to consistent baking success.
What I absolutely love about friendship bread starter is how it demystifies sourdough baking. You don’t need to be an experienced baker or have a culinary degree to maintain this culture. The straightforward feeding schedule means even beginners can create professional-quality bread. Plus, there’s something deeply satisfying about nurturing a living culture and knowing that your starter might inspire friends to become passionate home bakers too!
The beauty of this particular starter recipe is its versatility. Once you’ve established your culture, you can use it in various bread recipes, from sweet cinnamon loaves to savory artisan breads. Many bakers also enjoy maintaining multiple starters with slightly different characteristics. According to The New York Times Cooking, a well-maintained starter is the foundation of exceptional homemade bread.
I recommend starting your friendship bread starter on a day when you’ll remember to feed it daily—perhaps Monday, so you can establish a consistent rhythm. Use filtered or bottled water if your tap water is heavily chlorinated, as chlorine can inhibit fermentation. Keep your starter at room temperature (around 70-75°F is ideal) away from direct sunlight. Some bakers prefer to keep their starter in a gallon-sized glass jar, while others use smaller containers and divide more frequently. The choice is yours based on how much bread you plan to bake!
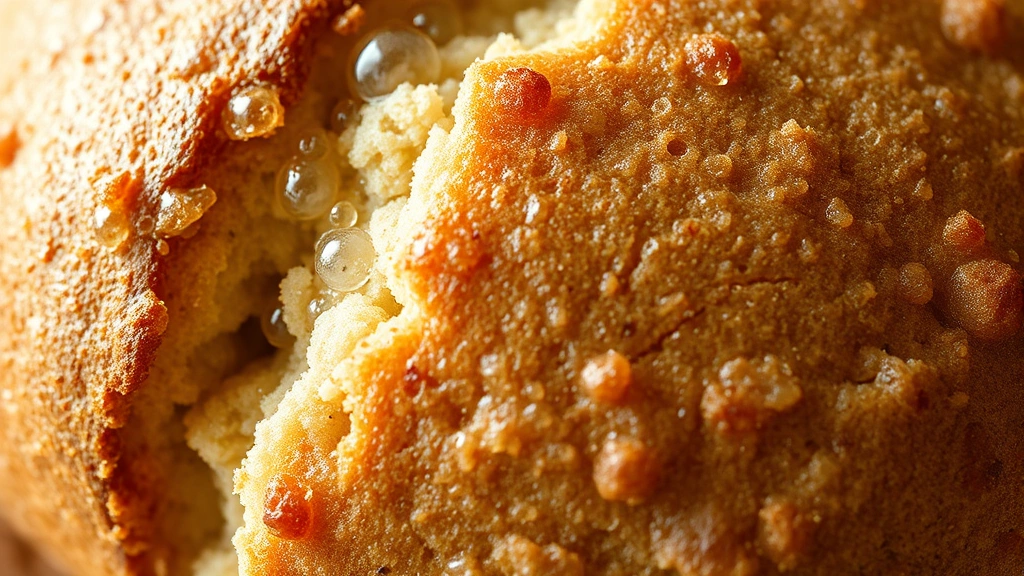
One of my favorite aspects of this journey is watching your starter develop character over time. In the beginning, you might notice some separation (liquid on top) and various aromas as the culture establishes itself. This is completely normal! By day 5 or 6, you should see consistent bubbling, and by day 10, your starter will be ready for its first use. As Bon Appétit notes, a properly maintained starter becomes more flavorful and reliable with age.
Maintaining your friendship bread starter long-term is refreshingly simple. You can keep it in the refrigerator and feed it weekly, or maintain it at room temperature with daily feedings if you bake frequently. Many bakers find a rhythm that works for their lifestyle—perhaps refrigerating during busy weeks and bringing it to room temperature when they plan to bake. The enriched dough techniques used in friendship bread baking are easier to master than you might think!
When you’re ready to share your starter with friends, include clear feeding and care instructions along with a bread recipe. This completes the “friendship” aspect of the tradition and ensures your friends have the best possible experience. It’s such a meaningful gift—you’re not just giving them starter, you’re inviting them into a baking community and sharing something you’ve nurtured with your own hands.
Remember, baking is as much about joy and community as it is about the final product. Your friendship bread starter represents connection, tradition, and the simple pleasure of creating something delicious from humble ingredients. Get ready to fill your kitchen with the most wonderful aroma of fresh-baked bread!
Ingredients
- 1 cup all-purpose flour
- 1 cup granulated sugar
- 1 cup whole milk (room temperature)
- ¼ teaspoon instant yeast or active dry yeast
Instructions
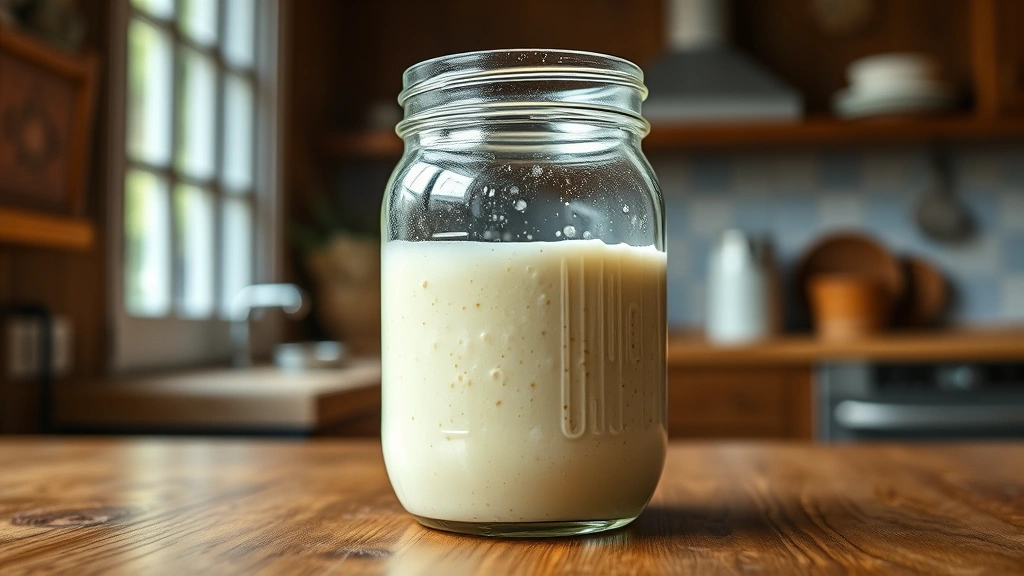
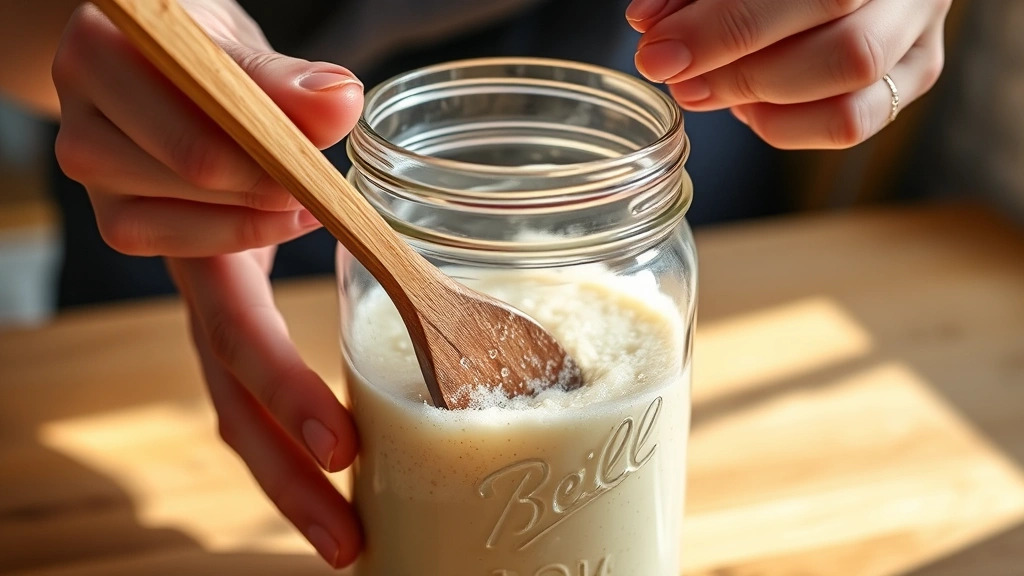
- Day 1: In a clean quart-sized glass jar, combine 1 cup flour, 1 cup sugar, and 1 cup room temperature milk. Stir well with a wooden spoon or whisk until completely combined and smooth. The mixture should resemble thick pancake batter. Cover loosely with a coffee filter, cheesecloth, or paper towel (do not seal tightly—the starter needs to breathe). Leave at room temperature (ideally 70-75°F).
- Day 2: Stir the mixture well with a clean spoon. You may not see much activity yet, which is completely normal. Cover loosely again and leave at room temperature.
- Day 3: Stir the mixture well. You might start to see some bubbles forming or notice a slightly fermented smell. This is a great sign! Cover loosely and let it continue at room temperature.
- Day 4: Stir well. The mixture should be showing more signs of fermentation with visible bubbles and a pleasant yeasty aroma. Cover loosely and continue.
- Day 5: Stir well. By now, your starter should be noticeably bubbly and active with a strong fermented smell. If you don’t see bubbles yet, ensure your room temperature is warm enough (at least 70°F). Cover loosely.
- Day 6: Stir well. Your starter should be very active and bubbly by now. Cover loosely and let it continue developing.
- Day 7: Stir the starter well. Add 1 cup flour, 1 cup sugar, and 1 cup room temperature milk to the jar. Stir until well combined. The mixture may seem less active immediately after feeding, but this is normal—you’ve just fed the hungry bacteria and yeast. Cover loosely.
- Day 8: Stir well. Your starter should start building activity again as the newly added flour and sugar are consumed by the cultures.
- Day 9: Stir well. The starter should be very active and bubbly, showing lots of fermentation activity. Cover loosely and prepare for your first use tomorrow.
- Day 10: Your friendship bread starter is now ready to use! Stir well. At this point, you can use the starter in bread recipes, or you can divide it to share with friends. If gifting, divide the starter into smaller jars (keeping at least 1 cup for yourself to maintain your culture). Include care instructions and a bread recipe with each gift. Store your portion in the refrigerator if you’re not baking immediately, or keep at room temperature if you plan to bake within 24-48 hours.
Pro Tips
- **Starter Maintenance**: After day 10, feed your starter weekly if refrigerated, or daily if kept at room temperature. A standard feeding is 1 cup flour, 1 cup sugar, and 1 cup milk stirred into your existing starter.
- **Room Temperature Matters**: Starter ferments best between 70-75°F. If your kitchen is cooler, fermentation will take longer—up to 14 days. Warmer kitchens may complete the process in 8-9 days. Avoid placing starter in direct sunlight or near heat sources.
- **Signs of Readiness**: A mature, active starter will have a pleasant yeasty aroma, visible bubbles throughout, and may develop a liquid layer on top (called “hooch”). This liquid is normal and can be stirred back in or drained off before feeding.
- **Water Quality**: If your tap water is heavily chlorinated, use filtered or bottled water, as chlorine can inhibit fermentation. Room temperature water is essential—cold water slows fermentation.
- **Jar Selection**: Use a clean glass jar that’s at least one quart in size. Glass is preferred because you can easily see the activity level. Avoid metal containers as acidic fermentation can react with certain metals.
- **Feeding Ratios**: The 1:1:1 ratio (equal parts flour, sugar, and milk) is standard for friendship bread starter. Once comfortable, you can experiment with different ratios or feed schedules.
- **Troubleshooting**: If you see pink or orange streaks, the starter has developed harmful bacteria and should be discarded. If you see fuzzy mold, discard the starter. A dark liquid on top is normal and harmless.
- **Long-Term Storage**: You can freeze portions of your starter in ice cube trays for long-term storage, or dry some on parchment paper to create “starter chips” that can be rehydrated later.
- **Gifting Guidelines**: When sharing, include written instructions for daily feeding for the first 10 days, then weekly maintenance instructions. Include a simple friendship bread recipe and encourage recipients to share their starter with others when they reach day 10.
- **Baking Frequency**: If you bake frequently (2-3 times per week), maintain your starter at room temperature with daily feedings. For occasional baking (once or twice monthly), refrigerate between uses and feed weekly.