
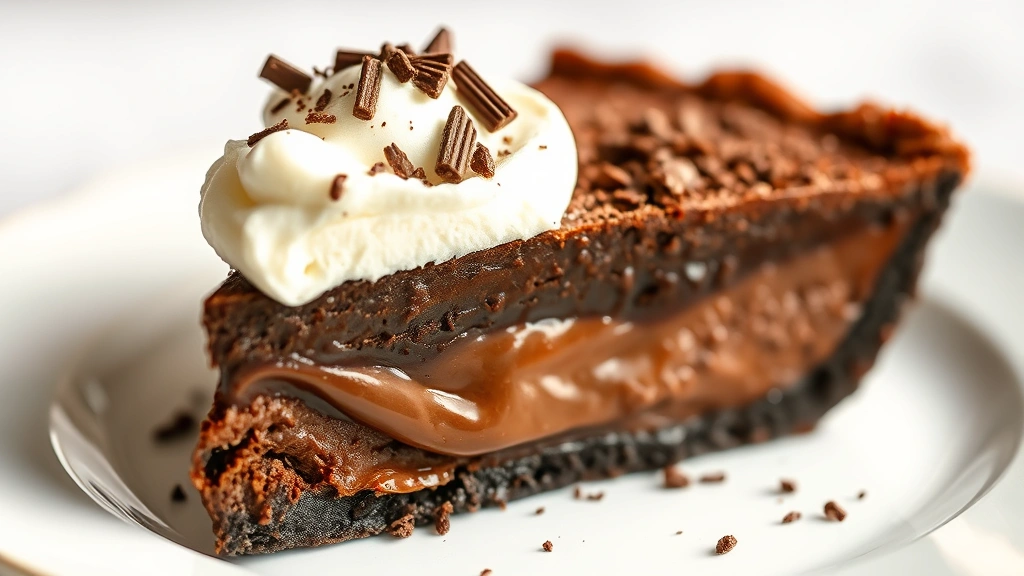
There’s nothing quite like a slice of rich, decadent fudge pie to satisfy those serious chocolate cravings. This showstopping dessert features a buttery pie crust filled with layers of fudgy goodness that’ll have everyone at your table asking for seconds. The beauty of this fudge pie recipe is that it’s surprisingly simple to make, yet looks and tastes like you spent hours in the kitchen.
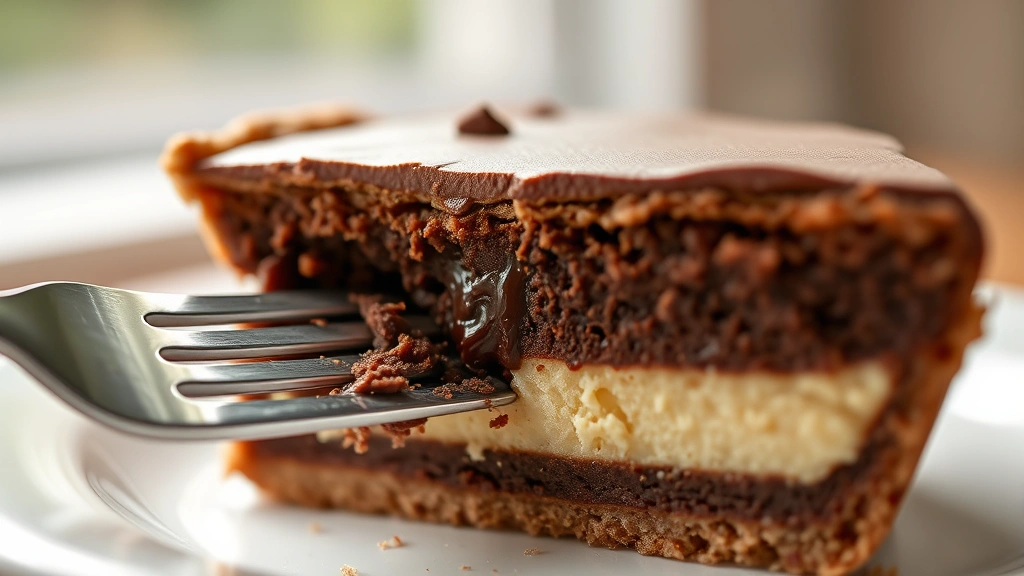
What makes this fudge pie so special is the perfect balance between the crispy, golden crust and the silky-smooth chocolate filling. The texture is pure heaven – it’s part brownie, part mousse, and entirely addictive. Whether you’re baking for a special occasion or just treating yourself to something sweet, this recipe delivers restaurant-quality results every single time.
I’ve been making variations of this pie for years, and I’ve perfected the technique to ensure you get that ideal consistency – not too dense, not too light, just perfectly fudgy. The secret lies in the baking time and temperature. You want to bake it just long enough so the edges are set but the center still has a slight jiggle. This creates that incredible texture that makes fudge pie so irresistible.
The best part? You probably have most of these ingredients in your pantry right now. No fancy equipment needed, no complicated techniques to master. Just good quality chocolate, butter, eggs, and a few other simple ingredients come together to create pure magic. Serve it warm with a scoop of vanilla ice cream or a dollop of whipped cream, and you’ve got yourself an unforgettable dessert.
This fudge pie is perfect for holiday gatherings, dinner parties, or those nights when you need chocolate therapy. Make it ahead of time – it actually tastes even better the next day. Your family will think you’re a baking wizard when you present this gorgeous, gooey pie at the table. Trust me, once you master this recipe, you’ll be making it again and again.
Ingredients
- 1 unbaked 9-inch pie crust (store-bought or homemade)
- 8 ounces semi-sweet chocolate, chopped
- 6 ounces dark chocolate, chopped
- 1 cup (2 sticks) unsalted butter
- 1 cup granulated sugar
- 1/2 cup light brown sugar, packed
- 4 large eggs, room temperature
- 1/4 cup all-purpose flour
- 1/4 cup unsweetened cocoa powder
- 1 teaspoon vanilla extract
- 1/4 teaspoon sea salt
- Pinch of espresso powder (optional, enhances chocolate flavor)
- Powdered sugar for dusting (optional)
- Whipped cream for serving
- Vanilla ice cream for serving
Instructions
- Preheat your oven to 350°F (175°C). If using a store-bought frozen pie crust, let it sit at room temperature for about 5 minutes to make it easier to work with.
- Place the chopped semi-sweet and dark chocolate in a large heatproof bowl. In a small saucepan, melt the butter over medium-low heat, then pour it over the chocolate. Let it sit for 1-2 minutes to soften the chocolate, then whisk until smooth and completely combined.
- In a separate bowl, whisk together the granulated sugar and brown sugar until well combined. Add the eggs one at a time to the sugar mixture, whisking well after each addition. This should take about 2-3 minutes total.
- Gently fold the melted chocolate mixture into the egg and sugar mixture using a spatula, stirring until just combined. Don’t overmix – you want to keep the mixture light and airy.
- In a small bowl, sift together the flour, cocoa powder, salt, and espresso powder if using. Carefully fold this dry mixture into the chocolate mixture until no streaks of flour remain, being careful not to deflate the batter.
- Stir in the vanilla extract until fully incorporated. The batter should be smooth, glossy, and slightly thick.
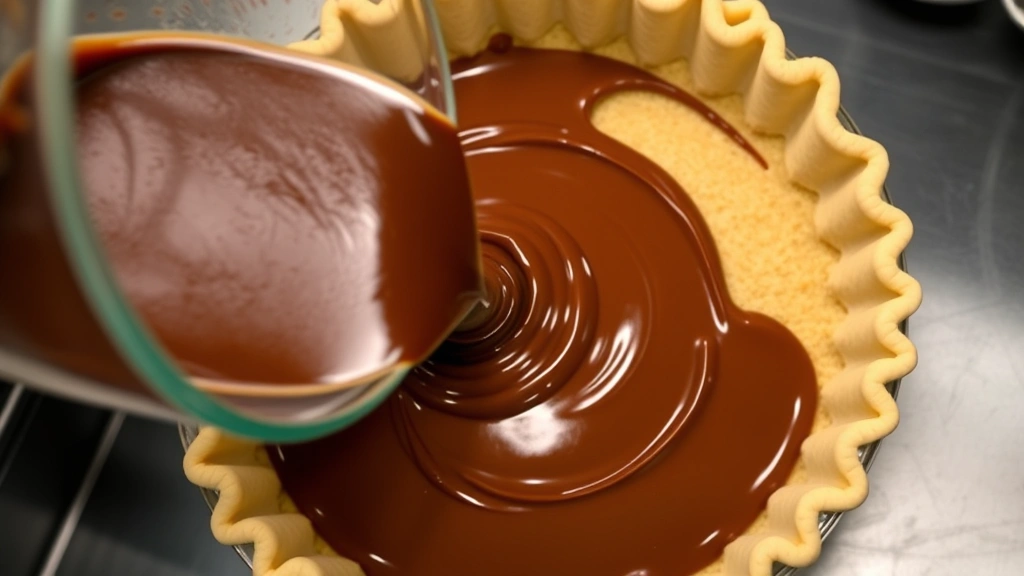
- Pour the chocolate filling into your prepared pie crust, smoothing the top with a spatula. Make sure the filling is evenly distributed.
- Bake for 28-32 minutes, until the edges are set and slightly puffed but the center still jiggles very slightly when you gently shake the pan. The top should look fudgy and slightly cracked.
- Remove the pie from the oven and let it cool on a wire rack for about 10-15 minutes. The pie will continue to set as it cools.
- Once cooled to room temperature, refrigerate for at least 2 hours, or until you’re ready to serve. The pie can be made up to 24 hours ahead of time.
- Before serving, let the pie sit at room temperature for 10-15 minutes for the best texture and flavor. Dust with powdered sugar if desired.
- Slice with a sharp knife dipped in hot water and wiped clean between cuts for clean slices. Serve with whipped cream or vanilla ice cream.
Pro Tips
Chocolate Quality Matters: Use good quality chocolate for the best results. A combination of semi-sweet and dark chocolate creates a more complex, sophisticated flavor than using just one type.
Don’t Overbake: The timing is crucial with this recipe. The pie should look slightly underdone when it comes out of the oven – it will continue to set as it cools and chills. An overbaked fudge pie will be dense and cake-like rather than fudgy.
Crust Options: If you don’t have a pie crust on hand, you can make your own with flour, butter, and salt, or use a graham cracker crust for a different flavor profile.
Storage Instructions: Cover and refrigerate the finished pie for up to 3 days. You can also freeze it for up to 2 months – just thaw overnight in the refrigerator before serving.
Serving Suggestions: This pie is delicious warm or at room temperature. Serve with vanilla ice cream for a classic combination, or top with fresh raspberries and whipped cream for a more elegant presentation.
Spice Variations: Consider adding a pinch of cinnamon, cayenne pepper, or a splash of peppermint extract to customize the flavor to your preferences.
Make Ahead: You can prepare the filling and pour it into the crust up to 4 hours ahead of time. Cover with plastic wrap and refrigerate until ready to bake. Bake as directed, adding just 2-3 minutes to the baking time since the filling will be cold.