
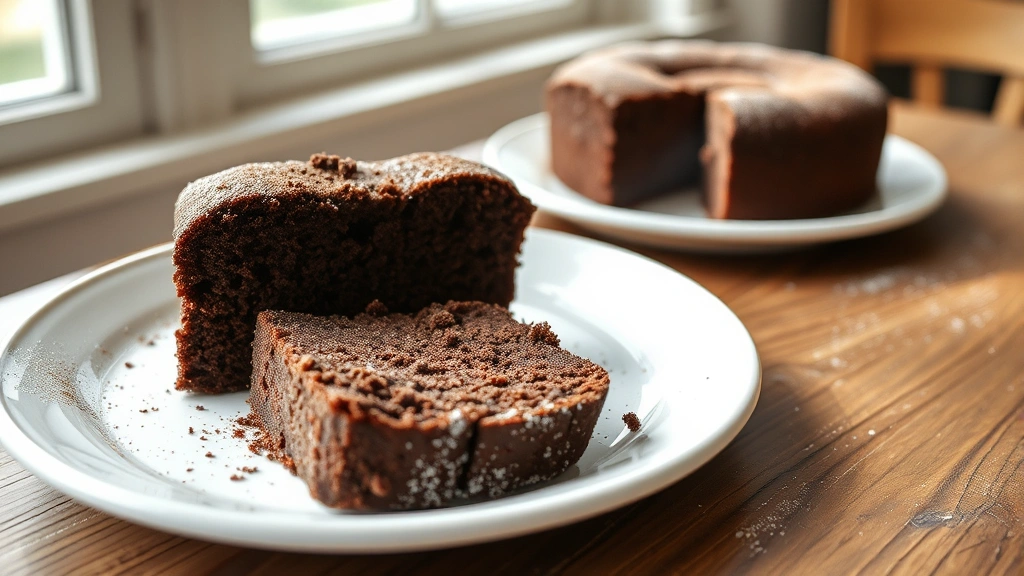
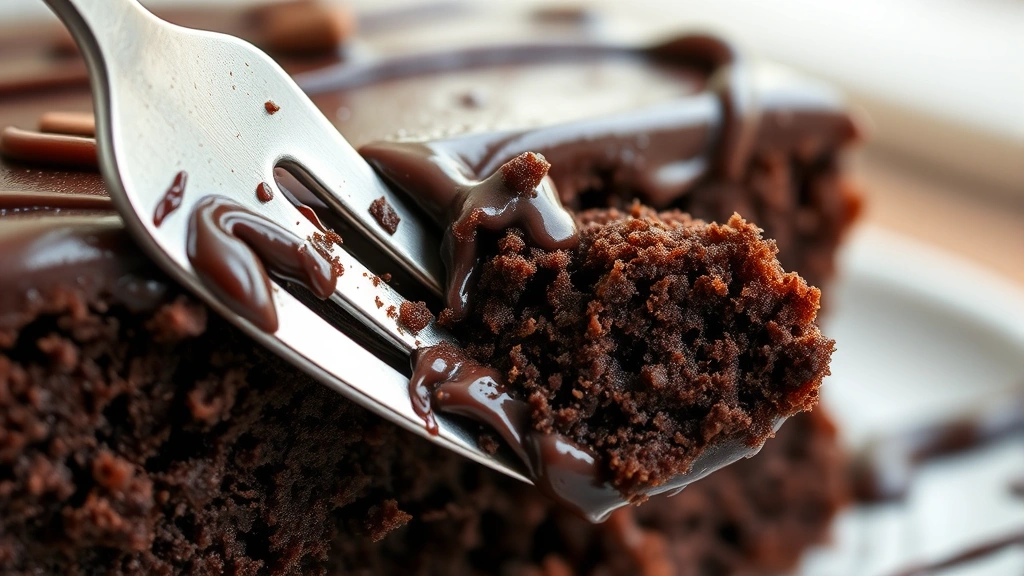
Indulge guilt-free with this stunning gluten-free and dairy-free chocolate cake that proves you don’t need traditional ingredients to create pure chocolate bliss! This recipe delivers the most decadent, moist crumb with an intensely rich chocolate flavor that will have everyone asking for seconds—regardless of dietary restrictions.
This showstopping cake combines premium cocoa powder, quality dairy-free butter, and a secret ingredient that keeps the cake impossibly tender and moist for days. Whether you’re baking for a special occasion or simply craving a slice of chocolate heaven, this recipe is absolutely foolproof and delivers restaurant-quality results every single time.
The beauty of this gluten-free chocolate cake lies in its simplicity and reliability. Using a combination of rice flour, tapioca starch, and almond flour creates a structure that rivals traditional wheat flour, while maintaining that coveted tender crumb we all crave. Fresh ingredients and quality matter, which is why I always recommend splurging on good cocoa powder and pure vanilla extract.
The dairy-free component is equally important—I’ve tested numerous alternatives and found that quality substitutes make all the difference in achieving that luxurious, rich texture. This cake pairs beautifully with dairy-free whipped coconut cream or a silky chocolate ganache made with coconut milk. You can serve it plain, dust it with powdered sugar, or dress it up with fresh berries and a drizzle of melted dark chocolate.
One of my favorite aspects of this recipe is its versatility. You can bake it as a single layer cake in an 8-inch round pan for a rustic, casual dessert, or split layers for a more elegant presentation. The cake stays incredibly moist for three to four days when properly stored, making it perfect for meal prep or advance party planning.
I’ve included detailed instructions for both stovetop and mixer methods, plus pro tips for achieving the most tender, moist crumb possible. This foolproof approach ensures consistent results every time you bake. Whether you’re new to gluten-free baking or a seasoned pro, this recipe will become your go-to chocolate cake for life.
For more inspiration on dietary-friendly baking, check out Serious Eats’ baking guide and Bon Appétit’s dessert collection. You’ll also love exploring New York Times Cooking for more dietary-inclusive recipes. And don’t miss our Perfect Pickled Red Onions for adding brightness to any chocolate dessert plate!
Ingredients
- 1¾ cups (210g) all-purpose gluten-free flour blend (with xanthan gum)
- ¾ cup (65g) unsweetened cocoa powder, sifted
- ¾ cup (150g) tapioca starch or cornstarch
- ¼ cup (25g) almond flour
- 2 teaspoons baking soda
- 1 teaspoon baking powder
- ½ teaspoon sea salt
- ¾ cup (150g) organic cane sugar
- ½ cup (100g) packed light brown sugar
- ½ cup (115g) dairy-free butter, room temperature
- ⅓ cup (80ml) neutral oil such as avocado or vegetable oil
- 3 large eggs, room temperature
- 1 cup (240ml) unsweetened almond milk or oat milk
- ½ cup (120ml) hot brewed coffee or hot water
- 2 teaspoons pure vanilla extract
- 1 tablespoon apple cider vinegar or white vinegar
- Optional: ½ cup (85g) dairy-free chocolate chips for extra richness
Instructions
- Preheat your oven to 350°F (175°C). Grease a 9-inch round cake pan with dairy-free butter or cooking spray, then line the bottom with parchment paper for easy removal. This step ensures your beautiful cake releases perfectly.
- In a medium bowl, sift together the gluten-free flour blend, cocoa powder, tapioca starch, almond flour, baking soda, baking powder, and sea salt. Sifting is crucial for gluten-free baking as it aerates the flour and removes lumps. Set aside.
- In a separate large mixing bowl, combine the cane sugar and brown sugar, pressing any lumps with the back of a spoon to ensure even sweetness distribution throughout the batter.
- Add the softened dairy-free butter to the sugar mixture and beat on medium speed for 2-3 minutes until light, fluffy, and pale in color. This creaming process incorporates air and creates a tender cake structure.
- Pour in the neutral oil slowly while continuing to beat, mixing for another minute until fully incorporated and the mixture resembles thick frosting.
- Add the room temperature eggs one at a time to the butter mixture, beating well after each addition (about 30 seconds per egg). Make sure each egg is fully incorporated before adding the next one, which helps create a stable emulsion.
- In a small bowl, stir together the almond milk and apple cider vinegar, then let it sit for 2 minutes to curdle slightly—this creates a dairy-free buttermilk that adds incredible moisture and tang to the cake.
- Add the vanilla extract to the curdled milk mixture and stir to combine.
- Reduce the mixer speed to low and alternate adding the dry ingredients and the milk mixture to the butter-egg mixture, beginning and ending with the dry ingredients. Add about one-third of the dry mixture, then half of the milk mixture, then another third of the dry mixture, then the remaining milk mixture, and finally the last third of the dry mixture. Mix on low speed after each addition just until combined—do not overmix.
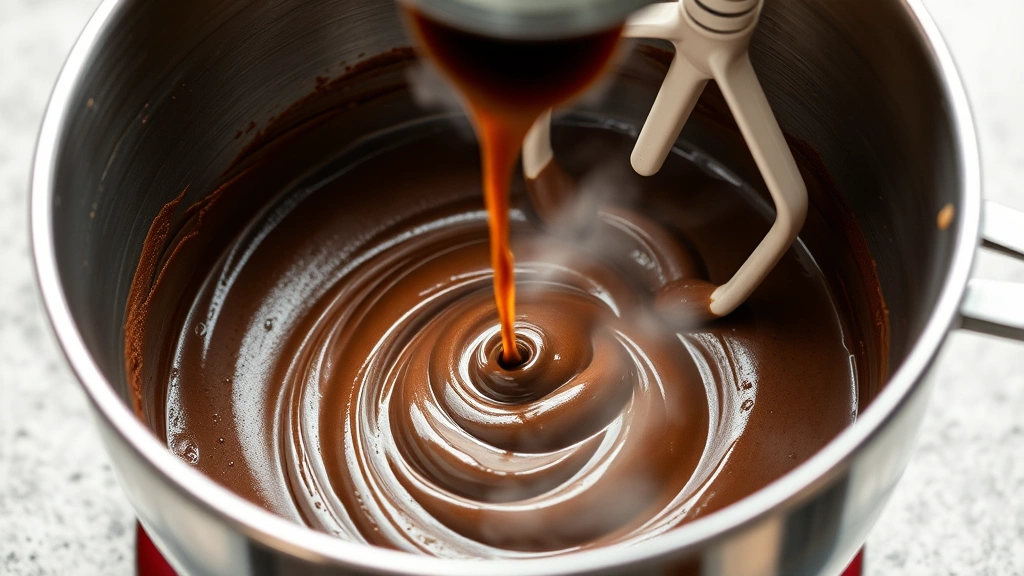
- Carefully pour the hot brewed coffee into the batter and fold gently with a rubber spatula for about 30 seconds until just combined. The batter will be thin and pourable, which is exactly what you want—this creates the moist, tender crumb.
- Pour the batter into your prepared cake pan, smoothing the top with a spatula to ensure even baking.
- Place the pan on the center rack of your preheated oven and bake for 35-40 minutes, until a toothpick or cake tester inserted in the center comes out with just a few moist crumbs (not wet batter, but a few crumbs is perfect).
- Remove the cake from the oven and allow it to cool in the pan for 15 minutes. This resting period allows the cake to set slightly before turning out.
- Place a wire cooling rack over the top of the cake pan, then carefully invert the cake onto the rack. Gently lift off the pan and peel away the parchment paper.
- Allow the cake to cool completely on the wire rack for at least 1 hour before frosting or serving. Complete cooling ensures the cake sets properly and prevents frosting from melting.
- Once cooled, you can frost with your favorite dairy-free chocolate ganache, dairy-free buttercream, or simply dust with powdered sugar and cocoa powder for an elegant presentation.
Pro Tips
- **Gluten-Free Flour Blend:** Use a quality commercial blend that includes xanthan gum, or make your own by combining 1 cup (120g) brown rice flour, ⅓ cup (40g) tapioca starch, ⅓ cup (40g) potato starch, and 1 teaspoon xanthan gum. Different blends can slightly affect texture, so stick with one you love for consistency.
- **Dairy-Free Butter:** This recipe specifically needs dairy-free butter (not oil alone) for the creaming step, as it creates the necessary air pockets for a tender crumb. Brands like Earth Balance, Miyoko’s, or Naturli work beautifully. Ensure it’s at room temperature for proper incorporation.
- **Coffee Enhancement:** The hot coffee amplifies the chocolate flavor without making the cake taste like coffee—it’s a classic baker’s secret! If you prefer, use hot water instead, but the coffee truly elevates this recipe.
- **Egg Temperature Matters:** Cold eggs don’t incorporate smoothly into the batter and can break the emulsion. Remove eggs from the refrigerator 30 minutes before baking, or place them in warm (not hot) water for 5 minutes.
- **Cocoa Powder Quality:** Use unsweetened natural cocoa powder, not Dutch-processed, as natural cocoa reacts with the baking soda to help the cake rise properly. Sift cocoa powder before measuring to remove lumps and aerate it.
- **Storage Instructions:** Store the cooled cake covered at room temperature for up to 3 days, or wrap well and refrigerate for up to 5 days. This cake also freezes beautifully—wrap unfrosted layers individually in plastic wrap and foil, then freeze for up to 3 months. Thaw at room temperature before frosting.
- **Frosting Pairing:** This cake pairs beautifully with dairy-free chocolate ganache made from dark chocolate and coconut milk, or a silky dairy-free buttercream using dairy-free butter and almond milk. You could also serve it with coconut whipped cream and fresh raspberries.
- **Altitude Adjustment:** If baking above 3,000 feet, reduce baking soda to 1¾ teaspoons and increase baking powder to 1¼ teaspoons. These adjustments prevent excessive rising and dome cracking.
- **Nut-Free Option:** To make this recipe nut-free, simply omit the almond flour and replace it with an additional ¼ cup (30g) of your gluten-free flour blend. The cake will be slightly denser but equally delicious.
- **Single Layer vs. Layer Cake:** This recipe yields one 9-inch layer. For a two-layer cake, divide the batter evenly between two 8-inch pans and reduce baking time to 28-32 minutes. For a three-layer cake, use three 6-inch pans and bake for 22-26 minutes.