
There’s nothing quite like a warm, buttery biscuit fresh from the oven – and the good news is that you don’t need gluten to make them absolutely spectacular. This gluten-free biscuits recipe has been perfected through countless batches, and I’m thrilled to share my secrets with you. The key to achieving that coveted tender crumb and flaky layers lies in three essential techniques: keeping your ingredients cold, handling the dough minimally, and using the right blend of gluten-free flours.
When I first started baking gluten-free, I quickly discovered that most recipes resulted in dense, crumbly disappointments. But after experimenting with different flour combinations and techniques borrowed from my traditional baking experience, I cracked the code. This recipe uses a combination of rice flour, tapioca starch, and potato starch – a trio that mimics the structure of all-purpose flour beautifully. The addition of xanthan gum acts as a binder, replacing the gluten that would normally provide elasticity and structure.
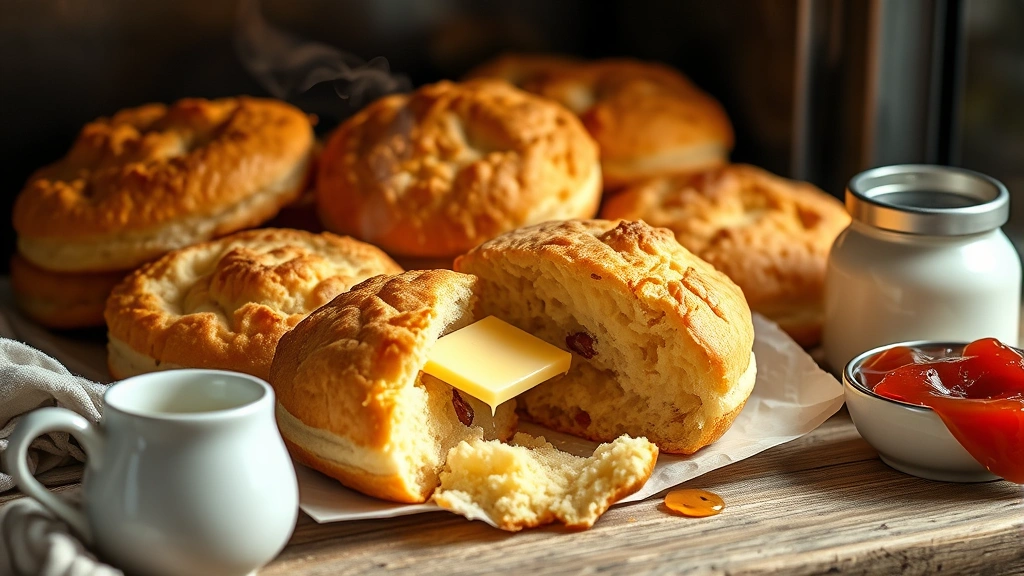
What makes these biscuits truly special is the attention to detail in every step. The cold butter is cut into small pieces and distributed throughout the dough, creating little pockets that steam during baking and result in those gorgeous, flaky layers everyone dreams about. I’ve also included a touch of honey and buttermilk for richness and tang, which elevate these biscuits far beyond basic. Whether you’re serving them with jam and cream for afternoon tea, alongside a hearty breakfast, or crumbled over creamy chicken and dumplings, these gluten-free biscuits deliver every single time.
If you’ve struggled with gluten-free baking in the past, I want to assure you that this recipe is foolproof. The techniques are straightforward, the ingredients are readily available at most grocery stores, and the results are absolutely worth celebrating. I’ve included detailed notes and troubleshooting tips below to help you achieve biscuit perfection. For more gluten-free baking inspiration, check out my gluten-free bread recipes collection and my guide to understanding gluten-free flours. You might also love my buttermilk pancakes for another breakfast classic made gluten-free.
For additional insights on gluten-free baking science, I recommend checking out Serious Eats’ gluten-free guide and Bon Appétit’s gluten-free collection. The New York Times’ gluten-free biscuit recipe is another excellent reference point. With these resources and this recipe, you’ll be baking perfect gluten-free biscuits in no time.
Ingredients
- 2 cups (280g) gluten-free all-purpose flour blend with xanthan gum
- ½ cup (60g) rice flour
- ¼ cup (30g) tapioca starch
- 2 tablespoons (16g) potato starch
- 1 tablespoon (12g) sugar
- 1½ teaspoons (9g) salt
- 1 tablespoon (8g) baking powder
- ½ teaspoon (1g) xanthan gum (if your flour blend doesn’t contain it)
- 1 cup (227g) cold unsalted butter, cut into small cubes
- ¾ cup (180ml) cold buttermilk, plus more for brushing
- 1 tablespoon (15ml) honey
- 1 teaspoon (5ml) vanilla extract
Instructions
- Preheat your oven to 425°F (220°C). Line a baking sheet with parchment paper and set aside – this prevents sticking and ensures even browning on the bottom of your biscuits.
- In a large mixing bowl, whisk together the gluten-free all-purpose flour, rice flour, tapioca starch, potato starch, sugar, salt, baking powder, and xanthan gum. Make sure to break up any lumps in the starches so you have an evenly combined dry mixture.
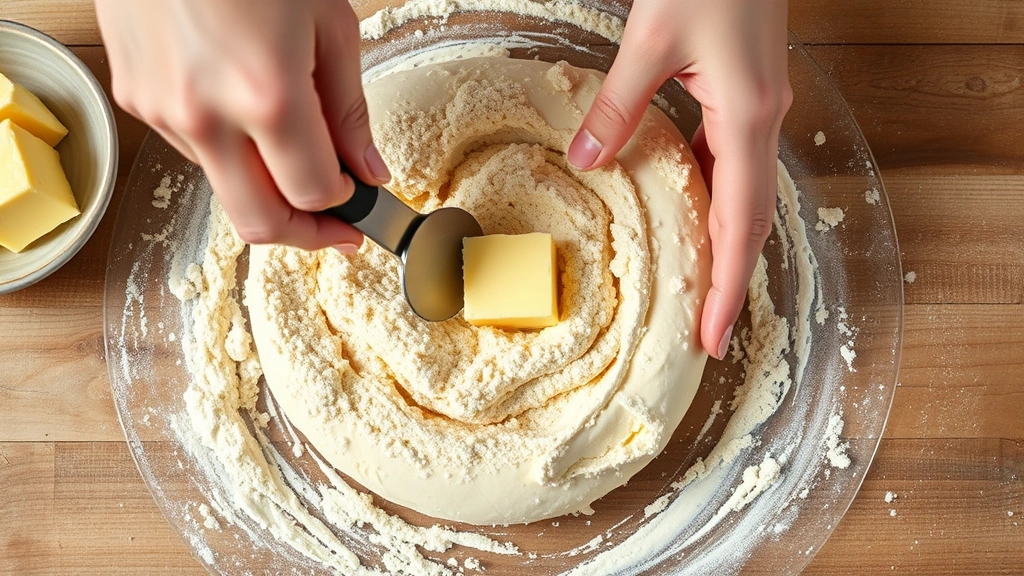
- Add the cold butter cubes to the flour mixture. Using a pastry cutter, two knives, or your fingertips, work the butter into the flour until the mixture resembles coarse breadcrumbs with some pea-sized pieces of butter remaining – this is crucial for flaky layers.
- In a small bowl, whisk together the cold buttermilk, honey, and vanilla extract until the honey is dissolved and the mixture is smooth.
- Make a well in the center of your flour mixture and pour in the buttermilk mixture. Using a fork, gently stir until the dough just comes together – be careful not to overmix, as this develops gluten-like structures that can make gluten-free biscuits tough.
- Turn the dough out onto a lightly floured surface (using gluten-free flour for dusting). Gently press the dough together with your hands, being very careful not to knead or overwork it. The dough should be slightly shaggy and hold together when pressed.
- Pat the dough into a rectangle approximately ¾-inch thick. Fold the dough in half, pat it back out to ¾-inch thickness, and repeat this folding process two more times – this creates the beautiful flaky layers in your biscuits.
- After the final fold, pat the dough to an even ¾-inch thickness. Using a sharp 2-inch biscuit cutter dipped in gluten-free flour, cut out rounds by pressing straight down without twisting – twisting can seal the edges and prevent rising.
- Place the biscuits on your prepared baking sheet, spacing them about 2 inches apart. Gather the scraps, gently pat them together, and cut additional biscuits until all dough is used.
- Brush the tops of each biscuit lightly with additional buttermilk for a beautiful golden finish.
- Bake for 15-18 minutes, until the biscuits are golden brown on top and a toothpick inserted into the center comes out clean or with just a few moist crumbs.
- Remove from the oven and brush the tops with a little melted butter while still warm – this adds richness and gives them that irresistible shine.
- Serve immediately while still warm, or transfer to a wire rack to cool slightly before serving with your favorite toppings.

Pro Tips
- **Flour Blend Matters**: Not all gluten-free flour blends are created equal. Look for blends that include xanthan gum already, or add it separately. Bob’s Red Mill 1-to-1 Baking Flour and King Arthur Baking Company’s Measure for Measure are excellent choices that produce consistently tender biscuits.
- **Temperature is Everything**: Keep all your ingredients cold – butter, buttermilk, and even your mixing bowl if possible. Cold ingredients create steam pockets during baking, which results in those gorgeous flaky layers. This is non-negotiable for perfect biscuits.
- **Don’t Overmix**: Gluten-free doughs are more fragile than traditional doughs. Mix just until the ingredients are combined. Overmixing develops the xanthan gum too much and results in dense, gummy biscuits rather than light and fluffy ones.
- **The Folding Technique**: The three-fold process is what creates those beautiful, tender layers. Each fold redistributes the cold butter throughout the dough, creating steam pockets. This step takes just a couple of minutes but makes a huge difference in the final texture.
- **Cutting Technique**: Press your biscuit cutter straight down into the dough and pull straight up – don’t twist. Twisting seals the edges and prevents the biscuit from rising properly, resulting in shorter, denser biscuits.
- **Troubleshooting Dense Biscuits**: If your biscuits come out dense, you likely overmixed the dough. Remember, gluten-free doughs need less mixing than traditional ones. Mix just until combined, not until smooth.
- **Troubleshooting Dry Biscuits**: Gluten-free flours can sometimes absorb more liquid than traditional flours. If your dough seems too dry, add buttermilk one tablespoon at a time until you reach the right consistency – it should be slightly sticky but still hold together.
- **Make-Ahead Option**: You can prepare the dough up to 24 hours in advance. Wrap it tightly in plastic wrap and refrigerate. Cut out biscuits when ready to bake, adding just 1-2 minutes to the baking time if baking from cold.
- **Storage**: Store cooled biscuits in an airtight container at room temperature for up to 2 days. Reheat in a 300°F oven for 5-7 minutes to restore the crispy exterior. You can also freeze unbaked biscuits for up to 3 months – bake directly from frozen, adding 2-3 minutes to the baking time.
- **Flavor Variations**: Add 1 tablespoon of fresh herbs (like thyme or rosemary), ½ cup of shredded cheddar cheese, or ¼ cup of cooked crumbled bacon for savory versions. For sweet biscuits, add ½ teaspoon of cinnamon and 2 tablespoons of sugar to the dry ingredients.
- **Buttermilk Substitute**: If you don’t have buttermilk, make your own by adding 1 tablespoon of lemon juice or white vinegar to ¾ cup of milk and letting it sit for 5 minutes.
- **Butter Substitutes**: For dairy-free biscuits, use vegan butter (keep it just as cold as traditional butter) and unsweetened plant-based milk mixed with lemon juice or vinegar.
Pingback: Quick and Tasty Shaved Beef Recipe for Busy Nights! – Simple Recipe Finder