
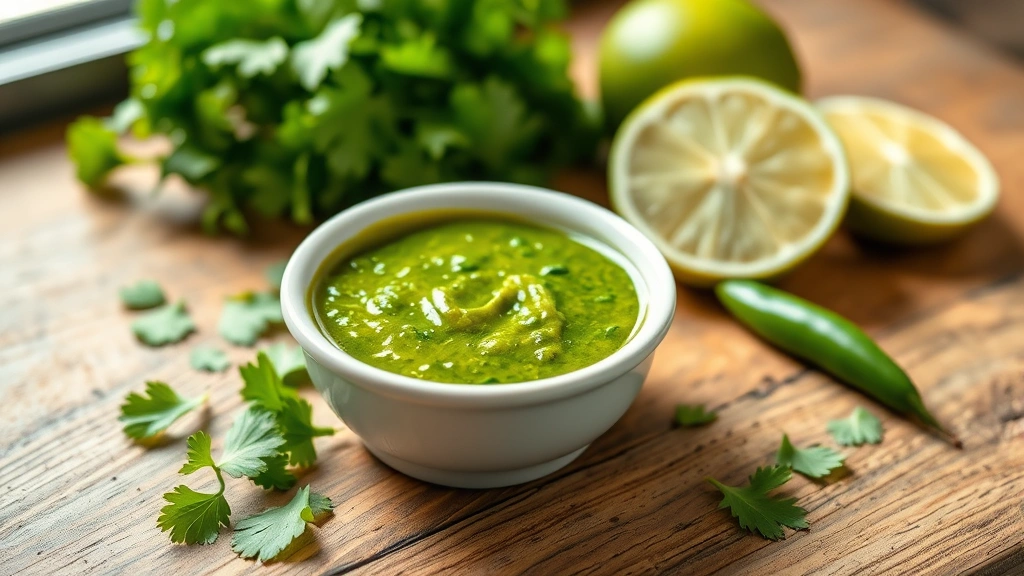
Green chutney is the vibrant, herbaceous condiment that transforms ordinary meals into extraordinary dining experiences. This quick and easy recipe brings together fresh cilantro, mint, and lime juice to create a sauce that’s both refreshing and deeply flavorful. Whether you’re serving it alongside samosas, using it as a sandwich spread, or drizzling it over grilled proteins, this green chutney recipe delivers restaurant-quality results in just minutes. The beauty of this condiment lies in its simplicity—just a handful of ingredients and a food processor transform into liquid gold.
I’ve been making green chutney for years, and I’ve learned that the secret to the best version isn’t just about the ingredients, but about understanding how to balance heat, acidity, and freshness. This recipe has become a staple in my kitchen, and I’m thrilled to share my foolproof method with you. Unlike complicated chutneys that require hours of cooking, this version celebrates the raw, bright flavors of fresh herbs. It’s perfect for meal prep, dinner parties, or whenever you need a quick flavor boost. According to Serious Eats, fresh herb-based chutneys are experiencing a major resurgence in modern cooking, and for good reason.
This green chutney recipe is endlessly versatile. Serve it with Indian appetizers, use it as a marinade for meats, or swirl it into yogurt for an elegant dip. The bright green color and fresh aroma will have your guests asking for the recipe before they even taste it. I love how this chutney brings together traditional Indian flavors with modern convenience—no long cooking times, no complicated techniques, just pure, unadulterated flavor.
What makes this the BEST green chutney recipe is the careful balance of ingredients. We’re using fresh cilantro as our base because it provides that authentic Indian flavor that simply can’t be replicated. Fresh mint adds a cooling sensation and subtle sweetness, while green chilies deliver heat that builds gradually rather than hitting all at once. The addition of coconut adds richness and complexity, and lime juice brightens everything while providing the acidity needed to preserve the chutney and balance the flavors. According to Bon Appétit, the key to exceptional green chutney is using the freshest herbs possible and processing them just enough to combine without creating a paste.
I’m particularly proud of this recipe because it teaches you the fundamentals of chutney-making while delivering incredible results every single time. Whether you’re a seasoned cook or someone just beginning to explore Indian cuisine, this green chutney recipe will become your go-to condiment. The beauty is in the speed—you can have this ready in under five minutes, making it perfect for weeknight dinners or last-minute entertaining. As The New York Times Cooking notes, fresh chutneys are best enjoyed immediately after making, though they keep beautifully in the refrigerator for several days.
Ingredients
- 2 cups fresh cilantro leaves, packed
- 1 cup fresh mint leaves, packed
- 2-3 green serrano or Thai chilies, roughly chopped
- 1/2 cup unsweetened shredded coconut (fresh or frozen)
- 1/4 cup roasted peanuts or cashews
- 1/4 cup Greek yogurt or sour cream
- 2 tablespoons fresh lime juice
- 1 tablespoon fresh lemon juice
- 2 cloves garlic, minced
- 1 teaspoon cumin seeds, lightly toasted
- 1/2 teaspoon salt, or to taste
- 1/4 teaspoon black pepper
- 2 tablespoons water (more as needed for consistency)
- 1 tablespoon coconut oil or neutral oil (optional, for extra richness)
Instructions
- Begin by prepping all your ingredients. Rinse the cilantro and mint thoroughly under cold water, then pat completely dry with paper towels—excess moisture will dilute the chutney and make it less flavorful. Remove any tough stems from the cilantro, keeping the tender parts as they contribute to the overall texture and taste.
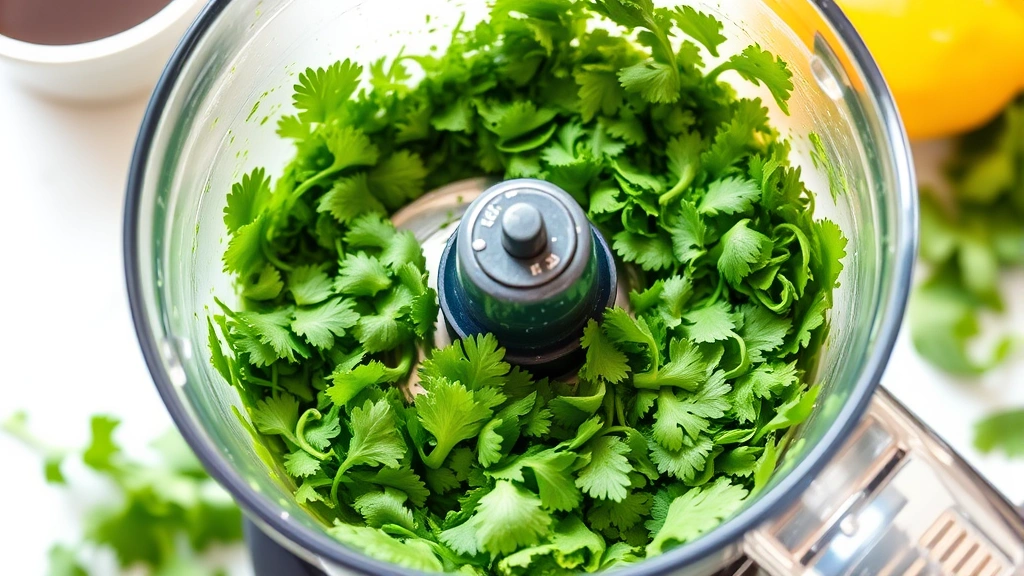
- Place the dried cilantro leaves into the bowl of your food processor. Add the fresh mint leaves on top. If you’re using fresh cilantro and mint, this step is crucial—the drier your herbs, the more concentrated your flavors will be.
- Add the roughly chopped green chilies to the food processor. If you prefer a milder chutney, remove the seeds from the chilies before chopping, as the seeds contain most of the heat. For a spicier version, keep the seeds intact.
- Add the shredded coconut to the processor bowl. If using fresh coconut, it will add more authentic flavor and a slightly creamier texture than frozen or packaged varieties.
- Include the roasted peanuts or cashews in the food processor. These nuts add protein, richness, and a subtle texture that makes the chutney more satisfying. If you have nut allergies, you can omit these or substitute with sunflower seeds.
- Add the minced garlic cloves to the processor. Fresh garlic is essential here—it adds a pungent depth that transforms the chutney from good to exceptional.
- Sprinkle the lightly toasted cumin seeds into the bowl. Toasting them yourself brings out their warm, nutty flavor much better than using pre-ground cumin. You can toast them in a dry skillet over medium heat for about one minute until fragrant.
- Add the salt, black pepper, Greek yogurt, lime juice, and lemon juice to the processor bowl. The yogurt adds creaminess while the citrus juices provide brightness and help preserve the vibrant green color.
- Pour in the two tablespoons of water. Start with this amount—you can always add more to reach your desired consistency. The chutney should be thick but spreadable, not watery.
- Add the coconut oil if you’d like extra richness and a more luxurious mouthfeel. This step is optional but highly recommended for special occasions or when serving with particularly flavorful dishes.
- Pulse the food processor 6-8 times to begin combining the ingredients. Don’t rush this step—pulsing rather than running continuously gives you better control over the texture and helps retain the fresh flavors.
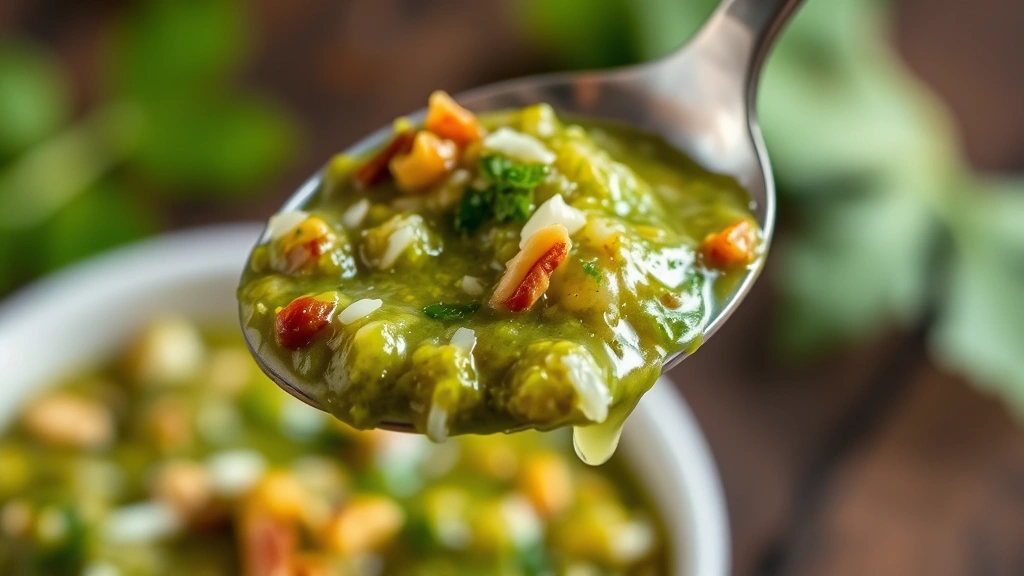
- After pulsing, run the food processor on medium speed for 20-30 seconds, until the chutney reaches a chunky consistency with some texture remaining. The key is to avoid over-processing—you want a chutney with some substance, not a smooth paste.
- Stop the processor and use a rubber spatula to scrape down the sides of the bowl, ensuring all ingredients are evenly combined. Take a moment to assess the consistency.
- If the chutney is too thick, pulse in one tablespoon of water at a time until you reach the perfect consistency. If it’s too thin, add another tablespoon of shredded coconut or a spoonful of yogurt to thicken it.
- Taste the chutney and adjust seasonings as needed. Add more salt for depth, more lime juice for brightness, or more green chilies for heat. Remember that flavors will develop and intensify as the chutney sits.
- Transfer the finished green chutney to a clean glass jar or serving bowl. If making ahead, cover and refrigerate until ready to serve. The chutney will keep for up to five days in the refrigerator, though it’s best enjoyed within the first two days when the herbs are brightest.
- If serving immediately, arrange the chutney in a small bowl and drizzle the top with a tiny bit of coconut oil or a few cilantro leaves for an elegant presentation. Serve at room temperature or chilled, alongside your favorite Indian dishes.
Pro Tips
- **Herb Selection**: The foundation of great green chutney starts with the freshest herbs possible. Visit your local farmer’s market if available, as supermarket herbs are often less vibrant. If cilantro is unavailable, fresh parsley works as a substitute, though the flavor profile will be different.
- **Heat Level Customization**: Green chilies provide the heat in this recipe. For a mild version, use just one chili and remove all seeds. For medium heat, use two chilies with seeds removed. For authentic spicy chutney, use three chilies with seeds included. Always adjust based on your personal preference and your guests’ tolerance.
- **Nut Alternatives**: If you have nut allergies, substitute peanuts or cashews with sunflower seeds, pumpkin seeds, or sesame seeds. Each will add a different flavor dimension. The nuts contribute texture and richness, so don’t skip this ingredient entirely.
- **Coconut Options**: Fresh coconut provides the best flavor, but frozen unsweetened coconut works beautifully and is more convenient. Avoid sweetened coconut or coconut cream, which will throw off the balance of flavors. If you can’t find either option, increase the yogurt by two tablespoons for creaminess.
- **Storage and Make-Ahead**: Green chutney is best consumed within two days of making, as the herbs gradually oxidize and lose their bright color. However, it keeps safely in the refrigerator for up to five days. For longer storage, freeze in ice cube trays and thaw as needed. Freezing preserves the flavor better than extended refrigeration.
- **Serving Suggestions**: This chutney pairs beautifully with samosas, pakoras, dosa, idli, and any Indian appetizers. Use it as a sandwich spread, a marinade for grilled chicken or fish, a dip for vegetables, or swirled into yogurt. It’s also delicious drizzled over roasted vegetables or rice bowls.
- **Consistency Tips**: The texture should be somewhat chunky with visible herb pieces—never a smooth paste. If you accidentally over-process, you can fix it by stirring in a tablespoon of finely diced cilantro. The chutney will thicken slightly as it sits due to the coconut absorbing moisture.
- **Flavor Development**: Allow the chutney to sit for 15 minutes before serving if possible. This resting time allows the flavors to meld and intensify. You may find you need to adjust the salt and lime juice after this resting period.
- **Yogurt Substitution**: Greek yogurt adds creaminess and tang. If unavailable, use regular plain yogurt (the chutney will be slightly thinner) or sour cream (which adds tanginess). For a dairy-free version, substitute with coconut yogurt or a tablespoon of coconut cream blended with lemon juice.
Pingback: How to Make the Best Hakka Noodles Recipe – Quick & Tasty! – Simple Recipe Finder