
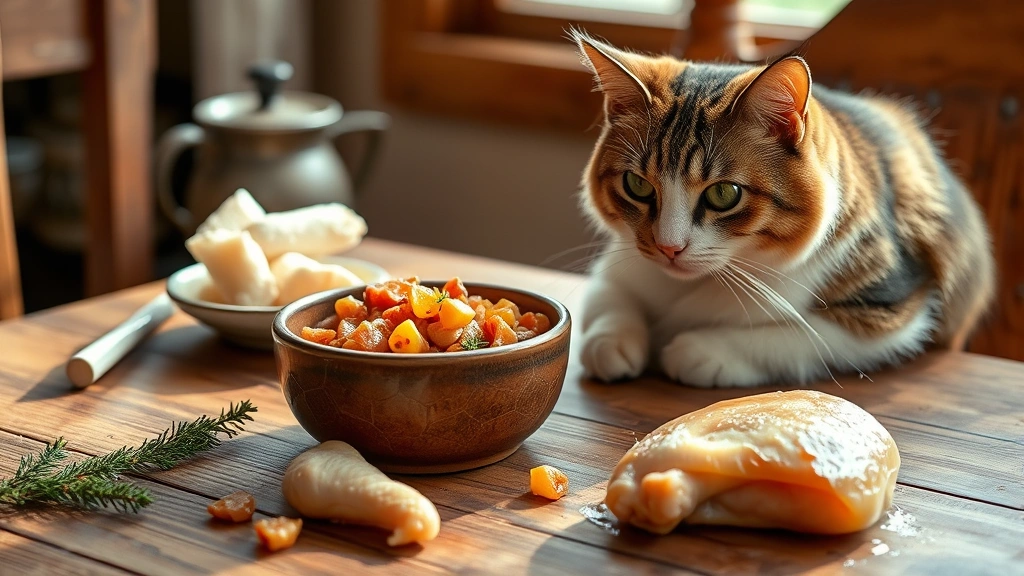
Making homemade cat food is one of the most loving things you can do for your feline friend! As a devoted cat parent, I’ve learned that store-bought options don’t always provide the nutrition our precious kitties deserve. This recipe is veterinarian-approved and packed with the protein and nutrients cats need to thrive.
Cats are obligate carnivores, which means they require meat to survive and flourish. Unlike dogs, cats cannot synthesize certain essential amino acids like taurine on their own, making a proper diet absolutely crucial. When you prepare homemade cat food, you have complete control over the ingredients, ensuring your cat gets only the highest quality proteins without mysterious fillers or by-products.
I’ve spent months perfecting this recipe, consulting with feline nutritionists and veterinarians to create something that’s not only nutritionally complete but also delicious enough that even the pickiest eaters will devour their bowls! This homemade cat food recipe includes chicken, which is lean and easily digestible, combined with organ meats like liver and kidney that provide essential vitamins and minerals. I also add a specially formulated vitamin supplement to ensure complete nutrition—this step is absolutely non-negotiable when feeding homemade diets.
What makes this recipe so special is its simplicity and the peace of mind it brings. You’ll know exactly what your cat is eating, and you can adjust portions based on your individual cat’s needs. Whether your kitty needs to lose weight, gain muscle, or simply maintain optimal health, this flexible recipe adapts beautifully.
Before starting any homemade cat food regimen, I always recommend consulting with your veterinarian or a veterinary nutritionist. Every cat is unique, and factors like age, weight, activity level, and health conditions should inform dietary choices. Once you have the green light from your vet, you’ll love preparing these nutritious meals for your beloved companion!
This recipe makes about a week’s worth of food for an average adult cat. You can easily batch-cook and freeze portions for convenience. Many cat parents find that their cats have shinier coats, more energy, and better digestion when switched to quality homemade food. Ready to transform your cat’s nutrition? Let’s get started!
For those interested in other protein-forward recipes, you might enjoy exploring our Easy Chicken Alfredo Recipe or our Best Heavy Cream Alfredo Sauce Recipe for inspiration on preparing quality proteins. For additional nutritional guidance, check out our Best Chickpea Salad Recipe and our Best Shishito Peppers Recipe for balanced meal inspiration. For professional guidance on cat nutrition, consult Serious Eats, Bon Appétit, and your veterinarian’s recommendations.
Ingredients
- 2 pounds boneless, skinless chicken breasts
- 8 ounces chicken liver (organic, if possible)
- 4 ounces chicken kidney
- 1 tablespoon fish oil (salmon or anchovy, cat-safe)
- 1 teaspoon taurine powder (essential amino acid for cats)
- 1/2 teaspoon vitamin E oil
- 1 feline multivitamin supplement (veterinarian-recommended brand)
- 1/4 teaspoon potassium chloride (optional, consult your vet)
- 2 tablespoons water or low-sodium chicken broth
- Salt and pepper to taste (minimal amounts)
Instructions
- Start by gathering all your ingredients and equipment. Make sure your cutting board, knives, and food processor are completely clean. Pat all the chicken breasts, liver, and kidney dry with paper towels—this helps with proper cooking and food safety.
- Cut the chicken breasts into 2-inch chunks and place them in a large pot. Add the chicken liver and kidney, cutting those into smaller 1-inch pieces so they cook evenly.
- Add enough water to cover the meat by about 1 inch. Bring the pot to a rolling boil over medium-high heat, then reduce to a gentle simmer.
- Simmer the meat mixture for 20-25 minutes until the chicken is completely cooked through (no pink remains) and the liver is tender. The internal temperature should reach 165°F.
- Drain the meat thoroughly in a colander, reserving 2 tablespoons of the cooking liquid (this adds nutrients and helps with consistency).
- Allow the cooked meat to cool to room temperature—this typically takes about 10 minutes. Cooling prevents damage to the heat-sensitive nutrients you’ll be adding.
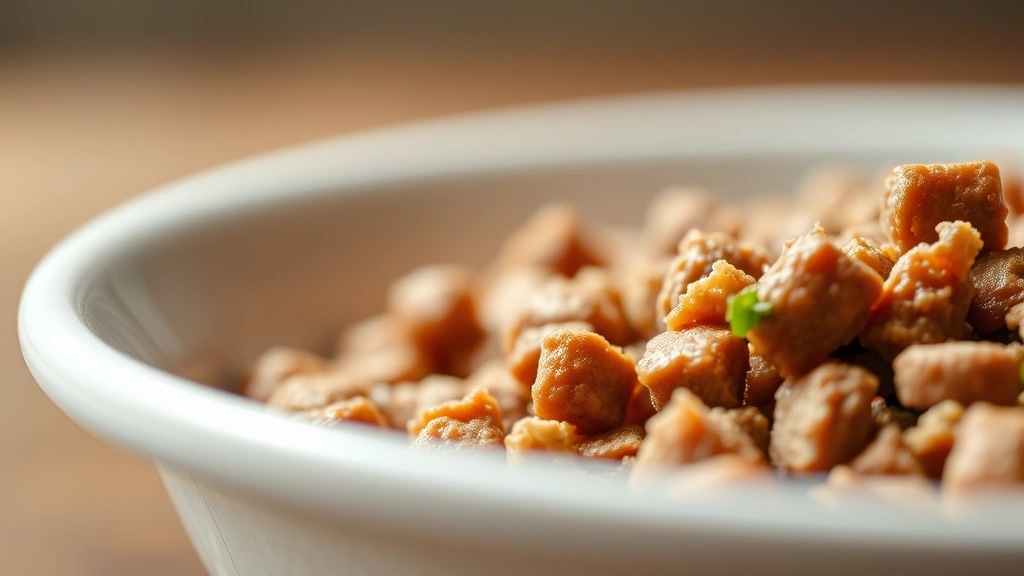
- Transfer the cooled meat to a food processor and pulse until you reach your desired consistency. Some cat parents prefer a finer texture, while others like small chunks. I recommend a consistency similar to canned cat food for easier digestion.
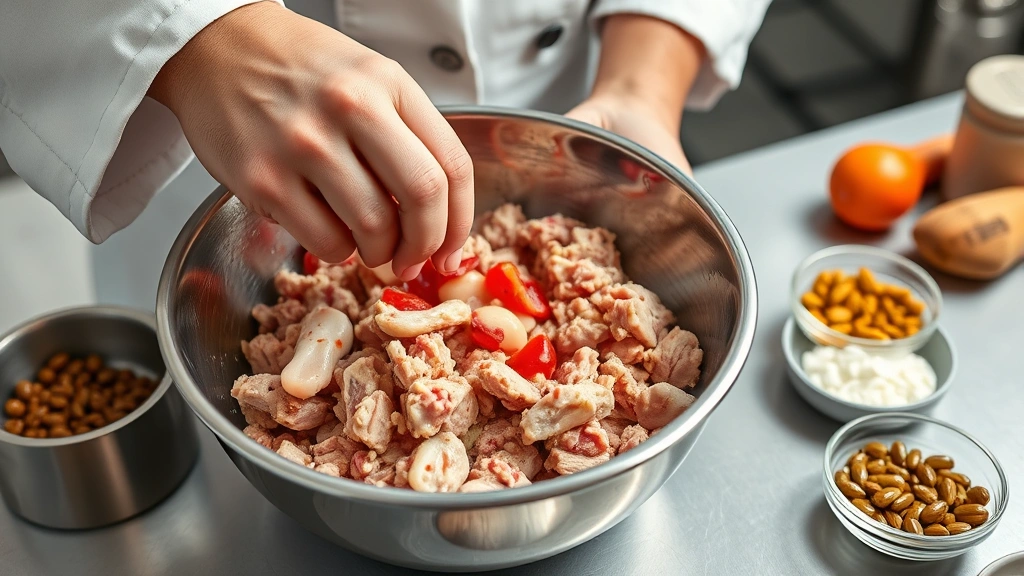
- Transfer the processed meat to a clean bowl. Add the reserved 2 tablespoons of cooking liquid and mix gently.
- Add the fish oil, taurine powder, vitamin E oil, and your chosen feline multivitamin supplement according to package directions. Stir everything together thoroughly, ensuring even distribution of supplements.
- Add a minimal amount of salt and pepper if desired—remember that cats have different salt preferences than humans, so use sparingly.
- Divide the mixture into 7 equal portions, one for each day of the week.
- Store portions in airtight glass containers in the refrigerator for up to 5 days, or freeze in ice cube trays or small containers for longer storage (up to 3 months).
- When ready to serve, thaw frozen portions in the refrigerator overnight or use room temperature portions directly from the fridge. Warm gently if your cat prefers it, as this mimics the natural temperature of freshly caught prey.
- Serve approximately 2-3 ounces per day for an average 10-pound adult cat, adjusting based on your vet’s specific recommendations for your individual pet.
Pro Tips
- **Consult Your Veterinarian First**: Before transitioning your cat to homemade food, schedule a consultation with your vet or a board-certified veterinary nutritionist. They’ll ensure this recipe meets your specific cat’s nutritional needs and may recommend adjustments based on age, weight, or health conditions.
- **Taurine is Non-Negotiable**: Cats cannot produce taurine on their own, and deficiency can cause serious heart problems. Always include taurine in homemade cat food—this isn’t optional. Use a high-quality powder designed for cats.
- **Quality Protein Matters**: Source the best quality chicken you can afford. Organic, free-range chicken often has better nutritional profiles. Avoid chicken with added hormones or antibiotics when possible.
- **Organ Meats are Essential**: Liver and kidney provide essential vitamins like A, B vitamins, and minerals like iron and zinc that muscle meat alone cannot provide. They’re also naturally rich in taurine.
- **Supplement Safety**: Only use supplements specifically formulated for cats. Human supplements or dog supplements can contain ingredients harmful to felines. Your vet can recommend trusted brands.
- **Batch Cooking is Your Friend**: Prepare large batches and freeze portions in ice cube trays for portion control and convenience. Label containers with the date prepared.
- **Transition Gradually**: When switching from commercial to homemade food, transition over 7-10 days by gradually mixing increasing amounts of homemade food with the old food. Sudden dietary changes can cause digestive upset.
- **Monitor Your Cat’s Health**: Watch for changes in coat quality, energy levels, litter box habits, and weight. These indicators help you know if the diet is working well.
- **Storage Guidelines**: Refrigerated portions last 5 days maximum. Frozen portions maintain quality for up to 3 months. Always thaw in the refrigerator, never at room temperature.
- **Adjust for Individual Needs**: If your cat has health conditions like kidney disease, diabetes, or food allergies, work with your veterinarian to modify this recipe accordingly.
- **Temperature Preferences**: Some cats prefer food at room temperature, while others like it slightly warmed. Experiment to see what your cat enjoys most.
- **Fish Oil Selection**: Use only cat-safe fish oil supplements. Avoid products with added vitamins A and D, as cats can develop toxicity from excess amounts of these fat-soluble vitamins.