
Making homemade dog food is one of the best ways to ensure your furry best friend is eating nutritious, wholesome ingredients tailored to their specific dietary needs. This comprehensive guide will walk you through creating a balanced, vet-approved dog food that’s packed with protein, healthy fats, and essential vitamins your pup deserves.
Unlike commercial dog foods that often contain fillers and preservatives, homemade dog food gives you complete control over every ingredient that goes into your dog’s bowl. Whether your dog has food sensitivities, allergies, or you simply want to provide the highest quality nutrition, this recipe delivers exactly that. The beauty of making your own dog food is that you can adjust portions based on your dog’s age, size, and activity level, ensuring they’re getting the perfect amount of calories and nutrients.
Before starting any homemade dog food regimen, it’s important to consult with your veterinarian to ensure the recipe meets your individual dog’s nutritional requirements. Dogs need the right balance of protein, fat, carbohydrates, vitamins, and minerals to thrive. This recipe includes all the essential components your dog needs for optimal health and energy.
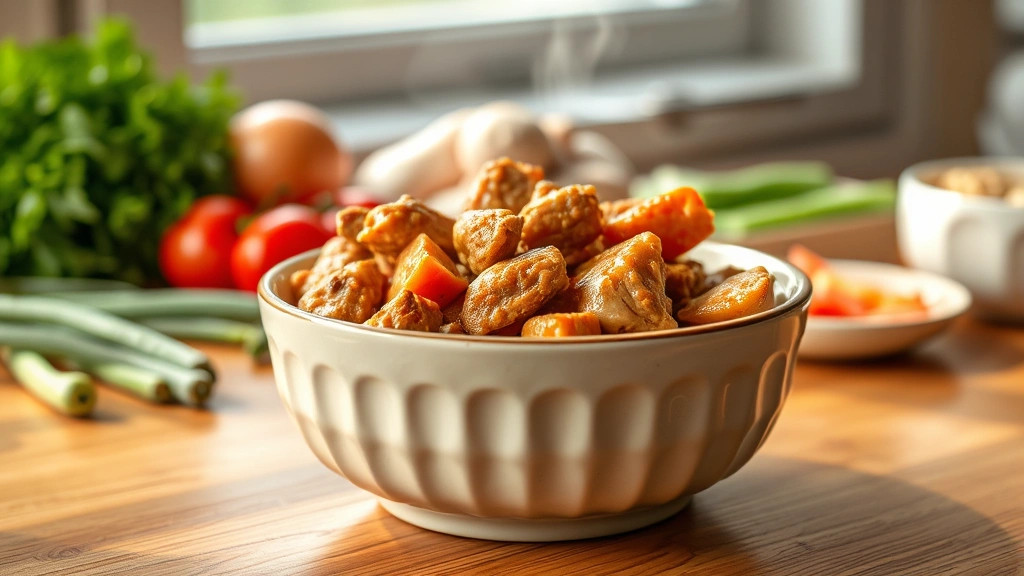
The main components of this best homemade dog food recipe include lean protein, healthy carbohydrates, vegetables, and supplements to ensure complete nutrition. We’re using chicken as our primary protein source because it’s lean, digestible, and most dogs absolutely love it. Combined with nutrient-dense vegetables and whole grains, you’ll create meals that keep your dog’s coat shiny, energy levels high, and digestive system happy.
One of the biggest advantages of homemade dog food is knowing exactly what your dog is eating. No mystery ingredients, no recalls, just pure, wholesome nutrition prepared with love in your own kitchen. Many dog owners report that their pets have improved energy levels, healthier coats, and better digestion when switched to homemade meals. Plus, the joy on your dog’s face when they smell fresh, home-cooked food is absolutely priceless!
This recipe is designed to be made in batches and frozen for convenience. You can prepare several weeks’ worth of meals at once, then portion them out as needed. It’s budget-friendly, customizable, and ensures your dog gets consistent, quality nutrition every single day. Let’s dive into creating the best homemade dog food for your beloved companion!
For more insights on preparing nutritious meals, check out our Best Heavy Cream Alfredo Sauce Recipe for understanding protein-rich ingredients. You might also enjoy exploring our Delicious Heavy Cream Pasta Recipe for additional cooking techniques. Don’t miss our Easy Chicken Alfredo Recipe which uses similar protein preparation methods. For vegetable inspiration, try our Best Chickpea Salad Recipe for additional nutritious ingredients. Learn more about ingredient selection in our Perfect Creamy Pasta Recipe.
For additional guidance on pet nutrition, consult Bon Appétit’s ingredient guides, explore Serious Eats’ cooking techniques, and check New York Times Cooking for nutritional information. Always verify with your veterinarian before making dietary changes.
Ingredients
- 3 pounds lean ground chicken or chicken breast, finely chopped
- 2 cups long-grain brown rice, uncooked
- 3 cups mixed vegetables (carrots, green beans, peas, sweet potato), chopped into small pieces
- 1 cup broccoli, finely chopped
- ½ cup spinach, chopped
- 3 tablespoons olive oil or fish oil
- 6 cups low-sodium chicken broth or water
- 1 tablespoon ground eggshell powder or calcium carbonate supplement
- 1 teaspoon fish oil supplement
- ½ teaspoon iodized salt (optional, consult vet)
- 1 multivitamin for dogs, crushed (choose vet-approved brand)
- 2 tablespoons plain pumpkin puree
Instructions
- Gather all ingredients and ensure your kitchen is clean and organized. Having everything prepared before you begin will make the cooking process smoother and more efficient.
- In a large, heavy-bottomed pot, bring 6 cups of low-sodium chicken broth or water to a rolling boil over medium-high heat.
- Once boiling, add the uncooked brown rice and stir well to combine. Reduce heat to medium and allow the rice to simmer gently.
- While the rice is cooking, prepare your vegetables by washing and chopping them into small, bite-sized pieces that are easy for your dog to chew and digest.
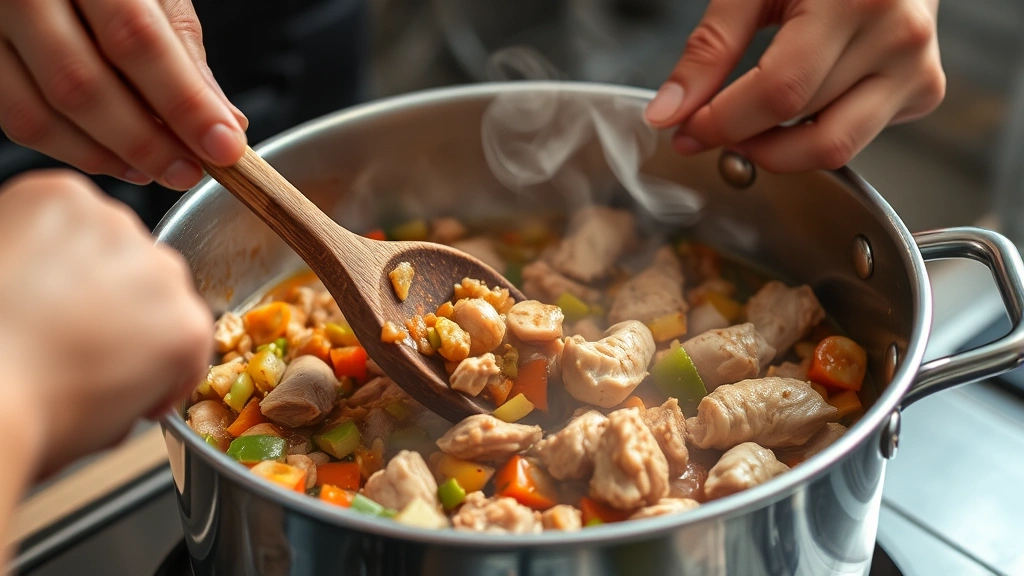
- In a separate large skillet over medium-high heat, add the lean ground chicken and cook until completely browned, breaking it up into small pieces as it cooks, approximately 8-10 minutes.
- Drain any excess fat from the cooked chicken using a slotted spoon or by pouring through a fine-mesh strainer.
- Check the rice after about 15 minutes of simmering. It should be tender and the liquid mostly absorbed. If rice isn’t tender, add a bit more broth and continue cooking.
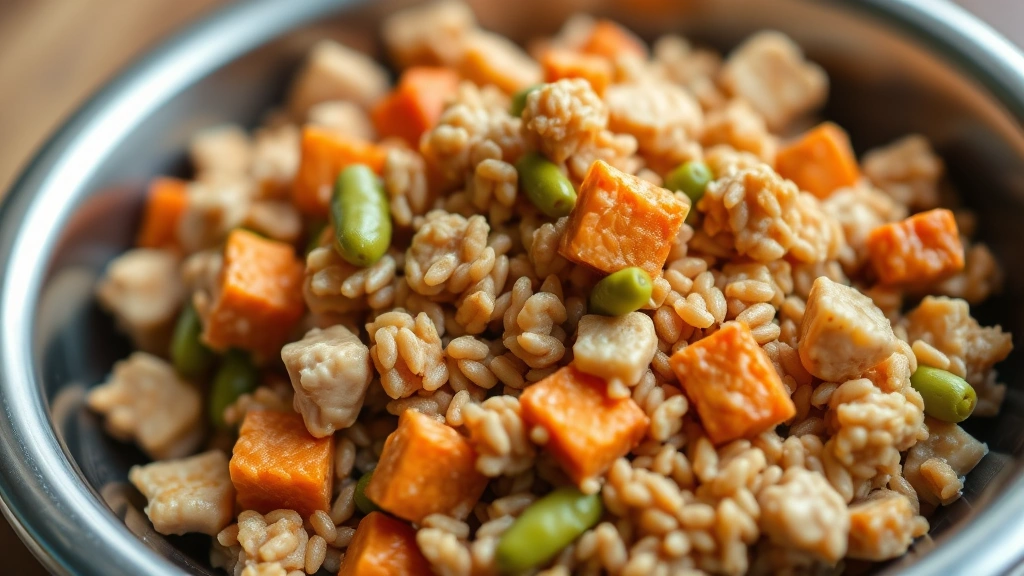
- Once the rice is fully cooked and tender, add the cooked chicken to the pot with the rice.
- Stir in all the chopped vegetables including carrots, green beans, peas, sweet potato, broccoli, and spinach, mixing thoroughly to combine.
- Add the olive oil or fish oil, stirring well to distribute the healthy fats throughout the mixture.
- Cook the vegetable and rice mixture together for another 5-7 minutes to allow the vegetables to soften slightly while retaining their nutritional value.
- Remove the pot from heat and allow the mixture to cool for several minutes until it’s warm but not piping hot.
- Once cooled to room temperature, add the ground eggshell powder or calcium carbonate supplement, stirring thoroughly to distribute evenly.
- Add the fish oil supplement and the crushed multivitamin, mixing well to ensure they’re evenly distributed throughout the food.
- Stir in the plain pumpkin puree, which aids in digestion and adds beneficial fiber.
- Taste a small amount yourself to ensure there are no off flavors (spit it out, of course!). The food should smell fresh and appetizing.
- Divide the cooled dog food into appropriate portion sizes using an ice cream scoop or measuring cup.
- Place portions into freezer-safe containers, leaving a bit of space at the top for expansion during freezing.
- Label each container with the date prepared and any special notes about ingredients used.
- Store in the freezer for up to 3 months, or in the refrigerator for up to 4 days.
- Thaw one portion at a time in the refrigerator overnight before serving to your dog.
- Serve at room temperature in your dog’s regular food bowl, adjusting portion sizes based on your dog’s age, weight, and activity level as advised by your veterinarian.
Pro Tips
- **Veterinary Consultation**: Before switching your dog to homemade food, consult with your veterinarian or a veterinary nutritionist to ensure the recipe meets your dog’s specific nutritional needs. Every dog is unique and may require adjustments based on age, health status, and activity level.
- **Protein Variations**: While this recipe uses chicken, you can also use turkey, lean beef, or fish as your primary protein source. Rotate proteins occasionally to provide variety and ensure your dog receives different amino acid profiles. Always use lean cuts to minimize fat content.
- **Vegetable Safety**: Never include onions, garlic, grapes, raisins, avocado, or chocolate in dog food as these are toxic to dogs. Stick to dog-safe vegetables like carrots, green beans, sweet potatoes, peas, broccoli, and spinach in moderation.
- **Supplement Importance**: The calcium supplement and multivitamin are crucial for balanced nutrition. Homemade diets can be deficient in certain minerals and vitamins if not properly supplemented. Never skip these components without veterinary guidance.
- **Portion Control**: The amount your dog needs depends on their age, size, metabolism, and activity level. A general guideline is 2-3% of body weight daily, but your vet can provide specific recommendations. Monitor your dog’s weight and adjust portions accordingly.
- **Storage and Safety**: Always label your frozen portions with the date prepared. Use oldest portions first and maintain proper food safety practices. Thaw in the refrigerator rather than at room temperature to prevent bacterial growth.
- **Transition Period**: When introducing homemade dog food, transition gradually over 7-10 days by mixing increasing amounts of new food with their current food. This prevents digestive upset and allows their system to adjust.
- **Cost Considerations**: Homemade dog food can be more economical than premium commercial brands, especially if you buy ingredients on sale or in bulk. Calculate the cost per serving to compare with your current dog food expenses.
- **Cooking Methods**: You can also use a slow cooker or Instant Pot for preparation. These methods may preserve more nutrients and make the process even easier for batch cooking.
- **Regular Health Monitoring**: Have your vet perform bloodwork periodically to ensure your dog’s nutritional needs are being met. This helps catch any deficiencies early and allows for recipe adjustments as needed.