
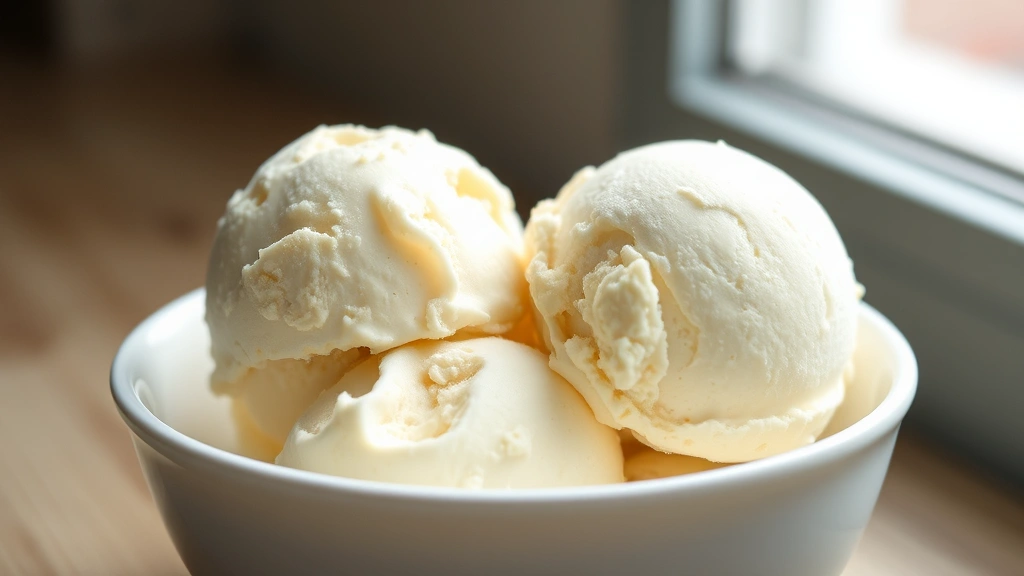
There’s nothing quite like homemade ice cream—it’s creamy, dreamy, and absolutely delicious. Making ice cream at home is easier than you might think, and the results are so much better than store-bought. This classic vanilla ice cream recipe is the perfect starting point for any ice cream maker, and once you master the technique, you can experiment with endless flavor variations.
The secret to the BEST homemade ice cream is using quality ingredients and a proper custard base. We’re talking real vanilla beans, fresh eggs, and heavy cream that creates that luxurious, smooth texture you crave. This isn’t some no-churn situation—we’re doing this the right way with an ice cream maker for that perfect consistency.
What I love most about making ice cream at home is the control you have. You decide how sweet it is, how much vanilla flavor it has, and what mix-ins go in. Plus, there’s something so satisfying about serving homemade ice cream to your family and friends. It feels fancy, but honestly, it’s incredibly simple.
This recipe makes about a quart of ice cream, which is perfect for a small gathering or several nights of dessert. The custard comes together in about 15 minutes, then you chill it overnight (or at least 4 hours), churn it in your ice cream maker, and freeze it until it reaches the perfect scoopable consistency. It’s the kind of recipe that feels like you’re doing something special, but really, you’re just following a few simple steps.
I’ve included tips for customizing this recipe with different flavorings, mix-ins, and variations. Once you understand the basic custard technique, you can make rich, creamy desserts that rival any ice cream parlor. For more inspiration on using quality cream in your cooking, check out our heavy cream pasta recipes.
The technique matters here. Tempering the eggs properly ensures food safety while creating that silky custard base. Then chilling the mixture thoroughly before churning is what gives you that perfect ice cream texture. If you skip these steps, you’ll end up with something icy rather than creamy.
I absolutely recommend investing in a quality ice cream maker if you plan to make this regularly. The best ice cream makers make the process effortless and deliver professional results. Whether you go with a traditional churn freezer or a freezer-bowl model, it’s worth the investment for homemade dessert dreams.
This recipe is endlessly customizable. Love cookies and cream? Crush up your favorite cookies and fold them in. Want coffee ice cream? Brew some strong espresso and add it to your custard. Chocolate lover? Melt in some quality chocolate. The possibilities are truly endless, and that’s what makes homemade ice cream so exciting.
Serving suggestions are endless too. Pair it with homemade pickled red onions for a sweet-and-savory dessert (trust me on this), or keep it classic with a slice of pie. You could even serve it with homemade treats for a complete dessert experience.
For more expert techniques and flavor inspiration, check out Bon Appétit’s vanilla ice cream guide and The New York Times ice cream recipes. These resources have amazing variations and troubleshooting tips that will help you master the art of ice cream making.
Ingredients
- 2 cups heavy cream, cold
- 1 cup whole milk, cold
- 3/4 cup granulated sugar
- 1 vanilla bean pod, split and scraped (or 2 teaspoons vanilla extract)
- 5 large egg yolks, room temperature
- 1/4 teaspoon sea salt
- 1 tablespoon cornstarch (optional, for extra creaminess)
- Pinch of xanthan gum (optional, helps prevent ice crystals)
Instructions
- Pour the cold heavy cream and whole milk into a large bowl and set aside. This will be used to cool the hot custard later.
- In a separate medium saucepan, combine the sugar, salt, and milk (reserve about 1/4 cup milk for this step). Heat over medium heat, stirring occasionally, until the mixture is steaming and reaches about 160°F. Do not boil.
- If using a vanilla bean pod, add the scraped seeds and the pod itself to the hot milk mixture and let it infuse for 5 minutes. Remove the pod before proceeding.
- In a small bowl, whisk together the egg yolks until they’re pale and slightly thickened, about 1-2 minutes. This tempers them for the next step.
- Slowly pour about 1/2 cup of the hot milk mixture into the egg yolks while whisking constantly. This tempers the eggs and prevents scrambling.
- Once combined, pour the egg mixture back into the saucepan with the remaining hot milk, whisking constantly to combine thoroughly.
- Return the saucepan to medium-low heat and cook, stirring frequently with a wooden spoon or whisk, until the custard reaches 160°F on an instant-read thermometer. This takes about 5-8 minutes. The mixture should coat the back of a spoon.
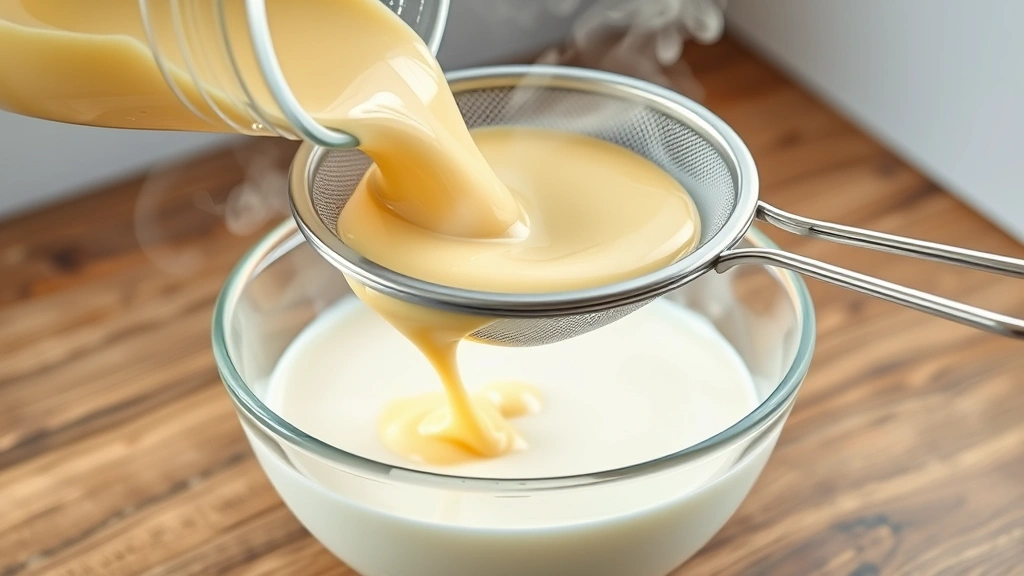
- Remove from heat and immediately strain the custard through a fine-mesh sieve into the bowl of cold cream and milk. This stops the cooking process and removes any cooked egg bits.
- Stir the mixture well to combine and cool it down. If using vanilla extract instead of a pod, add it now.
- Place the bowl in an ice bath (a larger bowl filled with ice and water) for about 10-15 minutes, stirring occasionally, until the mixture is completely chilled to about 40°F.
- Once chilled, transfer the custard to an airtight container and refrigerate for at least 4 hours, or preferably overnight. This resting period is crucial for the best texture.
- Remove the ice cream base from the refrigerator about 30 minutes before churning. Check that your ice cream maker’s freezer bowl has been in the freezer for at least 24 hours.
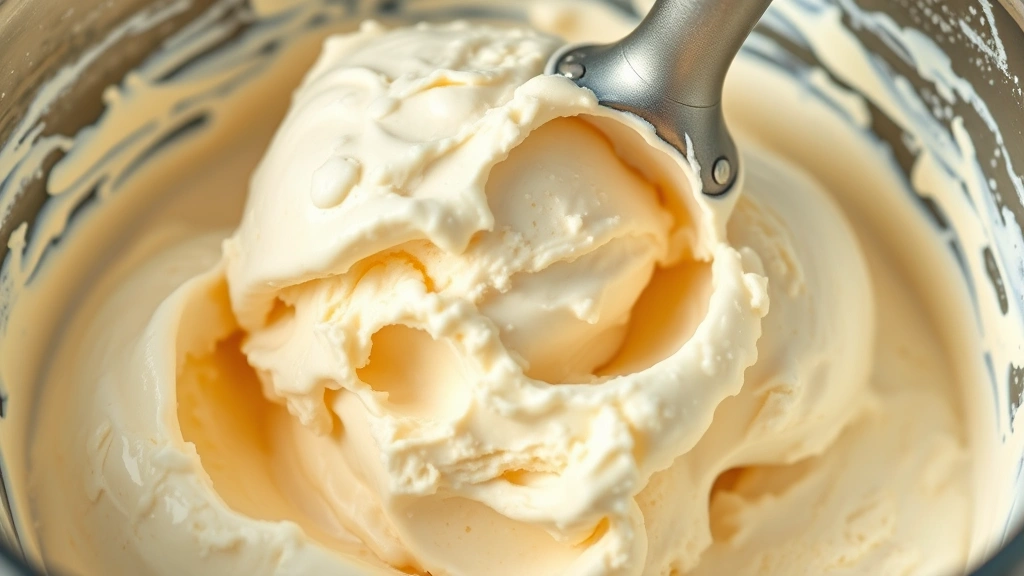
- Pour the chilled custard into the ice cream maker and churn according to the manufacturer’s instructions, usually 20-30 minutes, until it reaches a soft-serve consistency.
- Transfer the soft ice cream to a freezer-safe container, smoothing the top with a spatula.
- Freeze for at least 4 hours, or until firm enough to scoop. For best results, freeze overnight before serving.
Pro Tips
TEMPERING EGGS: This step is crucial for food safety. The custard must reach 160°F to safely pasteurize the eggs. Use an instant-read thermometer to be sure. Don’t rush this step—it only takes a few minutes and ensures delicious, safe ice cream.
CHILLING TIME: Don’t skip the overnight chilling. This allows the flavors to meld and the mixture to reach the proper temperature for churning. Cold custard churns better and creates a smoother texture.
ICE CREAM MAKER: Different machines have different requirements. Some require freezing the bowl for 24 hours; others have built-in freezing units. Follow your specific machine’s instructions for best results.
FLAVOR VARIATIONS: Chocolate ice cream—melt 4 oz of quality chocolate and whisk into the hot custard before chilling. Strawberry ice cream—puree 1 1/2 cups fresh strawberries and fold into churned ice cream. Coffee ice cream—add 2-3 tablespoons of instant espresso powder to the hot custard. Salted caramel—swirl in homemade caramel sauce before final freezing. Mint chocolate chip—add 1/2 teaspoon peppermint extract and fold in chocolate chips.
STORAGE: Store in an airtight container in the freezer for up to 2 weeks. Press plastic wrap directly onto the surface to prevent ice crystals from forming.
CREAMINESS: If your ice cream is too icy, try adding 1 tablespoon of cornstarch or a pinch of xanthan gum to the custard. These help prevent ice crystal formation. Some people also add alcohol (vodka or liqueur) in small amounts, as it lowers the freezing point and keeps ice cream scoopable.
TROUBLESHOOTING: If custard breaks or looks grainy, strain it through cheesecloth. If ice cream is too soft, make sure your freezer is at 0°F or below. If ice cream is too hard and won’t scoop, let it sit at room temperature for 5-10 minutes before serving.
NUTRITION NOTE: This recipe uses pasteurized eggs through heat treatment. If using raw eggs from a trusted source, add a few minutes to the cooking time to reach 160°F safely.
MAKE-AHEAD: The custard base can be made up to 3 days in advance. Store in an airtight container and churn when ready. You can also churn the ice cream, transfer to a container, and freeze for up to 2 weeks before serving.
Pingback: How to make the BEST Italian Sandwich Recipe Effortlessly! – Simple Recipe Finder