

Making kale chips at home is easier than you might think, and honestly, they taste SO much better than store-bought versions! These crispy, addictive chips are perfect for snacking, and they come together in just minutes. The key to achieving that perfect crunch is all about proper preparation and keeping a close eye on them while they bake.
I absolutely love how versatile this recipe is. You can keep them simple with just salt and olive oil, or get creative with seasonings like parmesan, garlic powder, or even a touch of cayenne pepper for some heat. My family goes through these like crazy, especially when I make a big batch on Sunday for the week ahead.
What makes kale chips so special is that they’re a genuinely healthy snack option. Unlike traditional potato chips, kale is packed with nutrients, vitamins, and minerals. When you bake them instead of frying, you’re creating a guilt-free indulgence that actually tastes decadent. I often make these when I’m hosting dinner parties because guests are always impressed by how homemade they are, yet they’re so simple to execute.
The secret to success with kale chips is using fresh, high-quality kale and making sure it’s completely dry before baking. Any excess moisture will steam the kale rather than crisp it up, so don’t skip the drying step! I also recommend using a salad spinner and then patting the kale dry with paper towels for the best results. Once you master this basic technique, you’ll find yourself making them constantly.
These chips pair beautifully with other healthy recipes too. I love serving them alongside my Best Chickpea Salad Recipe for a complete lunch, or including them as a side with lighter pasta dishes. You can also sprinkle them over soups or salads for added crunch and nutrition. The possibilities are truly endless!
For seasoning inspiration, check out how I use flavors in my Perfect Pickled Red Onions Recipe – those same flavor principles work wonderfully on kale chips. Whether you’re looking for a quick snack or an elegant side dish, this recipe is going to become a staple in your kitchen. Let’s dive in and create some seriously delicious kale chips!
Ingredients
- 1 large bunch fresh kale (about 8-10 ounces)
- 2-3 tablespoons extra virgin olive oil
- 1 teaspoon sea salt (adjust to taste)
- ½ teaspoon garlic powder (optional)
- ¼ teaspoon black pepper
- Pinch of cayenne pepper (optional, for heat)
Instructions
- Preheat your oven to 300°F (150°C). This lower temperature is crucial for achieving crispy chips without burning them.
- Rinse the kale thoroughly under cold running water to remove any dirt or debris from the leaves.
- Pat the kale completely dry using paper towels or a clean kitchen towel. You can also use a salad spinner for faster drying – this step is absolutely essential for crispy chips.
- Remove the tough center stems from the kale by holding each leaf at the base and running your thumb up the stem to separate the tender leaf portion from the woody stem.
- Tear the kale leaves into chip-sized pieces, roughly 2-3 inches across. Try to keep them relatively uniform in size so they bake evenly.
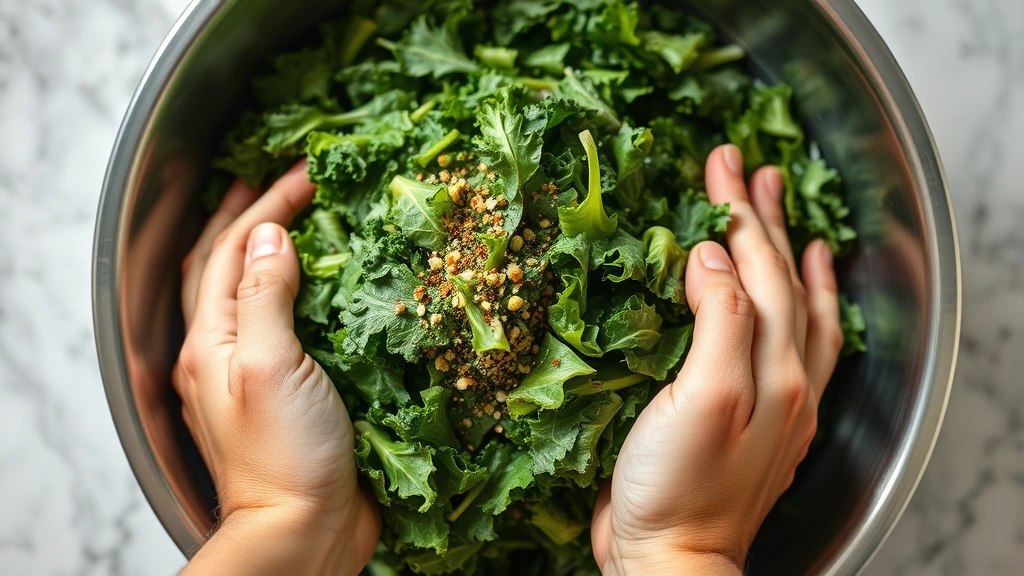
- Place the torn kale in a large bowl and drizzle with olive oil.
- Sprinkle the sea salt, garlic powder, black pepper, and cayenne pepper (if using) over the kale.
- Gently toss everything together with your hands, making sure every piece of kale is lightly coated with oil and seasonings. Don’t be too rough or you’ll bruise the delicate leaves.
- Spread the seasoned kale in a single layer on two large baking sheets. Make sure the pieces aren’t overlapping – they need air circulation to crisp up properly.
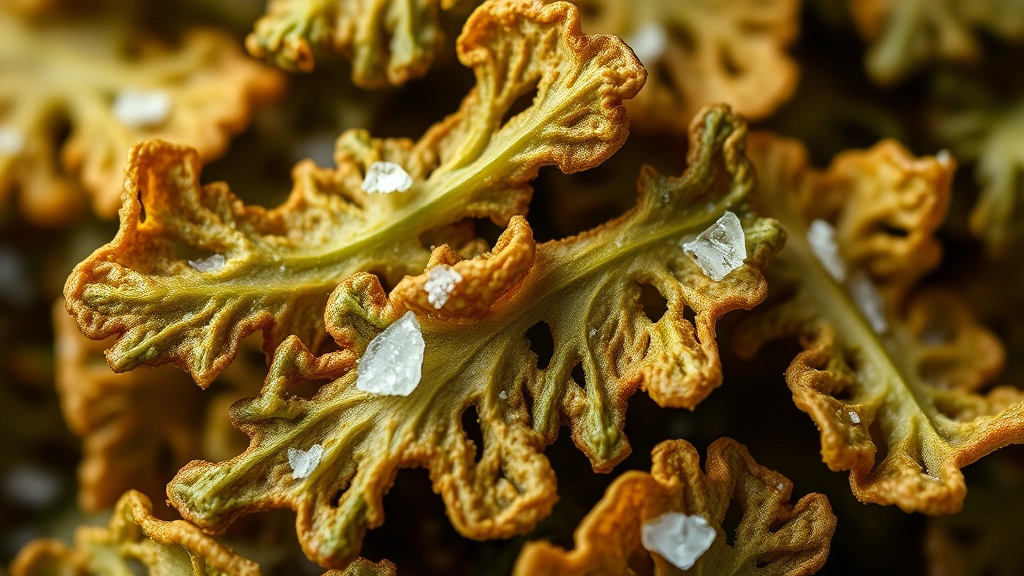
- Bake for 15-20 minutes, checking halfway through and stirring gently. The chips are done when they’re completely crispy and the edges are slightly browned but not burned.
- Remove from the oven and let the chips cool on the baking sheet for 2-3 minutes, then transfer to a wire rack to cool completely.
- Store any leftovers in an airtight container at room temperature for up to 3 days, though they’re best enjoyed fresh!
Pro Tips
- **Kale Selection**: Curly kale works best for this recipe because it creates the most appealing chip texture. Lacinato kale also works beautifully and creates a slightly different texture. Avoid using baby kale as it’s too delicate and won’t crisp up properly.
- **The Drying Step is Critical**: This cannot be overstated – any moisture on the kale will prevent it from crisping. If you have time, lay the kale out on paper towels for 15-20 minutes after washing and patting to allow any remaining moisture to evaporate.
- **Oil Coating**: Use a light hand with the olive oil. Too much will make them greasy, but too little will result in chips that aren’t crispy. Aim for a very light, even coating across all pieces.
- **Temperature Control**: Baking at a lower temperature (300°F) is key to preventing burning while allowing the kale to dry out and crisp up. If your oven runs hot, check the chips around the 12-minute mark.
- **Seasoning Variations**: Try everything bagel seasoning, nutritional yeast with lemon zest, sriracha powder mixed with a touch of honey, or simple parmesan cheese for different flavor profiles.
- **Batch Baking**: If you’re making a large quantity, bake the chips in batches rather than overcrowding the baking sheets. This ensures even crisping and prevents steaming.
- **Storage Tips**: Kale chips are best consumed within 2-3 days of making them. Store them in an airtight container with parchment paper between layers if stacking. They can absorb moisture from the air, so keep them sealed.
- **Stale Chip Rescue**: If your chips lose their crispness, pop them back in a 250°F oven for 5 minutes to restore their crunch.
- **Nutritional Benefits**: Kale is incredibly nutrient-dense, containing vitamins A, C, and K, plus minerals like calcium and iron. These chips are a genuinely healthy snack option compared to traditional potato chips.
- **Make-Ahead Option**: You can prepare the kale (wash, dry, tear, and season) up to 6 hours ahead, then bake right before serving for maximum freshness.