
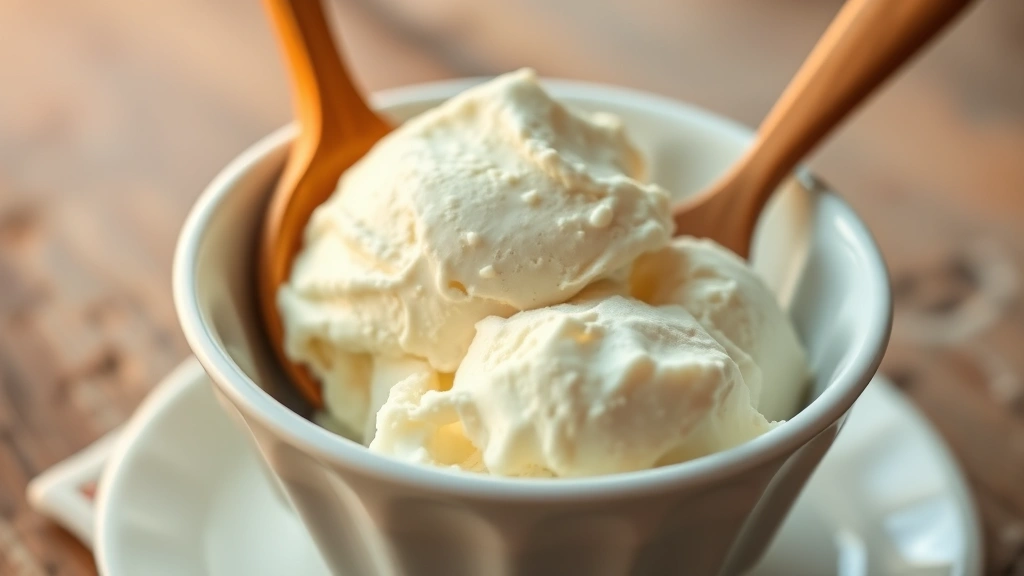
There’s something absolutely magical about homemade ice cream, and when you have a KitchenAid ice cream maker attachment, you’re just steps away from creating restaurant-quality frozen desserts in your own kitchen. I’ve been making ice cream with my KitchenAid for years, and I’m thrilled to share my foolproof method for the most creamy, delicious ice cream you’ve ever tasted.
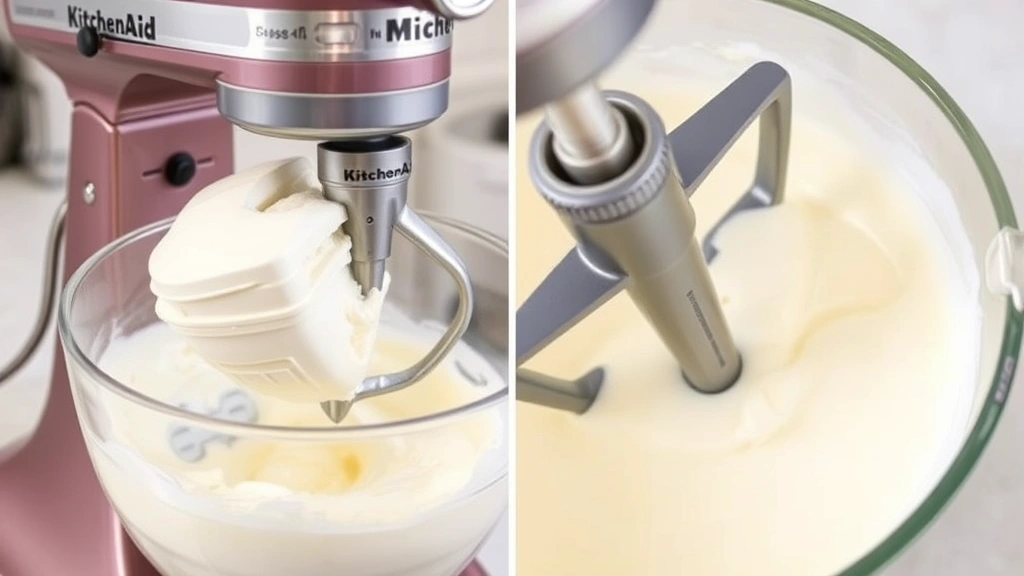
The secret to the best KitchenAid ice cream lies in three key factors: a properly chilled base, the right proportion of cream to milk, and understanding how your specific machine works. Unlike commercial ice cream makers that require hours of prep, the KitchenAid attachment makes the process incredibly straightforward. The freezer bowl does all the heavy lifting, churning your mixture to the perfect consistency while incorporating just the right amount of air.
What I love most about making ice cream at home is the ability to control every ingredient. You know exactly what’s going into your dessert—no mysterious additives or stabilizers you can’t pronounce. Plus, you can customize flavors to your heart’s content. From classic vanilla to adventurous combinations, the possibilities are endless.
Before we dive into the recipe, let me share a few pro tips. First, make sure your KitchenAid bowl has been in the freezer for at least 15 hours before churning. Second, chill your ice cream base thoroughly—ideally overnight, but at minimum 4 hours. Third, work quickly once you start churning; the faster you go, the smoother your ice cream will be. If you’re looking to elevate your dessert game, you might also enjoy making rich cream-based sauces to drizzle over your homemade ice cream.
This recipe makes about one quart of ice cream, which is the perfect amount for a family dinner or small gathering. The beauty of this base is that it’s incredibly versatile. You can leave it plain for classic vanilla, or you can infuse it with everything from fresh berries to coffee to chocolate. I’ll walk you through the vanilla version, which is my go-to, but I’ll also give you some of my favorite flavor variations at the end.
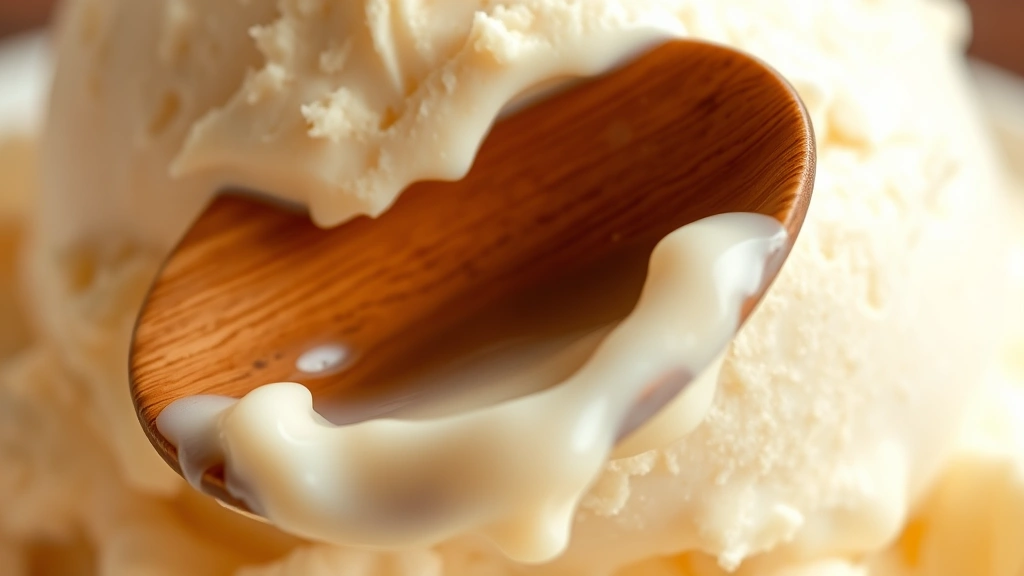
The texture you’ll achieve with this method is unbelievably smooth and creamy. Because the KitchenAid churns at the perfect speed and temperature, you get that luxurious mouthfeel that rivals any premium ice cream shop. The key is not to over-churn; stop when the ice cream reaches soft-serve consistency, and then transfer it to the freezer to firm up.
One thing I always do is make my ice cream base the day before I plan to churn it. This gives the flavors time to meld together and ensures the base is perfectly cold. You can also make multiple batches of base and store them in the refrigerator, so you’re ready to churn whenever the mood strikes. For more cream-based inspiration, check out my heavy cream pasta recipes which use similar quality ingredients.
I’ve tested this recipe dozens of times, and I can confidently say it’s foolproof. Whether this is your first time making ice cream or you’re a seasoned pro, you’ll love the results. The combination of heavy cream and whole milk creates the perfect balance of richness and smoothness. Too much cream and your ice cream becomes heavy; too little and it becomes icy. This ratio is just right.
The beauty of homemade ice cream is that you can make it as simple or as complex as you want. Start with this classic base and master the technique, then branch out into your own creations. Your family and friends will be absolutely amazed when you tell them you made this ice cream yourself, and it tastes better than anything from a store.
One final note: if you don’t have a KitchenAid ice cream maker attachment yet, I highly recommend investing in one. It’s one of my most-used kitchen tools, and it pays for itself after just a few batches of homemade ice cream. The quality difference between ice cream made with this method and other techniques is remarkable. Let’s get started on making the best ice cream you’ve ever tasted!
Ingredients
- 2 cups heavy cream, cold
- 1 cup whole milk, cold
- 3/4 cup granulated sugar
- 2 tablespoons light corn syrup
- 1 1/2 teaspoons vanilla extract
- 1/4 teaspoon sea salt
- Ice cream maker attachment for KitchenAid (bowl must be frozen for at least 15 hours)
Instructions
- Freeze your KitchenAid ice cream maker bowl for at least 15 hours before you plan to make ice cream. This is crucial—the bowl must be completely frozen for the machine to work properly.
- In a medium saucepan, combine the cold whole milk and granulated sugar over medium heat, stirring constantly until the sugar dissolves completely. Do not let the mixture boil.
- Remove the saucepan from heat and stir in the light corn syrup until fully incorporated. The corn syrup helps prevent large ice crystals from forming and creates a smoother texture.
- Pour the warm milk mixture into a large bowl and let it cool to room temperature, approximately 15-20 minutes, stirring occasionally.
- Once cooled, stir in the cold heavy cream, vanilla extract, and sea salt until well combined. Taste and adjust vanilla or salt as needed.
- Cover the mixture and refrigerate for at least 4 hours, or preferably overnight. The colder the base, the better your ice cream will turn out.
- Remove the frozen KitchenAid bowl from the freezer and attach it to your KitchenAid stand mixer along with the dasher attachment.
- Pour the chilled ice cream base into the frozen bowl, working quickly so the bowl doesn’t warm up.
- Set the mixer to the lowest speed setting and let it churn for 20-30 minutes. The mixture will gradually transform from liquid to soft-serve consistency.
- Watch the ice cream carefully as it churns. You want to stop when it reaches soft-serve consistency, which typically happens around the 25-30 minute mark. If you let it churn too long, it can become grainy.
- Transfer the soft-serve ice cream to a freezer-safe container, pressing plastic wrap directly onto the surface to prevent ice crystals from forming.
- Freeze for at least 4 hours, or until firm, before serving. The ice cream will continue to harden in the freezer and reach the perfect scoopable consistency.
Pro Tips
- The corn syrup is essential for smooth texture. It lowers the freezing point and prevents large ice crystals from forming. Don’t skip it!
- Always ensure your KitchenAid bowl is completely frozen. If it’s not cold enough, your ice cream will be icy instead of creamy.
- Chilling your base overnight makes a noticeable difference in the final texture. Plan ahead when possible.
- Never go above medium speed on your mixer. Higher speeds can incorporate too much air and create a grainy texture.
- Flavor variations: For vanilla bean, scrape the seeds from one vanilla bean pod and add to the base. For chocolate ice cream, whisk 1/2 cup cocoa powder with the sugar before heating. For strawberry, puree 1 1/2 cups fresh strawberries and strain through a fine mesh sieve, then add to the cooled base.
- For coffee ice cream, dissolve 2 tablespoons instant coffee powder in the warm milk mixture.
- Homemade ice cream melts faster than store-bought due to lack of stabilizers. Keep it in the coldest part of your freezer and serve with a cold scoop.
- You can make the base 2-3 days ahead and store it covered in the refrigerator.
- Soft-serve consistency is key to stopping point. If you continue churning until it’s firm, it will become grainy as it hardens further in the freezer.
- For extra creamy ice cream, use a 3:1 ratio of cream to milk instead of 2:1, but don’t go higher than that or it becomes too heavy.
- Remove ice cream from freezer 5-10 minutes before serving for easiest scooping.
- If your ice cream becomes too hard after freezing, let it sit on the counter for 5-10 minutes before scooping.