

There’s something absolutely magical about a homemade lemon tart – it’s elegant, bright, and surprisingly easy to make at home! This recipe combines a buttery, crisp pastry crust with a silky smooth lemon filling that’s perfectly balanced between tart and sweet. Whether you’re hosting a dinner party or simply craving a sophisticated dessert, this lemon tart is guaranteed to impress.
I’ve been making this recipe for years, and it never fails to earn compliments from family and friends. The key to success is using fresh lemon juice and zest – don’t even think about using bottled juice here. The bright, vibrant flavor is what makes this tart truly special. Plus, it comes together in under an hour from start to finish, making it perfect for both beginner and experienced bakers.
The pastry crust is rich and buttery, with just a hint of salt to balance the sweetness. It bakes up perfectly golden and crispy, providing the ideal base for the creamy lemon custard filling. Speaking of the filling – it’s made with eggs, butter, sugar, and of course, fresh lemon juice and zest. The mixture gets baked until it’s set but still slightly jiggly in the center, which allows it to finish setting perfectly as it cools.
One of my favorite things about this tart is its versatility. You can make it ahead of time and store it in the refrigerator, making it perfect for meal prep. It also pairs beautifully with fresh whipped cream, vanilla ice cream, or simply on its own. If you’re looking for more creamy dessert inspiration, you might also enjoy exploring other custard-based treats.
The beauty of this recipe lies in its simplicity and the quality of ingredients. Fresh lemons are absolutely non-negotiable – their brightness and natural acidity are what give this tart its signature flavor. I recommend using Meyer lemons if you can find them, as they’re slightly sweeter and less acidic than regular lemons, though either variety works beautifully. Don’t skip the blind baking step for the crust; this ensures it stays crispy and doesn’t get soggy from the filling.
This tart is perfect for spring and summer entertaining, though honestly, it’s wonderful any time of year. The tartness of the lemon is refreshing and palate-cleansing, making it an excellent dessert after a rich meal. For more bright and tangy flavor combinations, consider pairing this tart with other fresh, citrus-forward recipes.
I’ve tested this recipe countless times, and I’ve refined it to perfection. The proportions are exact, the technique is foolproof, and the results are consistently stunning. Whether this is your first homemade tart or your hundredth, I’m confident you’ll love this recipe as much as I do. Let’s get started!
Ingredients
- 1 1/2 cups all-purpose flour
- 1/2 cup cold unsalted butter, cubed
- 1/4 cup cold shortening or additional butter
- 1/2 teaspoon salt
- 1/4 teaspoon sugar
- 4-6 tablespoons ice water
- 6 large eggs
- 3/4 cup granulated sugar
- 1/2 cup unsalted butter
- 4-5 fresh lemons (about 1 cup juice and 2 tablespoons zest)
- 2 tablespoons cornstarch
- 1/4 teaspoon salt
- Powdered sugar for dusting (optional)
Instructions
- Make the pastry crust by combining 1 1/2 cups flour, 1/2 teaspoon salt, and 1/4 teaspoon sugar in a large bowl. Cut in the cold butter and shortening until the mixture resembles coarse breadcrumbs with some pea-sized pieces remaining.
- Add ice water one tablespoon at a time, mixing gently with a fork until the dough just comes together. Form into a disk, wrap in plastic wrap, and refrigerate for at least 30 minutes or up to 2 hours.
- Preheat your oven to 400°F (200°C). Remove the dough from the refrigerator and let it sit at room temperature for 5 minutes to make rolling easier.
- Roll out the chilled dough between two sheets of parchment paper to about 1/8-inch thickness. Transfer to a 9-inch tart pan with a removable bottom, pressing gently into the corners and sides. Trim any excess dough.
- Prick the bottom of the crust with a fork and line with parchment paper. Fill with pie weights or dried beans and blind bake for 10-12 minutes until the edges are set but not browned.
- Remove the pie weights and parchment paper, then return the crust to the oven for 2-3 minutes more to dry out the bottom. Remove from the oven and set aside. Reduce oven temperature to 350°F (175°C).
- While the crust bakes, prepare the lemon filling by whisking together 6 eggs and 3/4 cup sugar in a medium bowl until pale and thick, about 2-3 minutes.
- Juice your fresh lemons to get about 1 cup of juice. Zest 2 of the lemons to get about 2 tablespoons of zest. Strain the lemon juice through a fine-mesh sieve to remove any pulp.
- Add the lemon juice, lemon zest, 2 tablespoons cornstarch, and 1/4 teaspoon salt to the egg mixture and whisk until smooth and well combined.
- Melt 1/2 cup unsalted butter in a small saucepan over low heat. Slowly pour the melted butter into the lemon mixture while whisking constantly until fully incorporated.
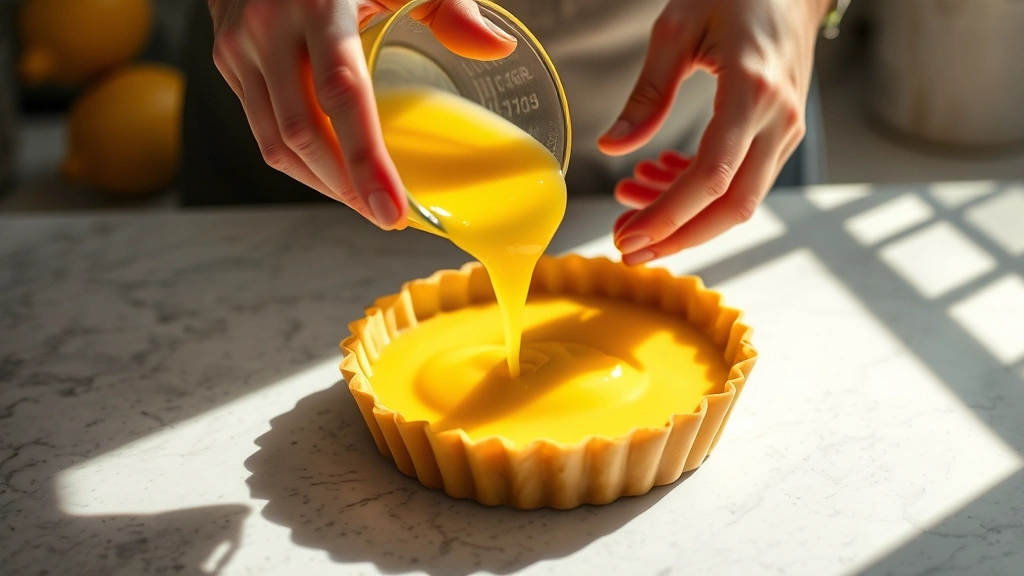
- Pour the lemon filling into the pre-baked tart crust, spreading it evenly with a spatula.
- Bake at 350°F for 20-25 minutes until the filling is set around the edges but still slightly jiggly in the center (about 1 inch in the middle should wiggle slightly).
- Remove the tart from the oven and let it cool completely on a wire rack. This will take about 30 minutes at room temperature.
- Once cooled to room temperature, refrigerate for at least 2 hours before serving. This allows the filling to set completely and the flavors to meld beautifully.
- Remove from the refrigerator 10 minutes before serving. Dust with powdered sugar if desired, then slice and serve with whipped cream or vanilla ice cream.

Pro Tips
Fresh lemon juice makes all the difference in this recipe. Bottled lemon juice simply cannot replicate the bright, complex flavor of fresh-squeezed juice. If you can find Meyer lemons, use them for a slightly sweeter, more floral flavor.
The pastry crust can be made up to 2 days ahead and stored in the refrigerator, or frozen for up to 3 months. This makes the tart perfect for advance preparation.
Do not skip the blind baking step. This crucial step ensures that your crust stays crispy and doesn’t become soggy from the filling.
Store the finished tart in the refrigerator, covered loosely with plastic wrap, for up to 3 days. The flavor actually improves after a day as the filling sets and the flavors meld together.
For a more decorative presentation, you can dust the finished tart with powdered sugar just before serving. You can also create a stencil pattern for an extra-fancy look.
This tart pairs beautifully with fresh whipped cream, vanilla ice cream, or even a light lemon sorbet. A cup of Earl Grey tea or a crisp white wine also complements it wonderfully.
If you don’t have a tart pan with a removable bottom, you can use a 9-inch pie dish, though the presentation won’t be quite as elegant. Simply slice and serve from the dish.
The cornstarch in the filling helps to stabilize the custard and prevents it from becoming too runny as it cools. Don’t omit this ingredient.
For a deeper lemon flavor, you can add an additional tablespoon of lemon zest to the filling, though be careful not to add too much or the flavor can become slightly bitter.
If your filling seems too thick when you add the butter, don’t worry – it will thin out as it bakes. If it seems too thin after cooling, you likely overbaked it and the filling set too quickly.
This recipe can easily be doubled for a 10-inch tart pan or made as individual tartlets in muffin tins. Baking time for individual tartlets will be slightly shorter, around 12-15 minutes.