
I have to be honest with you, darling—when I first saw this request, I thought someone was pulling my leg! A Minecraft lever recipe? Well, after a good laugh and a cup of coffee, I realized this might be the most creative cooking challenge I’ve tackled yet. So here’s the thing: we’re going to create an absolutely stunning lever-shaped appetizer that’s equal parts whimsical and delicious. Think of it as edible architecture, a playful nod to the blocky world of Minecraft, but executed with the elegance and precision you’d expect from a proper kitchen.
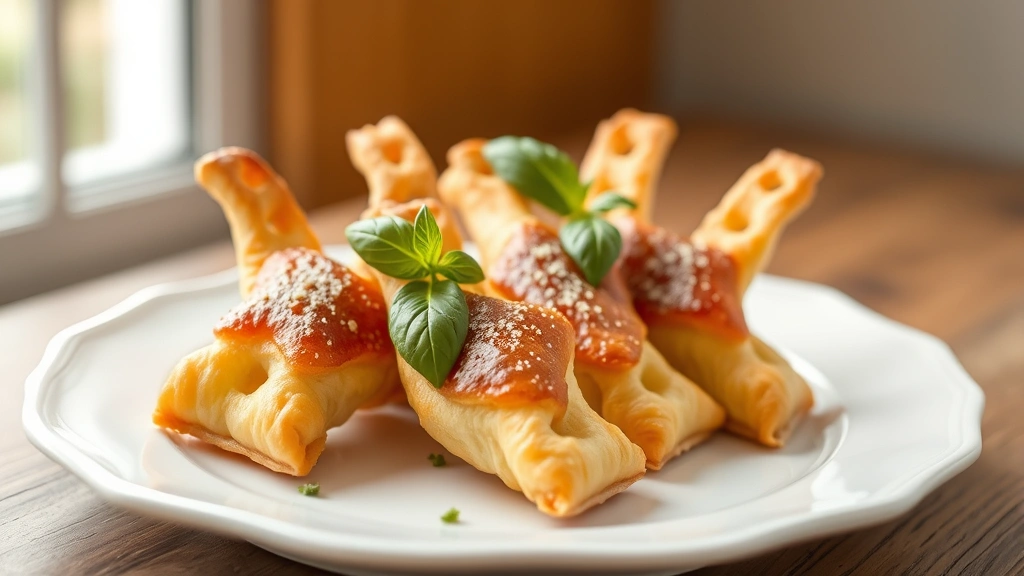
This recipe combines savory puff pastry, creamy herb-infused cheese filling, and a touch of roasted garlic to create a showstopper that’ll have your guests talking long after the party ends. The beauty of this creation is that it’s surprisingly simple to execute, yet looks like you spent hours in the kitchen (which is always my favorite kind of recipe). Whether you’re hosting a gaming-themed party, entertaining kids who are obsessed with Minecraft, or just want to have a bit of fun with your food presentation, this lever recipe is absolutely the way to go.
The inspiration here draws from classic French appetizer techniques, particularly the art of lever-shaped pastries and the careful balance of flavors that makes every bite memorable. I’ve incorporated techniques that work beautifully for creamy cheese sauces but adapted them for a more structured, sculptural presentation. The result is something that feels both playful and elegant—exactly what I always aim for in my kitchen.
What makes this recipe truly special is how it teaches you fundamental pastry skills while having an absolute blast doing it. You’ll learn proper puff pastry handling, cheese filling techniques, and garnishing methods that you can apply to countless other dishes throughout your cooking journey. Plus, these little levers freeze beautifully, making them perfect for meal prep or last-minute entertaining.
I absolutely recommend serving these warm from the oven, perhaps alongside a simple green salad dressed with a light vinaigrette, or even with pickled red onions for a pop of brightness and acidity. The combination of temperatures and textures creates a truly memorable appetizer experience. If you’re feeling fancy, you could even serve them as part of a larger appetizer spread with creamy pasta dishes or other elevated finger foods.
One of my favorite things about this recipe is how adaptable it is. You can swap out the herbs based on what you have on hand, experiment with different cheeses, or even add crispy bacon for extra flavor. The puff pastry base is completely forgiving, and honestly, the more rustic and imperfect your levers look, the more charming they become. That’s the beauty of playful cooking—it doesn’t need to be perfect to be absolutely delicious.
For more inspiration on working with cheese-based fillings, check out this easy chicken Alfredo recipe, which showcases similar flavor profiles. And if you want to round out your appetizer spread, this chickpea salad recipe offers a wonderful light contrast to these rich, indulgent bites.
Now, let me share my expert tips for making these levers absolutely perfect. First, make sure your puff pastry is cold—this is non-negotiable if you want those beautiful, flaky layers. Second, don’t overstuff your levers; a little filling goes a long way and helps them maintain their shape during baking. Third, brush them generously with egg wash for that gorgeous golden color. And finally, don’t skip the fresh herbs for garnish—they add both visual appeal and a burst of fresh flavor that elevates the entire experience.
For additional inspiration on pastry techniques and flavor combinations, I highly recommend checking out Bon Appétit for their innovative appetizer ideas, or Serious Eats for detailed pastry science explanations. And if you want to dive deep into technique, New York Times Cooking has some fantastic resources on puff pastry mastery.
This recipe makes approximately 24 levers, depending on how large you shape them. They’re perfect for a party of 8-12 people as part of a larger appetizer spread, or you could easily serve fewer if you’re keeping them as a special treat for yourself. I won’t judge—some of my best cooking moments happen in the privacy of my own kitchen with just a plate of these beauties and a glass of wine.
Ingredients
- 1 pound thawed puff pastry (about 2 sheets)
- 8 ounces cream cheese, softened
- 1/2 cup whole milk ricotta cheese
- 1/4 cup freshly grated Parmesan cheese
- 3 cloves garlic, minced and roasted
- 2 tablespoons fresh basil, finely chopped
- 1 tablespoon fresh thyme, finely chopped
- 1 teaspoon fresh rosemary, finely chopped
- Salt and freshly ground black pepper to taste
- 1/4 teaspoon red pepper flakes
- 1 large egg, beaten (for egg wash)
- 2 tablespoons water (for egg wash)
- Fresh herbs for garnish (basil, thyme, or parsley)
- Zest of 1 lemon
- 1 tablespoon olive oil (for brushing before baking)
Instructions
- Preheat your oven to 400°F and line two baking sheets with parchment paper. This temperature ensures your puff pastry puffs beautifully while the filling gets creamy and warm.
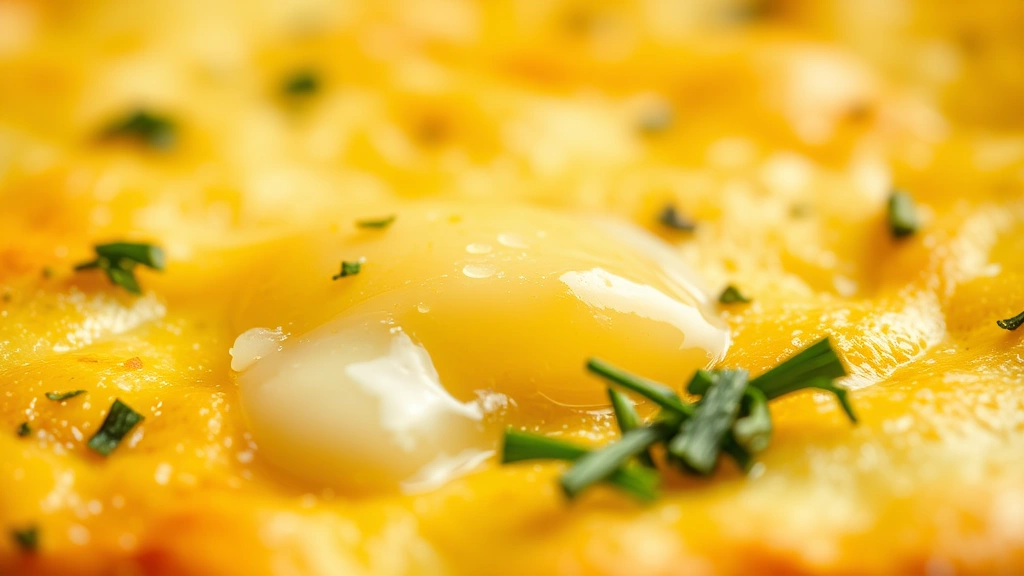
- In a medium bowl, combine the softened cream cheese, ricotta cheese, and Parmesan cheese, stirring until smooth and well incorporated. The mixture should be creamy and easy to work with.
- Add the roasted garlic, fresh basil, fresh thyme, and fresh rosemary to the cheese mixture, stirring gently to distribute the herbs evenly throughout.
- Season the cheese filling with salt, freshly ground black pepper, and red pepper flakes. Taste and adjust seasonings as needed. Remember that Parmesan is already salty, so go easy on the salt initially.
- In a small bowl, whisk together the beaten egg and 2 tablespoons of water to create your egg wash. Set this aside.
- Remove your thawed puff pastry from the package and lay one sheet on a lightly floured work surface. Gently roll it out to smooth out any creases, being careful not to tear the delicate pastry.
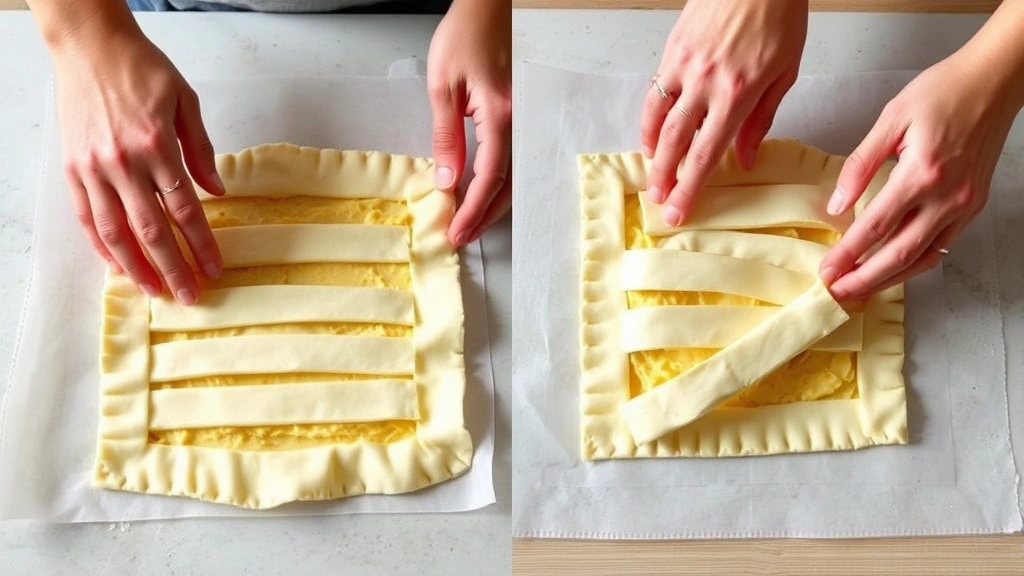
- Using a knife or pastry wheel, cut the puff pastry sheet into strips approximately 3 inches wide and 6 inches long. These strips will form the base of your levers.
- For each lever, place approximately 1 tablespoon of the cheese filling on the left side of each pastry strip, forming a small mound about 1 inch from the left edge.
- Fold the left portion of the pastry strip over the filling to create a lever handle shape, pressing gently to seal but being careful not to squeeze out the filling.
The right portion of the pastry should extend outward, creating the appearance of a classic Minecraft lever.
- Place each shaped lever on your prepared baking sheet, leaving about 2 inches between them for air circulation during baking.
- Repeat the filling and shaping process with the remaining pastry sheet until you’ve used all your dough and filling.
- Brush each lever generously with your prepared egg wash, being careful to cover all exposed pastry surfaces. This creates that beautiful golden-brown exterior.
- Sprinkle a tiny pinch of coarse sea salt on top of each lever if desired, for added texture and visual interest.
- Place the baking sheets in your preheated 400°F oven and bake for 20-22 minutes, until the pastry is puffed and deep golden brown.
- Remove the levers from the oven and let them cool on the baking sheet for about 2 minutes before transferring to a wire rack.
- While still warm, garnish each lever with fresh herbs, a tiny sprinkle of lemon zest, and a light drizzle of olive oil for that restaurant-quality finish.
- Serve the levers warm or at room temperature, arranging them on a beautiful platter for maximum visual impact and Minecraft authenticity.
Pro Tips
- These levers can be assembled up to 24 hours in advance and kept covered in the refrigerator before baking, making them perfect for entertaining. Just add a few extra minutes to the baking time if baking from cold.
- Roasting garlic at home is simple: cut the top off a garlic bulb, drizzle with olive oil, wrap in foil, and roast at 400°F for 35-40 minutes until soft and caramelized. The deep, sweet flavor is absolutely worth it, but you can also use store-bought roasted garlic in a pinch.
- Don’t thaw your puff pastry on the counter—thaw it in the refrigerator overnight for the best texture and flakiness. Cold pastry is happy pastry.
- The cheese filling can be made up to 3 days in advance and stored in an airtight container in the refrigerator. This makes last-minute preparation incredibly easy.
- For a spicier version, add a dash of cayenne pepper or increase the red pepper flakes. For a Mediterranean twist, substitute the herbs with oregano, dill, and a touch of feta cheese.
- These freeze beautifully either before or after baking. If freezing before baking, add an extra 2-3 minutes to the bake time. If freezing after baking, simply reheat in a 350°F oven for 5-7 minutes until warmed through.
- Pair these with a simple arugula salad dressed with lemon vinaigrette, or serve alongside a creamy soup for a more substantial appetizer course.
- The egg wash is absolutely essential for achieving that gorgeous golden color and shiny finish. Don’t skip this step!
- If your pastry starts to warm up while you’re working with it, pop it back in the refrigerator for 10 minutes. The pastry will be much easier to handle and will puff better when baked.
- For a vegetarian twist, these are already meat-free, but you could add sautéed spinach, sun-dried tomatoes, or caramelized onions to the filling for extra depth of flavor.
- Fresh herbs are really important here—dried herbs won’t provide the same bright, fresh flavor, so try to use fresh if possible.