
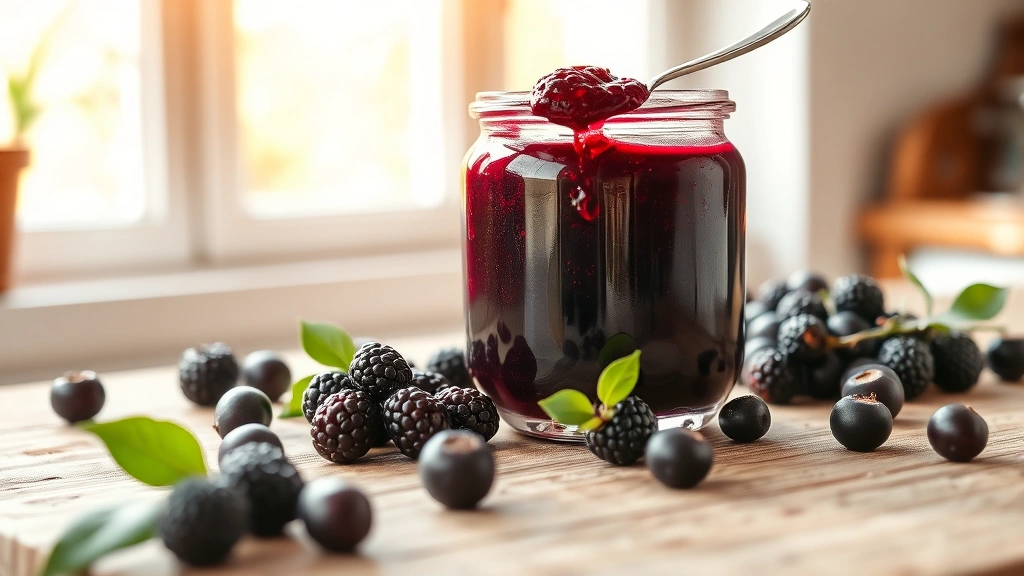
Mulberry jam is an absolute treasure – if you’re lucky enough to have access to these sweet, delicate berries, you simply must make this jam! It’s the perfect way to preserve summer’s bounty and enjoy those gorgeous berries year-round. This recipe is quick, easy, and produces the most delicious, glossy jam with a beautiful deep purple color that tastes like pure heaven on toast.
Mulberries have such a unique flavor profile – they’re sweeter than blackberries but with a slightly tart edge that makes them absolutely perfect for jam making. The best part? This recipe doesn’t require any fancy equipment or complicated techniques. You likely have everything you need in your kitchen right now! Unlike some jam recipes that require hours of cooking and constant stirring, this mulberry jam comes together in about 30 minutes, making it perfect for a weekend project or when you want to capture the season’s flavors without spending all day in the kitchen.
The key to the best mulberry jam is using fresh, ripe berries and the right ratio of fruit to sugar. I love using a combination of regular sugar and a touch of lemon juice to really enhance those beautiful mulberry flavors. The lemon juice not only adds brightness but also helps the jam set properly – it’s a baker’s secret that makes all the difference!
This jam is absolutely perfect for breakfast – spread it on warm toast, swirl it into yogurt, or use it as a topping for your morning pancakes or waffles. You can also use it in baking, as a filling for thumbprint cookies, or even paired with cheese on a charcuterie board. Once you make this recipe, you’ll understand why mulberry jam is such a beloved preserve. Trust me, your family and friends will be asking for jars of this homemade goodness all season long!
If you love making preserves, you might also enjoy making other delicious condiments and sauces, or exploring different ways to use seasonal ingredients. For more preservation tips and techniques, check out Serious Eats’ guide to preserving, which has wonderful resources on jam making basics.
This mulberry jam recipe makes about 4-5 half-pint jars of pure, homemade perfection. The yield can vary slightly depending on how much your jam reduces during cooking, but this is a typical amount you can expect. I always make a double batch when mulberries are in season because it goes so quickly – everyone loves it!
For serving suggestions and pairing ideas, check out Bon Appétit’s preserve recipes for inspiration on how to use your jam in creative ways throughout the year. You can also explore other quick and easy recipe ideas to round out your kitchen repertoire.
Ingredients
- 4 cups fresh mulberries (about 2 pounds)
- 3 cups granulated sugar
- 3 tablespoons fresh lemon juice
- 1/4 teaspoon sea salt
- 1 teaspoon vanilla extract (optional but recommended)
- Butter for skimming foam (optional)
Instructions
- Rinse your fresh mulberries gently under cool water and pat them dry with a clean kitchen towel. Remove any stems or debris. If you have frozen mulberries, thaw them completely and drain any excess liquid before proceeding.
- Pour the mulberries into a large, heavy-bottomed pot or Dutch oven. Using a potato masher or the back of a wooden spoon, gently crush the berries to release their juices. Don’t pulverize them – you want some small berry pieces to remain for texture.
- Add the granulated sugar, fresh lemon juice, and sea salt to the crushed mulberries. Stir everything together thoroughly until the sugar begins to dissolve and combine with the berry juices. Let the mixture sit for 5-10 minutes to allow the berries to release more of their natural pectin.
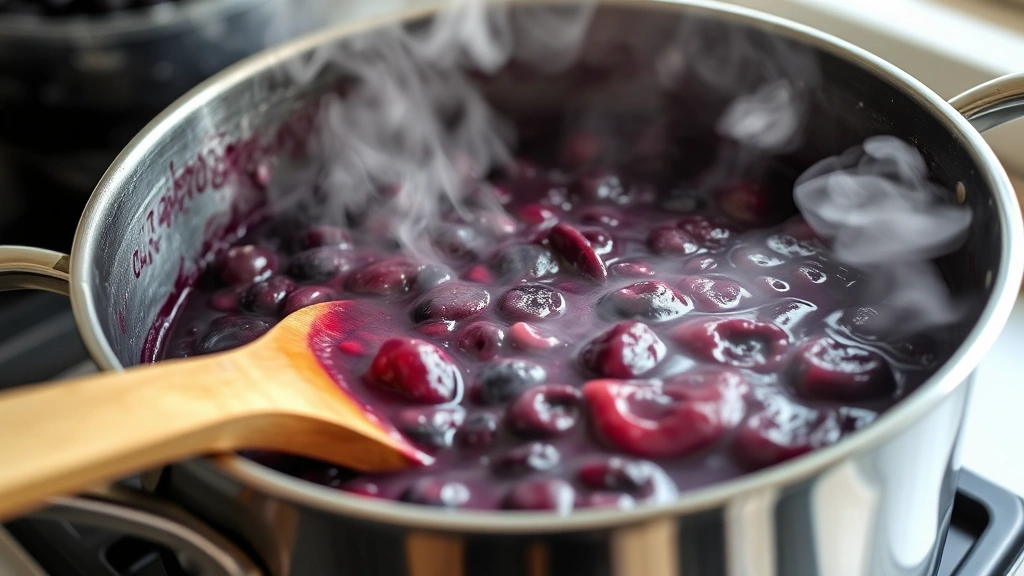
- Place the pot over medium-high heat and bring the mixture to a rolling boil, stirring frequently to ensure the sugar dissolves completely and the jam cooks evenly. Once it reaches a full boil, reduce the heat to medium and maintain a gentle but steady boil.
- Continue cooking for 25-30 minutes, stirring occasionally to prevent sticking and burning on the bottom. As the jam cooks, you’ll notice it becoming thicker and darker in color. If foam rises to the surface, you can skim it off with a spoon or add a small pat of butter to help it dissipate.
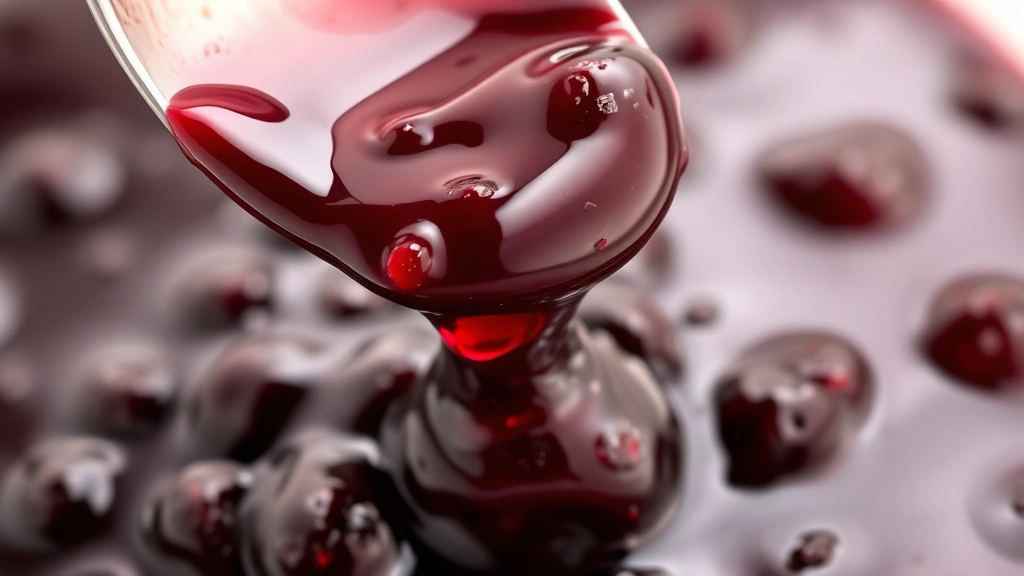
- To test if your jam has reached the proper setting point, place a small plate in the freezer before you start cooking. After about 20 minutes of cooking, drop a small spoonful of jam onto the cold plate and let it cool for 1 minute. Push it with your finger – if it wrinkles and doesn’t run back together, it’s ready. If it’s still too thin, continue cooking for another 2-3 minutes and test again.
- Once the jam reaches the proper consistency, remove the pot from heat and stir in the vanilla extract if you’re using it. Let the jam cool for 5 minutes, which helps distribute the vanilla flavor throughout.
- While the jam cools slightly, sterilize your glass jars and lids by running them through a hot dishwasher cycle or by submerging them in boiling water for 10 minutes. Remove them carefully and let them air dry on a clean kitchen towel.
- Using a clean ladle or measuring cup, carefully pour the hot jam into the sterilized jars, leaving about 1/4 inch of space at the top. Wipe the rims clean with a damp cloth to remove any jam residue.
- Place the lids on top of the jars and screw the bands on until they’re finger-tight – not too loose, not too tight. As the jam cools completely, the lids will seal with a satisfying pop. You’ll know they’ve sealed properly when the center of the lid is slightly depressed and doesn’t flex when pressed.
- Allow the jars to cool completely at room temperature, which typically takes 12-24 hours. Once cooled, check the seals by pressing the center of each lid. If it doesn’t flex, congratulations – your jam is properly sealed! Store sealed jars in a cool, dark place for up to one year.
- For any jars that didn’t seal properly, refrigerate them and use within 3-4 weeks. The jam will continue to thicken slightly as it cools, so don’t be alarmed if it seems a bit runny when you first jar it.
Pro Tips
- Fresh vs. Frozen: Both work beautifully in this recipe. If using frozen mulberries, thaw them completely and drain excess liquid before starting. Fresh berries will give you a slightly fresher flavor, but frozen berries are perfect if you’ve been waiting for mulberry season to return.
- Sugar Adjustments: If you prefer less sweet jam, you can reduce the sugar to 2.5 cups, though this may affect the setting consistency slightly. For a sweeter jam, you can add up to 3.5 cups of sugar.
- Pectin Options: Mulberries naturally contain pectin, so this recipe doesn’t require added pectin. However, if you prefer a firmer jam or are worried about setting, you can add 1-2 tablespoons of powdered pectin according to package directions.
- Lemon Juice Benefits: The lemon juice serves multiple purposes – it brightens the flavor, helps with the setting process, and preserves the beautiful color of the jam. Don’t skip it!
- Equipment Matters: A large, heavy-bottomed pot is essential because it distributes heat evenly and helps prevent scorching on the bottom. Stainless steel or enameled cast iron work best.
- Testing for Doneness: The cold plate test is the most reliable method for checking if jam has set properly. This is more accurate than timing alone, as cooking times can vary based on your stove, pot size, and the water content of your berries.
- Storage Tips: Store your mulberry jam in a cool, dark place – a pantry or cupboard is ideal. Avoid direct sunlight, which can fade the beautiful color. Properly sealed jars can last up to one year.
- Make It Fancy: Add a splash of liqueur like chambord or kirsch for an elegant variation. Add whole or halved fresh mulberries just before jarring for a beautiful presentation.
- Gift Giving: This jam makes an absolutely beautiful handmade gift. Tie a pretty ribbon around the jar and add a handwritten label with the date and any special notes. Your friends and family will love it!
- Safety Note: Always use proper canning techniques and sterilized jars to ensure food safety. If you’re new to jam making, the National Center for Home Food Preservation is an excellent resource.