
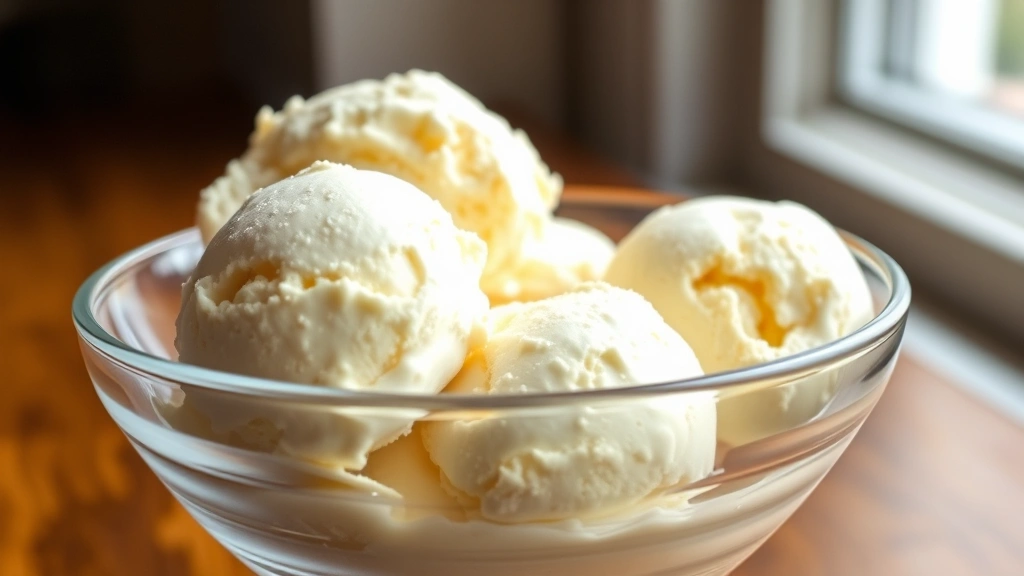
Making ice cream at home doesn’t require an expensive machine—this no churn ice cream recipe is proof that you can create silky, delicious frozen desserts with just a few simple ingredients and your freezer. This classic method uses whipped cream and sweetened condensed milk to create that perfect creamy texture without any churning required.
I’ve been making ice cream for years, and honestly, this no churn method is my go-to when I want something fast and foolproof. The beauty of this recipe is its versatility—you can stick with classic vanilla, or get creative with flavors like whipped cream desserts as inspiration for incorporating different ingredients. Whether you’re hosting a summer gathering or just craving something sweet, this recipe delivers restaurant-quality results every single time.
The secret to the best no churn ice cream lies in the ratio of ingredients and proper whipping technique. When you whip heavy cream to stiff peaks and fold it into sweetened condensed milk, you’re incorporating air that freezes into tiny ice crystals, creating that luxurious, creamy mouthfeel. It’s almost like magic how this simple combination transforms into something so decadent.
What I love most about this recipe is how customizable it is. You can easily adapt it to match any flavor profile you’re craving. Think of it like creating your own cream-based masterpiece, but instead of pasta, you’re working with frozen dessert. The technique remains consistent; only the flavor additions change. From fruity purees to chocolate swirls, cookie crumbles to espresso shots, the possibilities are truly endless.
I’ve found that the key to preventing ice crystals is keeping your freezer at a consistent temperature and ensuring your mixture is well-sealed. This prevents freezer burn and maintains that perfect scoopable texture throughout the weeks you have it stored. Many people ask if you can make this ahead of time—absolutely! This recipe is perfect for meal prep or making several batches for a party.
For those with dietary restrictions, this recipe is also quite adaptable. You can experiment with alternative sweeteners or dairy-free versions using coconut cream, though the texture may vary slightly. The traditional version, however, is unbeatable for its simplicity and foolproof results.
Check out more cream-based recipe ideas for inspiration on working with these ingredients in other dishes. You might also enjoy exploring creamy texture techniques that apply to various cooking methods. For additional flavor inspiration and professional techniques, check out Bon Appétit’s no churn guide and Serious Eats’ detailed methodology. You can also find variations at New York Times Cooking for even more inspiration.
Ingredients
- 2 cups heavy whipping cream, cold
- 1 (14-ounce) can sweetened condensed milk
- 1 tablespoon vanilla extract
- ¼ teaspoon salt
- Optional: 1-2 tablespoons cocoa powder for chocolate flavor, or 1 cup fresh fruit puree for fruit flavors
Instructions
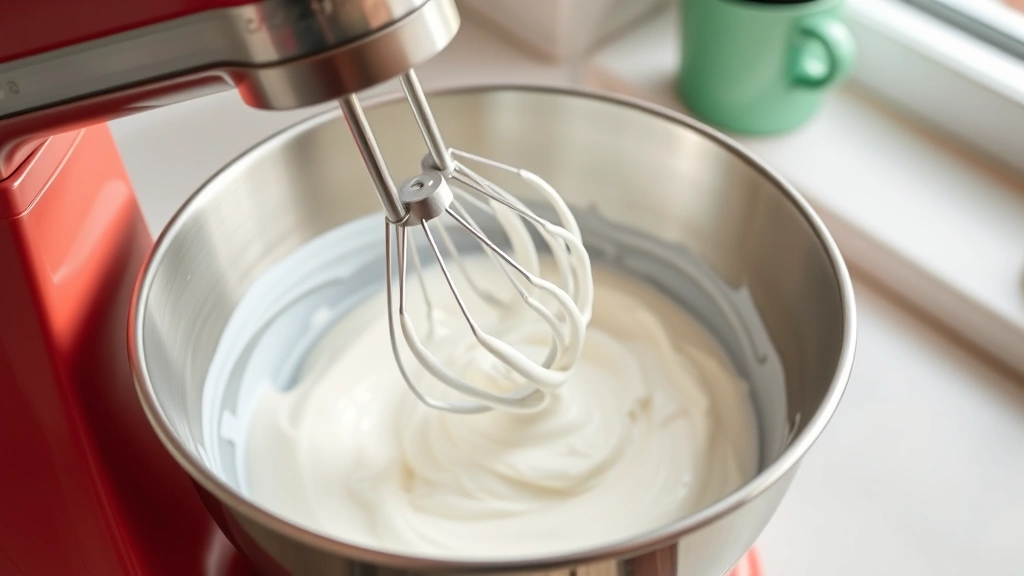
- Pour the cold heavy whipping cream into a large mixing bowl. Make sure both the bowl and beaters are cold for best results—you can chill them in the freezer for 10 minutes before starting.
- Using an electric mixer on medium-high speed, beat the heavy cream until stiff peaks form. This should take about 2-3 minutes. The cream should look thick and fluffy, holding its shape when you lift the beaters.
- In a separate bowl, combine the sweetened condensed milk, vanilla extract, and salt. Stir until well combined and smooth.
- Gently fold the whipped cream into the condensed milk mixture using a rubber spatula. Use a folding motion rather than stirring—this preserves the air bubbles you worked so hard to create. Fold until just combined, about 8-10 folds.
- If making flavored ice cream, divide the mixture into separate bowls now and add your desired flavorings—cocoa powder for chocolate, fruit puree for fruit flavors, or espresso powder for coffee.
- Transfer the mixture to a loaf pan or freezer-safe container, smoothing the top with your spatula.
- Cover the container tightly with plastic wrap or a lid to prevent freezer burn and ice crystal formation.
- Place in the freezer for at least 6 hours, but preferably overnight, until completely frozen and scoopable.
- When ready to serve, remove from the freezer and let sit at room temperature for 5-10 minutes to soften slightly, making scooping easier.
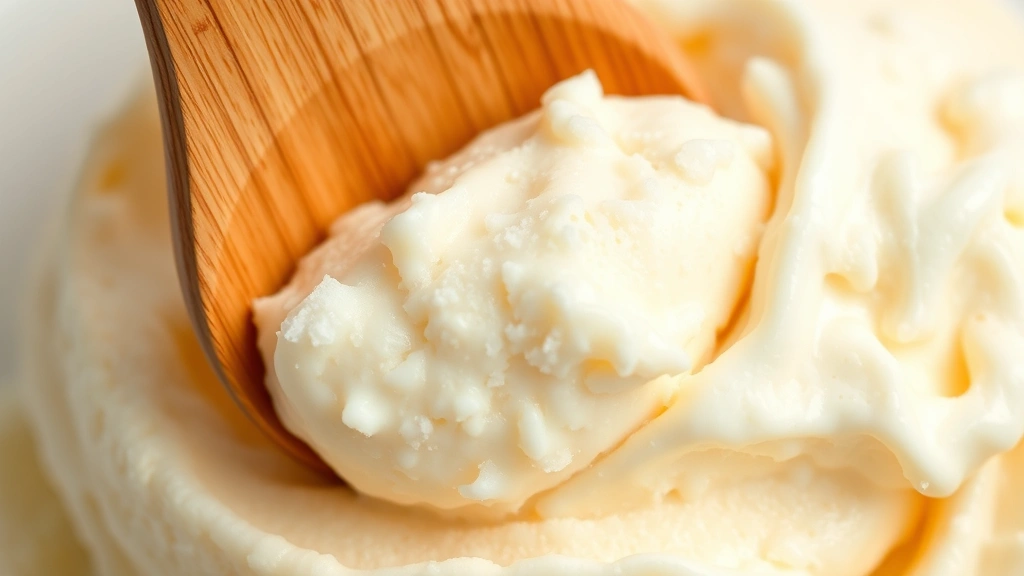
- Scoop into bowls or cones and serve immediately. Store any remaining ice cream in the freezer for up to 2 weeks in an airtight container.
Pro Tips
- This recipe requires no special equipment—just a mixer and your freezer, making it perfect for anyone without an ice cream maker
- The quality of your ingredients matters significantly. Use the best heavy cream you can find, as it will affect the final texture and taste
- For chocolate ice cream, sift the cocoa powder before folding to avoid lumps in your final product
- Fruit purees work wonderfully, but strain them first to remove seeds. About 1 cup of puree per batch works best
- For cookie or candy additions like crushed Oreos or brownie chunks, fold them in gently at the very end to prevent them from sinking
- The ice cream will be slightly softer than machine-churned versions, which is completely normal and actually quite pleasant for scooping
- Layering different flavors or swirling chocolate sauce into the mixture before freezing creates beautiful marbled effects
- This recipe works well for making several small batches for a party—just multiply the ingredients accordingly
- If your ice cream becomes too hard after freezing, let it sit at room temperature for 10-15 minutes before scooping
- You can use this base recipe for any flavor combination you imagine. Get creative with extracts, syrups, and mix-ins
- Storage is key to maintaining quality. Always use airtight containers and keep the freezer temperature at 0°F or below
- For dietary modifications, this recipe is less adaptable to sugar-free versions due to the role sweetened condensed milk plays in the texture, though you can experiment with different sweetened alternatives
- This makes an excellent base for ice cream sandwiches, sundaes, or as an accompaniment to warm desserts like pie or brownies
Pingback: How to Make Simple Smoked Mac and Cheese Recipe! – Simple Recipe Finder