

There’s nothing quite like biting into a crispy, golden onion ring that shatters between your teeth to reveal a tender, sweet onion inside. This is my foolproof recipe for making restaurant-quality onion rings at home that will have everyone asking for your secret!
The key to achieving that perfect crunch lies in three essential elements: the batter consistency, the oil temperature, and the timing. I’ve tested this recipe countless times to bring you the absolute best method, and I’m thrilled to share it with you today.
What makes these onion rings truly special is the combination of techniques I’ve learned from years of cooking. First, we’ll soak the onions in milk to keep them tender and add subtle flavor. Then, we’ll create a batter that’s light and crispy using a combination of flour, cornstarch, and club soda for extra lift. Finally, we’ll fry them to golden perfection at exactly the right temperature.
These onion rings are perfect served as a side dish with creamy sauces, or you can serve them with classic accompaniments like ketchup, ranch dip, or sriracha mayo. They’re also wonderful alongside burgers, chicken dishes, or even fish. The beauty of this recipe is its versatility—you can customize the seasonings to match whatever main course you’re serving.
I love making these for game day parties, family dinners, or whenever I’m craving something crispy and indulgent. Once you master this technique, you’ll never want store-bought onion rings again. They’re easier to make than you might think, and the results are absolutely worth the effort.
For serving suggestions, consider pairing these with garlic shrimp for an elevated appetizer experience. You can also experiment with different dipping sauces—try a cream-based sauce for something richer, or keep it simple with classic condiments. The possibilities are endless!
If you’re looking to elevate your fried food game, check out these excellent resources from trusted culinary sources: Serious Eats’ deep frying guide, Bon Appétit’s onion ring variations, and New York Times’ crispy onion rings technique. These resources will help you understand the science behind perfect fried foods.
One more tip: don’t skip the resting period after battering. This allows the coating to set slightly, which helps it adhere better to the onion during frying. Trust the process, and you’ll achieve onion rings that are absolutely perfect every single time!
Ingredients
- 4 large yellow onions
- 1 cup whole milk
- 1 cup all-purpose flour
- 1/4 cup cornstarch
- 1 tablespoon baking powder
- 1 teaspoon salt
- 1/2 teaspoon black pepper
- 1/2 teaspoon garlic powder
- 1/2 teaspoon paprika
- 1/4 teaspoon cayenne pepper (optional)
- 1 cup club soda or sparkling water, chilled
- Oil for deep frying (vegetable or peanut oil)
- 1 egg
- 2 tablespoons butter, melted
Instructions
- Cut onions into 1/2-inch thick rings, then separate them into individual rings.
- Place onion rings in a bowl and pour 1 cup of milk over them. Let soak for at least 15 minutes—this keeps them tender and prevents them from drying out during frying.
- In a large mixing bowl, whisk together flour, cornstarch, baking powder, salt, black pepper, garlic powder, paprika, and cayenne pepper until well combined.
- In a separate bowl, whisk together the egg, melted butter, and chilled club soda until smooth and slightly frothy.
- Pour the wet ingredients into the dry ingredients and stir until just combined. The batter should be thick but pourable—don’t overmix, as this can make the coating tough instead of crispy.
- Let the batter rest for 5 minutes while you prepare your oil.
- Pour oil into a deep heavy-bottomed pot or Dutch oven until it reaches a depth of 3-4 inches. Heat the oil to 350°F, using a deep-fry thermometer to ensure accuracy.
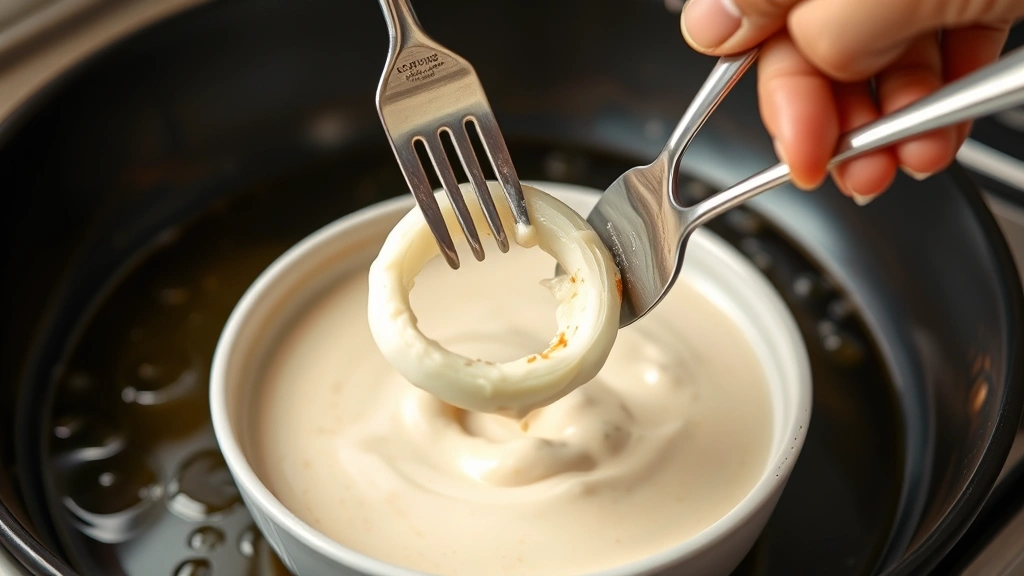
- Remove onion rings from the milk one at a time, allowing excess milk to drip off before dipping into the batter.
- Coat each ring thoroughly in the batter, ensuring it’s completely covered. Let excess batter drip off before carefully placing into the hot oil.
- Fry 4-5 onion rings at a time, being careful not to overcrowd the pot as this will lower the oil temperature and result in greasy rings.
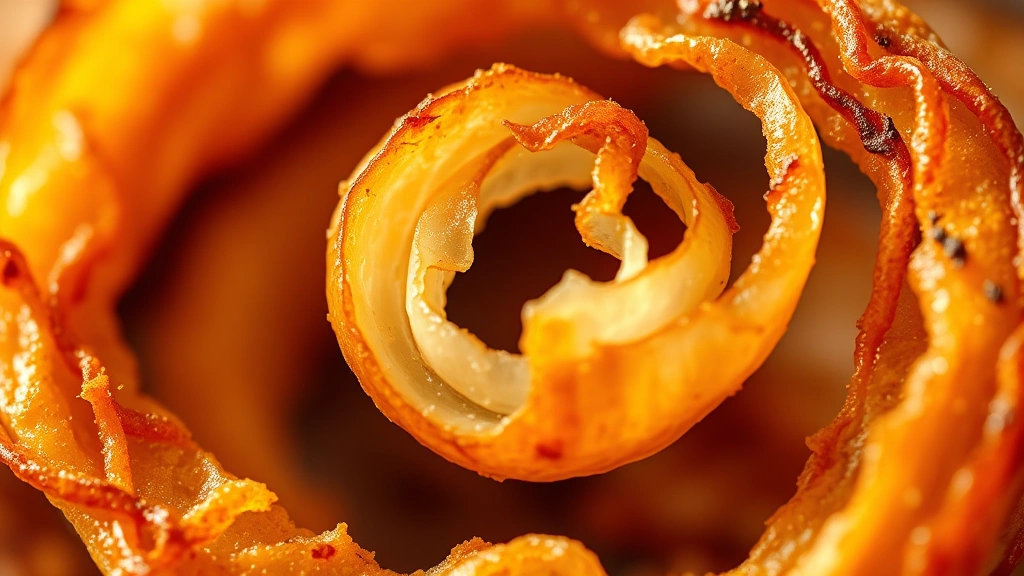
- Fry for 2-3 minutes, turning once halfway through, until golden brown and crispy.
- Using a slotted spoon, carefully remove the onion rings and place them on a paper towel-lined plate.
- Season with salt immediately while still hot.
- Repeat frying process with remaining onion rings, allowing the oil temperature to return to 350°F between batches.
- Serve hot with your favorite dipping sauce and enjoy!
Pro Tips
- **Oil Temperature is Critical**: Never skip using a thermometer. Oil that’s too cool will result in greasy, soggy rings, while oil that’s too hot will brown the outside before the onion cooks inside. 350°F is the sweet spot.
- **Club Soda Secret**: The carbonation in club soda creates tiny bubbles in the batter, which escape during frying and leave behind a super crispy, light coating. Don’t use flat soda or still water—the bubbles make all the difference!
- **Milk Soak Benefits**: Soaking onions in milk does two things: it keeps them moist and prevents them from drying out, plus it neutralizes some of the sulfur compounds that can make onions taste harsh when fried.
- **Batch Frying**: Don’t try to fry too many rings at once. Crowding the pot drops the oil temperature, and you’ll end up with greasy rings instead of crispy ones. Patience is key!
- **Batter Consistency**: Your batter should coat a spoon but still drip off slowly. If it’s too thick, add a splash more club soda. If it’s too thin, whisk in a bit more flour.
- **Make-Ahead Option**: You can prepare the batter up to 2 hours ahead, but don’t soak the onions too far in advance. Soak them within 30 minutes of frying for best results.
- **Storing Leftovers**: Leftover onion rings can be refrigerated for up to 2 days in an airtight container. Reheat in a 375°F oven for 5-7 minutes to restore crispiness, or use an air fryer at 380°F for 3-4 minutes.
- **Oil Reuse**: Strain and store used frying oil in a cool, dark place for up to 2-3 uses for frying similar foods. Never mix different types of food oils.
- **Seasoning Variations**: After frying, try dusting with parmesan cheese and dried oregano, Old Bay seasoning, or even a light coating of wasabi powder for heat.
- **Dipping Sauce Ideas**: Pair with classic ketchup, ranch dressing, sriracha mayo, garlic aioli, chipotle sour cream, or even a honey mustard mixture for variety.