
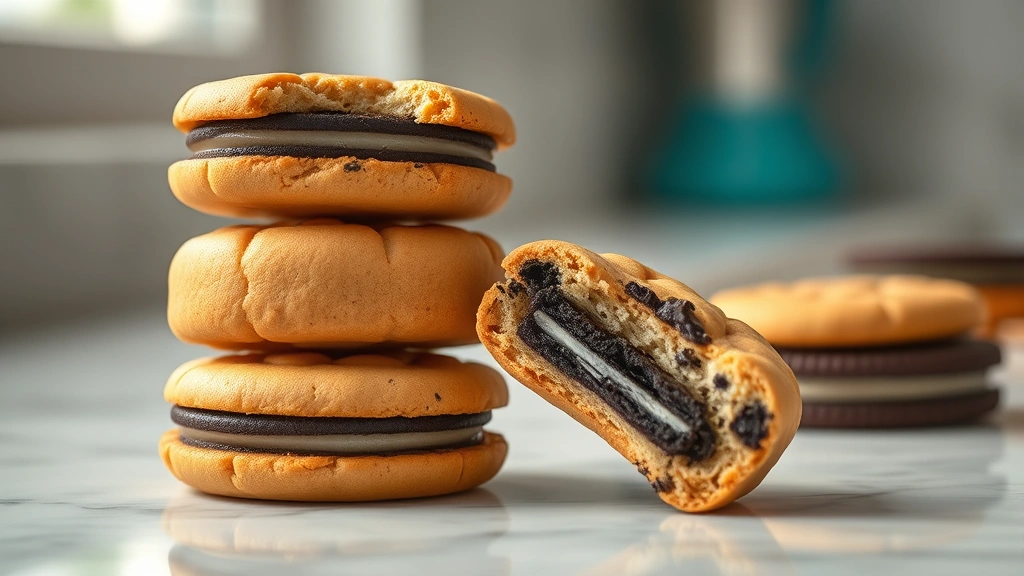
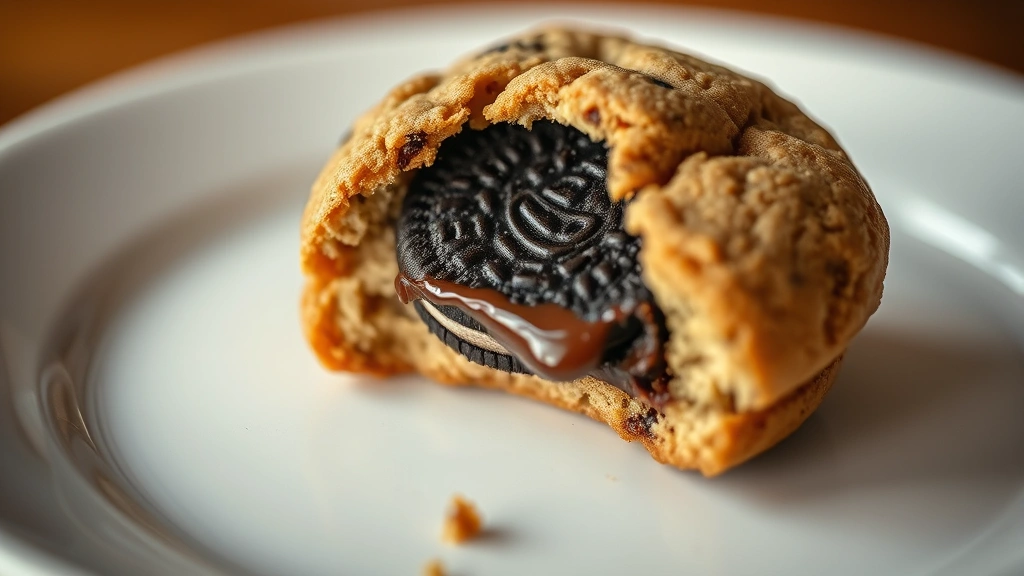
Oh my goodness, friends, let me tell you about these absolutely show-stopping Oreo Cookie-In-A-Cookie creations! These are the kind of cookies that make people stop mid-bite and ask “wait, what IS this?” – and that’s exactly the reaction we’re going for. I’m obsessed with these because they combine everything we love: soft, buttery cookie dough on the outside with an entire OREO cookie baked right into the center. It’s like a delicious surprise party in every single bite!
This recipe has become my go-to for impressing guests, bringing to potlucks, and honestly, just keeping a batch on hand for those moments when you need a little extra joy in your day. The contrast between the tender, chewy cookie exterior and that iconic Oreo center is just *chef’s kiss*. Plus, they’re not nearly as complicated as they look – I promise!
The secret to making these absolutely perfect is all about the dough consistency and getting your baking time just right. You want the outside to be completely baked through but still have that slight chewiness that makes these cookies so incredibly craveable. I like to use high-quality butter because it really does make a difference in the final flavor and texture.
What I love most about this recipe is how customizable it is. While I’m sharing my favorite version with you today, you can easily swap out the Oreos for other cookies, add mix-ins like chocolate chips or white chocolate chunks to the dough, or even drizzle some melted chocolate over the top once they’ve cooled. The possibilities are truly endless!
These cookies stay fresh for several days when stored in an airtight container, making them perfect for meal prep or gifting to friends and family. I always make a double batch because they disappear faster than you’d think. Trust me, once your family gets a taste of these, they’ll be requesting them constantly. Let’s dive into this amazing recipe together and create some serious cookie magic!
For more delicious baking inspiration, check out our Best Heavy Cream Alfredo Sauce Recipe for when you want to balance these sweets with something savory, or explore our Delicious Heavy Cream Pasta Recipe for dinner inspiration. You might also enjoy our Easy Chicken Alfredo Recipe for a complete meal plan. And if you’re looking for fun sides and accompaniments, don’t miss our Best Pickled Red Onion Recipe or Best Shishito Peppers Recipe!
For additional cookie inspiration and techniques, I recommend checking out Bon Appétit’s cookie collection and Serious Eats’ cookie guide. The New York Times cookie recipes are also phenomenal for reference and technique inspiration.
Ingredients
- 2 1/4 cups all-purpose flour
- 1 teaspoon baking soda
- 1 teaspoon salt
- 1 cup (2 sticks) unsalted butter, softened to room temperature
- 3/4 cup granulated sugar
- 3/4 cup packed brown sugar
- 2 large eggs, room temperature
- 2 teaspoons vanilla extract
- 24 Oreo cookies (about one standard package), separated
- 1 cup semi-sweet chocolate chips (optional but recommended)
- Fleur de sel or sea salt for topping (optional)
Instructions
- Preheat your oven to 350°F (175°C) and line your baking sheets with parchment paper. This is such an important step – it prevents your cookies from sticking and ensures even browning on the bottom.
- In a small bowl, whisk together the flour, baking soda, and salt. Set this mixture aside – we’ll use it in just a moment.
- In a large bowl, cream together the softened butter, granulated sugar, and brown sugar using an electric mixer on medium speed. Beat for about 2-3 minutes until the mixture is light, fluffy, and pale in color. This creaming process is essential for creating that tender cookie texture.
- Add the eggs one at a time to the butter mixture, beating well after each addition. Then add the vanilla extract and mix until everything is fully combined.
- Gradually add the flour mixture to the wet ingredients, mixing on low speed until just combined. Don’t overmix – you want the dough to come together but not become tough.
- If you’re using the chocolate chips, fold them gently into the dough using a spatula or wooden spoon.
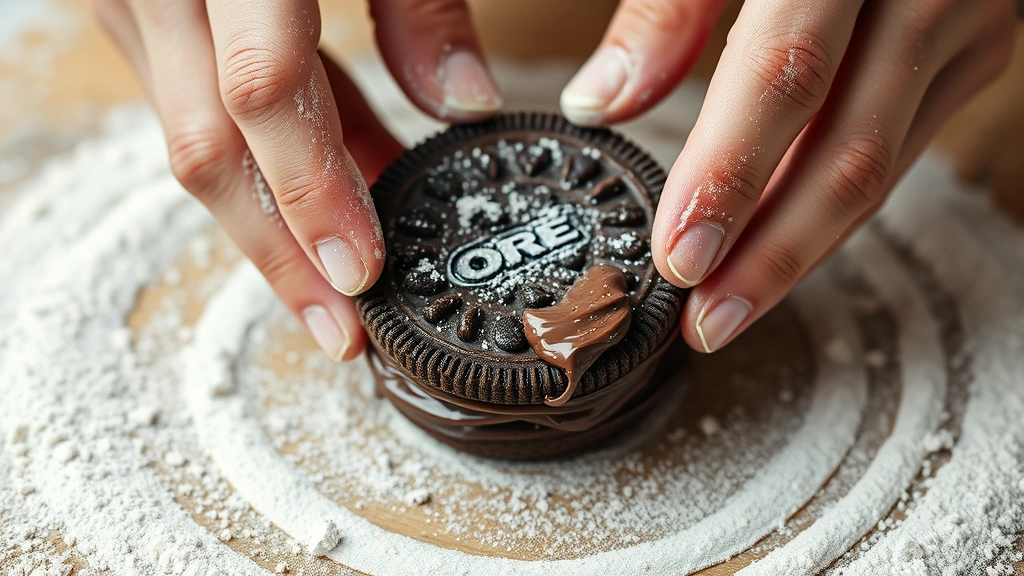
- Now for the fun part! Take about 1 tablespoon of dough and flatten it slightly in your palm. Place one Oreo cookie on top of the flattened dough.
- Take another tablespoon of dough and place it on top of the Oreo, then gently press and smooth the dough around the cookie to completely encase it. The Oreo should be completely hidden inside the dough ball.
- Place the cookie ball seam-side down onto your prepared baking sheet, spacing them about 2 inches apart.
- Repeat the process with the remaining dough and Oreos until you’ve used all of your ingredients.
- If desired, sprinkle the tops of each cookie with a tiny pinch of fleur de sel – this adds an amazing contrast to the sweetness.
- Bake for 12-14 minutes, or until the edges are set but the centers still look slightly underdone. This is the secret to keeping them chewy in the center!
- Remove from the oven and let the cookies cool on the baking sheet for 5 minutes before transferring them to a wire cooling rack.
- Allow the cookies to cool completely on the rack before serving. As they cool, they’ll continue to set up and become perfectly chewy.
Pro Tips
Oreo Placement: When wrapping the dough around the Oreo, make sure there are no thin spots where the cookie might peek through during baking. A complete seal ensures that chocolatey surprise in every bite.
Baking Time is Everything: This is crucial for achieving that perfect texture. At 12 minutes, your cookies will be chewier. At 14 minutes, they’ll be a bit more set but still tender. Start checking at 12 minutes and pull them out when the edges look set but the centers still jiggle slightly when you gently shake the pan.
Storage Instructions: Store these cookies in an airtight container at room temperature for up to 5 days. You can also freeze the unbaked cookie dough balls for up to 2 months – just add an extra minute or two to the baking time when baking from frozen.
Customization Ideas: Try using Double-Stuf Oreos for an extra cookie-filled experience, or use Golden Oreos for a vanilla twist. You can also add 1/2 teaspoon of almond extract to the dough for a subtle flavor enhancement.
Double Batch Tip: This recipe doubles beautifully if you’re baking for a crowd. Simply multiply all ingredients by two and follow the same instructions. You may need to rotate your baking sheets halfway through baking to ensure even browning.
Chocolate Drizzle Variation: Once the cookies have completely cooled, you can drizzle melted white or dark chocolate over the top for extra decadence and visual appeal.
Gift-Giving: These cookies make absolutely stunning gifts when packaged in a clear cellophane bag tied with a pretty ribbon. Include a little tag explaining that there’s an Oreo inside – it’s such a fun surprise for the recipient!
Kid-Friendly Activity: This recipe is perfect for baking with children. Kids love wrapping the dough around the Oreos and seeing the final result. Just supervise them during the oven time for safety.
Make-Ahead Option: You can prepare the dough up to 24 hours in advance and store it in the refrigerator. Form the cookies and bake them fresh when you’re ready – the dough actually works better when it’s been chilled.