

There’s something truly magical about homemade root beer—that complex blend of spices, herbs, and botanicals that creates a flavor profile far superior to anything you’ll find in a bottle at the store. This original root beer recipe draws inspiration from classic American soda fountains and traditional root beer recipes that have been passed down through generations. Making your own root beer at home is easier than you might think, and the results are absolutely worth the effort.
The key to creating the best original root beer lies in understanding the role each ingredient plays. Sassafras root bark provides that distinctive root beer flavor, while anise seeds, wintergreen, and birch bark add complexity and depth. The combination of spices like cinnamon, clove, and nutmeg creates warmth and richness, while sarsaparilla root contributes earthiness. This isn’t just a beverage—it’s a celebration of American culinary tradition that you can recreate in your own kitchen.
Whether you’re looking to impress guests at a summer gathering or simply want to enjoy a refreshing homemade soda that tastes nothing like the commercial versions, this homemade soda guide will walk you through every step. The beauty of making root beer at home is that you can adjust the spice levels and sweetness to your personal preference. Some people prefer a spicier version with more clove and cinnamon, while others like it sweeter with additional vanilla. This recipe provides an excellent foundation that you can customize as you become more comfortable with the process.
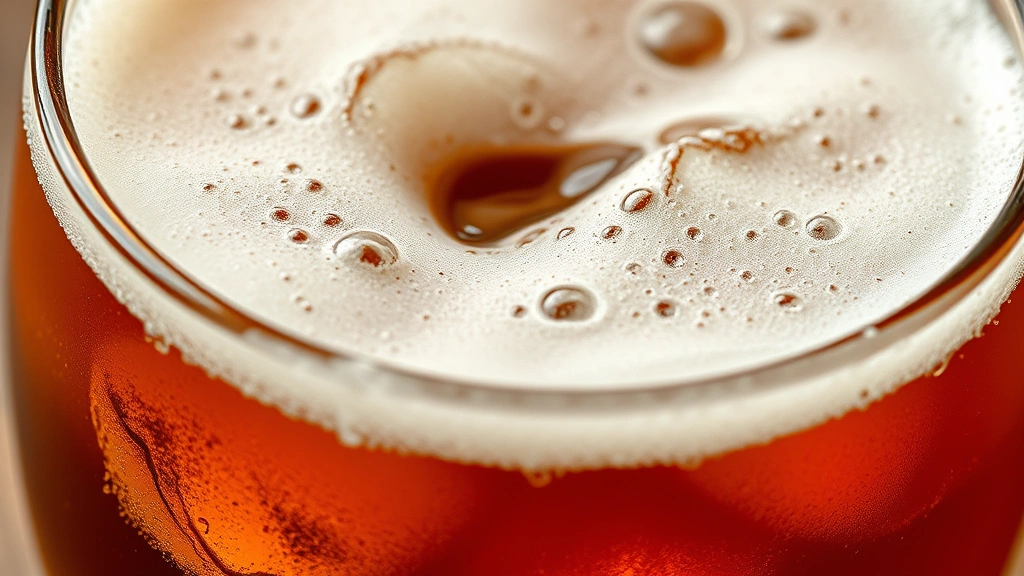
One of the most rewarding aspects of this project is the carbonation process. You have two options: use a carbonation method with a soda siphon or bottles, or simply enjoy it as a syrup mixed with sparkling water. The choice depends on your equipment and preferences, but either way, you’ll end up with something spectacular. Many people are surprised to learn that root beer doesn’t require any special equipment beyond what’s likely already in their kitchen.
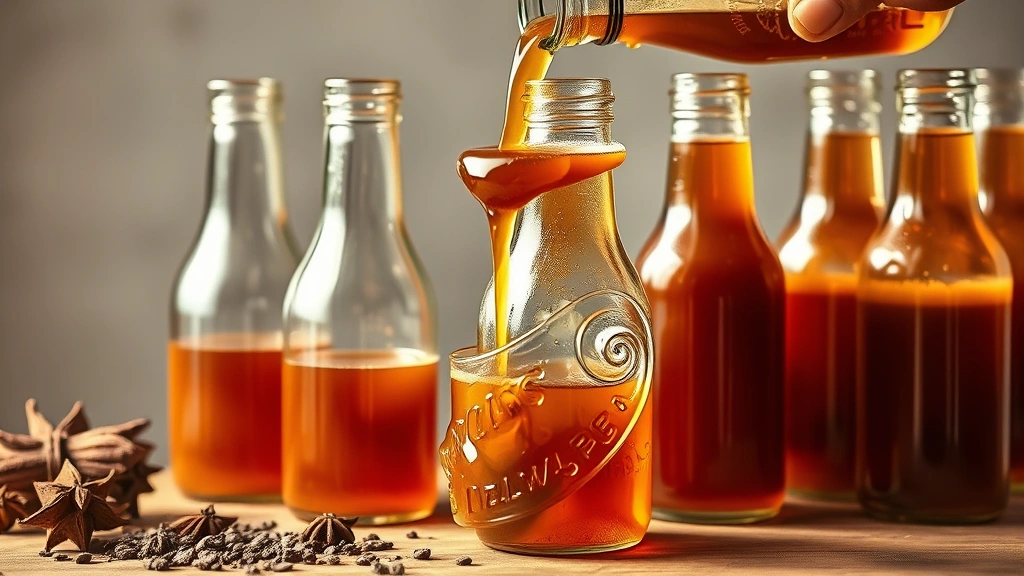
This recipe yields approximately one gallon of concentrate that can be mixed with water and carbonated, making it perfect for feeding a crowd or enjoying over several weeks. The flavor actually improves after a few days as the ingredients continue to meld together. You’ll want to store your finished root beer in glass bottles in a cool, dark place to maintain its freshness and carbonation. For detailed information on beverage storage tips, check out our complete guide.
Before you begin, note that some of the ingredients like sassafras root bark and sarsaparilla root can be found at specialty spice shops, health food stores, or online retailers. Don’t be intimidated by ingredient hunting—many of these items are becoming increasingly accessible as homemade soda making gains popularity. If you can’t find sassafras, you can substitute with additional sarsaparilla or explore other root beer recipes that use alternative flavoring methods.
The process of making root beer from scratch connects you to a rich history of American beverages. Root beer originated in the 1800s as a home-brewed tonic, and pharmacists would often create their own unique blends. This recipe captures that spirit of experimentation and craftsmanship. For more information on the fascinating history of homemade beverages, explore how this classic drink evolved.
Once you’ve mastered this basic recipe, you’ll have the confidence to experiment with variations. Some enthusiasts add a touch of licorice extract for additional depth, while others incorporate birch syrup for a more authentic historical flavor profile. The possibilities are truly endless, and your homemade root beer journey will be uniquely yours.
For those interested in exploring other homemade beverage projects, check out Serious Eats’ beverage section for inspiration and techniques. You might also enjoy Bon Appétit’s collection of homemade soda recipes to expand your repertoire. Additionally, The New York Times Cooking section offers excellent guidance on fermentation and carbonation methods.
Making root beer at home is more than just a recipe—it’s an experience that engages all your senses. From the moment you open the jars of dried botanicals and catch their aromatic bouquet, through the careful steeping process, to that first satisfying sip of your creation, you’ll understand why so many people are rediscovering this classic American craft. This recipe represents the perfect balance of tradition and accessibility, making it ideal for both beginners and experienced home beverage makers.
Ingredients
- 2 teaspoons sassafras root bark
- 2 teaspoons sarsaparilla root
- 1 teaspoon wintergreen leaves
- 1 teaspoon birch bark
- 1 whole star anise pod
- 2 cinnamon sticks, broken into pieces
- 6 whole cloves
- 4 allspice berries
- 1/2 teaspoon whole nutmeg (freshly grated is best)
- 1/4 teaspoon anise seeds
- 1 piece fresh ginger root, about 1 inch, sliced thin
- 1 vanilla bean, split and scraped (or 1 teaspoon vanilla extract)
- 4 cups water
- 3 cups brown sugar
- 1 cup white sugar
- 1/2 teaspoon citric acid or juice from 1/2 lemon
- Sparkling water or soda siphon for carbonation
- Optional: 1/4 teaspoon caramel coloring
Instructions
- Gather all your dried botanicals and spices, inspecting them for quality and freshness. The more aromatic your ingredients, the better your final root beer will taste.
- Pour 4 cups of water into a large stainless steel or glass pot and bring to a gentle boil over medium-high heat.
- Once the water reaches a boil, remove it from heat and add all the dried botanicals: sassafras root bark, sarsaparilla root, wintergreen leaves, and birch bark.
- Add all the spices to the hot water: cinnamon sticks, cloves, allspice berries, nutmeg, anise seeds, and the fresh ginger slices.
- Add the star anise pod and the split vanilla bean to the mixture, stirring gently to distribute all ingredients evenly throughout the hot water.
- Cover the pot with a lid and let the mixture steep for 30 to 45 minutes, allowing the flavors to fully infuse into the water. The longer you steep, the more pronounced your root beer flavor will be.
- After steeping, carefully strain the mixture through a fine-mesh sieve or cheesecloth into a large bowl, pressing gently on the solids to extract all the flavorful liquid. Discard the spent botanicals.
- Return the strained liquid to the pot and place it back on medium heat.
- Add the brown sugar and white sugar to the hot liquid, stirring constantly until both sugars are completely dissolved, approximately 3 to 5 minutes.
- Add the citric acid or lemon juice to the syrup, stirring well to incorporate. This adds brightness and helps balance the sweetness.
- If using caramel coloring, add it now and stir until the mixture reaches a deep amber color.
If you used vanilla extract instead of a vanilla bean, add it now and stir well. - Remove the pot from heat and let the syrup cool to room temperature, approximately 1 to 2 hours. Do not skip this cooling step as hot syrup can create too much carbonation pressure.
- Once cooled completely, transfer the root beer concentrate to glass bottles or jars with tight-fitting lids.
- Store the concentrate in a cool, dark place such as a pantry or basement. The concentrate will keep for several weeks, and the flavor actually improves over the first few days as ingredients continue to meld.
- To serve, mix one part root beer concentrate with three parts sparkling water in a glass filled with ice. Adjust the ratio to your taste preference.
- For carbonated root beer, use a soda siphon according to manufacturer’s instructions, adding concentrate to the prepared water before carbonating for the best results.
- If you prefer naturally carbonated root beer, transfer the concentrate and water mixture to glass bottles designed for carbonation, seal tightly, and allow to carbonate at room temperature for 2 to 3 days before refrigerating.
Pro Tips
- Ingredient sourcing is crucial for authentic root beer. Look for high-quality dried botanicals at specialty spice shops, health food stores, or reputable online retailers. Fresh ingredients will yield superior flavor.
- The steeping time can be adjusted based on your preference for intensity. A shorter steep (30 minutes) yields a more subtle flavor, while longer steeping (45-60 minutes) creates a bolder, more complex root beer.
- Brown sugar is essential to this recipe as it contributes molasses notes that white sugar cannot replicate. Don’t substitute it entirely with white sugar, though a 50/50 blend is acceptable.
- This recipe creates a concentrate, not ready-to-drink root beer. This allows you to adjust sweetness and carbonation levels to your preference and makes the concentrate shelf-stable for longer periods.
- For a spicier root beer, increase the cinnamon sticks to three and add one additional clove. For a smoother, less spiced version, reduce cinnamon to one stick and cloves to four.
- Sassafras root bark has been used in root beer for centuries and is the most authentic flavoring agent. However, if you cannot locate it, sarsaparilla alone creates a delicious alternative root beer.
- The cooling step is important not just for safety, but because carbonating hot liquid can cause excessive pressure and potential bottle breakage.
- Glass bottles are strongly recommended over plastic for both storage and serving, as the flavors remain truer in glass, and carbonation is better maintained.
- Homemade root beer makes an excellent gift. Simply bottle the concentrate in decorative glass bottles with personalized labels and include serving instructions.
- Experiment with ratios of concentrate to water until you find your perfect balance. Some prefer a stronger flavor (1:2 ratio) while others like a lighter version (1:4 ratio).
- Store bottles away from direct sunlight and heat, which can degrade flavor and affect carbonation over time.
- This recipe is completely customizable—feel free to adjust spice levels, sweetness, and flavor intensity based on your personal preferences after your first batch.