
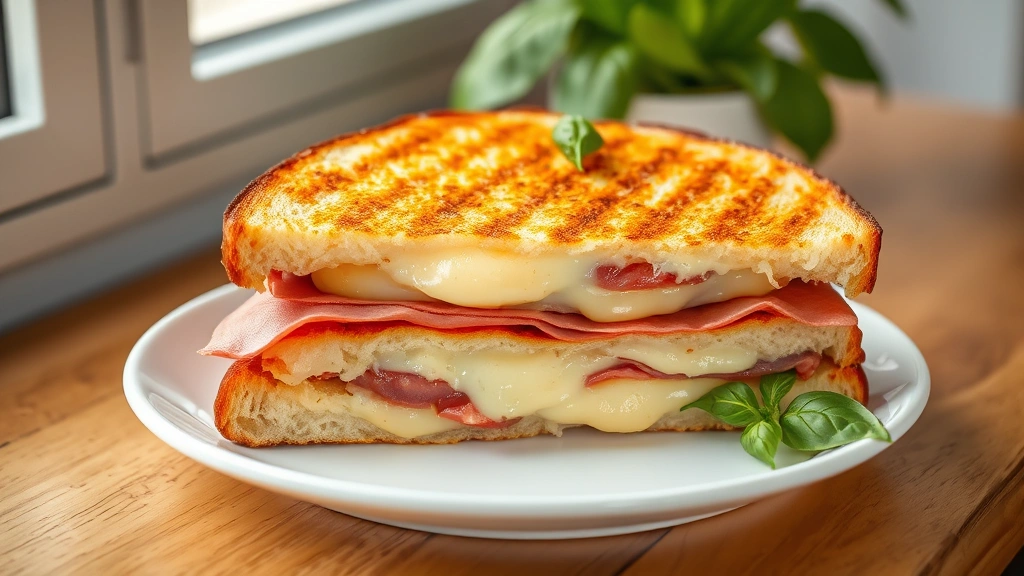
There’s something absolutely magical about a perfectly made panini – crispy on the outside, warm and melty on the inside, with flavors that come together in the most delicious way. This is the kind of sandwich that transforms a simple lunch into something truly special, and honestly, it’s easier to make at home than you might think.
I’ve been making paninis for years, and I’ve learned that the secret isn’t complicated ingredients or fancy techniques. It’s all about quality bread, fresh fillings, and understanding how to build layers of flavor that actually work together. Whether you’re looking for a quick weeknight dinner or an impressive lunch to pack, this panini recipe will become your go-to.
What I love most about paninis is their versatility. You can use whatever proteins and vegetables you have on hand, and they’ll come out tasting restaurant-quality every single time. The key is getting that perfect golden crust while ensuring everything inside is warm and the cheese is perfectly melted.
If you enjoy making sandwiches at home, you might also love our Best Blueberry Bagel Recipe for breakfast or our Best Greek Yogurt Smoothie Recipe for a refreshing side. But trust me, once you master this panini, you’ll be making it constantly.
The beauty of this recipe is that it comes together in about 15 minutes from start to finish. No complicated steps, no special equipment needed – just a good skillet or panini press and quality ingredients. I’m going to walk you through exactly how to build the perfect panini, from selecting your bread to achieving that gorgeous golden exterior.
According to food experts at Serious Eats, the secret to an exceptional panini lies in proper pressing technique and temperature control. They emphasize that medium-high heat is crucial for getting the bread crispy without burning it. This is something I’ve tested extensively, and I can confirm it makes all the difference.
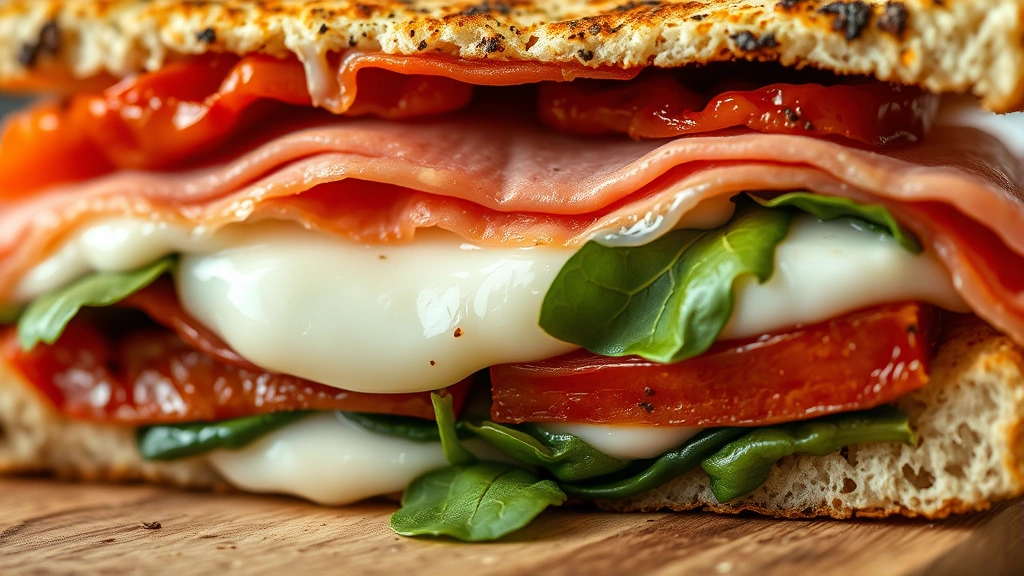
What makes this panini recipe truly the best is how adaptable it is. You can make it with classic Italian ingredients like prosciutto and fresh mozzarella, or go modern with roasted vegetables and goat cheese. The technique remains the same, but the possibilities are endless. This flexibility means you can make a different panini every day of the week if you wanted to.
I also recommend checking out Bon Appétit’s sandwich guide for additional inspiration on ingredient combinations and pairing techniques. Their approach to sandwich construction has really influenced how I think about building these pressed beauties.
The most important thing to remember is that a great panini starts with great bread. You need something sturdy enough to hold up to pressing and filling, but also flavorful enough to contribute to the overall taste. Ciabatta is traditional, but focaccia, sourdough, or even thick-cut Italian bread works wonderfully.
One final tip: don’t skip the butter or oil on the outside of the bread. This is what creates that coveted crispy, golden exterior that makes a panini so irresistible. It’s a small step that makes a huge difference in the final result.
Ingredients
- 4 slices ciabatta or Italian bread (about 1/2 inch thick)
- 4 tablespoons butter, softened, divided
- 4 ounces fresh mozzarella or provolone cheese, sliced
- 4 ounces prosciutto or deli meat of choice
- 2 tablespoons pesto or Italian spread
- 2 cups fresh spinach or arugula
- 1/4 cup roasted red peppers, drained and sliced
- Salt and black pepper to taste
- 1 teaspoon Italian seasoning
Instructions
- Gather all ingredients and set them on a clean work surface. If using fresh mozzarella, pat it dry with paper towels to remove excess moisture – this prevents the sandwich from becoming soggy.
- Lay out all four slices of bread on a cutting board. This is your moment to assess the bread and decide which sides will face outward for the best golden crust.
- Spread 1/2 tablespoon of softened butter on the outer side of each bread slice. Make sure to distribute it evenly for consistent browning.
- Flip two slices of bread butter-side down. These will be your bottom halves.
- Spread 1 tablespoon of pesto on the inside of each bottom slice of bread.
- Layer half of the sliced mozzarella on top of the pesto on each sandwich, dividing equally between the two sandwiches.
- Add half of the prosciutto on top of the cheese, folding it slightly so it creates layers of flavor throughout the sandwich.
- Divide the fresh spinach between the two sandwiches, layering it on top of the prosciutto.
- Add the roasted red peppers on top of the spinach, distributing them evenly between both sandwiches.
- Top with the remaining mozzarella slices, creating another layer of cheese that will help bind everything together when melted.
- Season the inside of the sandwiches lightly with salt, black pepper, and Italian seasoning.
- Place the remaining two bread slices on top of each sandwich, butter-side facing up.
- Press down gently to help the sandwich hold together, but don’t crush it.
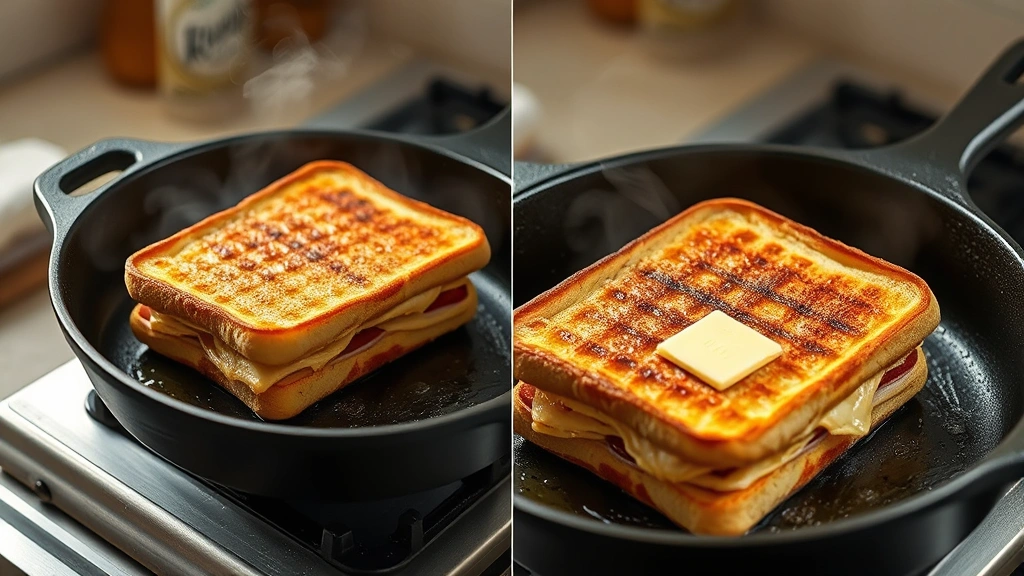
- Heat a large skillet or panini press over medium-high heat for about 2 minutes.
- Once the skillet is hot, carefully place one or both paninis in the skillet, depending on your pan size.
- Press down firmly on the sandwich using a spatula or panini press for about 2-3 minutes until the bread is golden brown and crispy.
- Flip the panini carefully using a spatula and press again for another 2 minutes on the other side until evenly golden brown.
- Transfer the cooked panini to a cutting board and repeat with the second sandwich if cooking one at a time.
- Let the paninis cool for 1-2 minutes before cutting. Cut diagonally if desired for a more elegant presentation.
- Serve immediately while warm, with extra pesto or marinara sauce for dipping on the side.
Pro Tips
- Start with quality bread as the foundation of your panini – the bread makes up about 30% of the taste, so don’t compromise here
- Pat your cheese and any wet ingredients completely dry before assembling to prevent soggy bread and ensure optimal crispiness
- Don’t skip the butter on the outside of the bread – it’s essential for creating that golden, crispy exterior that defines a great panini
- Medium-high heat is the sweet spot – too low and your bread won’t crisp properly, too high and it burns before the inside gets warm
- Press firmly but don’t go overboard – you want enough pressure to meld the ingredients and create those beautiful grill marks, but not so much that you squish everything out
- Experiment with different ingredient combinations like caprese style with fresh tomato and basil, or Mediterranean style with olives and feta
- Make sure all your ingredients are at room temperature before assembling for more even cooking and better flavor distribution
- If using a skillet instead of a panini press, use another heavy skillet or weight on top to press while cooking for the most authentic texture
- These paninis are best served immediately while the cheese is still melty and the bread is warm and crispy
- Leftover paninis can be wrapped and refrigerated for up to 2 days, then reheated gently in a skillet, though they’re best fresh
- Don’t be afraid to customize the recipe based on what you have available – paninis are incredibly forgiving and adaptable
- For a vegetarian version, skip the meat and load up on roasted vegetables, fresh herbs, and multiple cheeses for depth of flavor
- If your skillet has a tendency to heat unevenly, rotate the panini halfway through cooking for more consistent browning
Pingback: Crusty Italian Bread Recipe: Easy Homemade Perfection - Simple Recipe Finder