
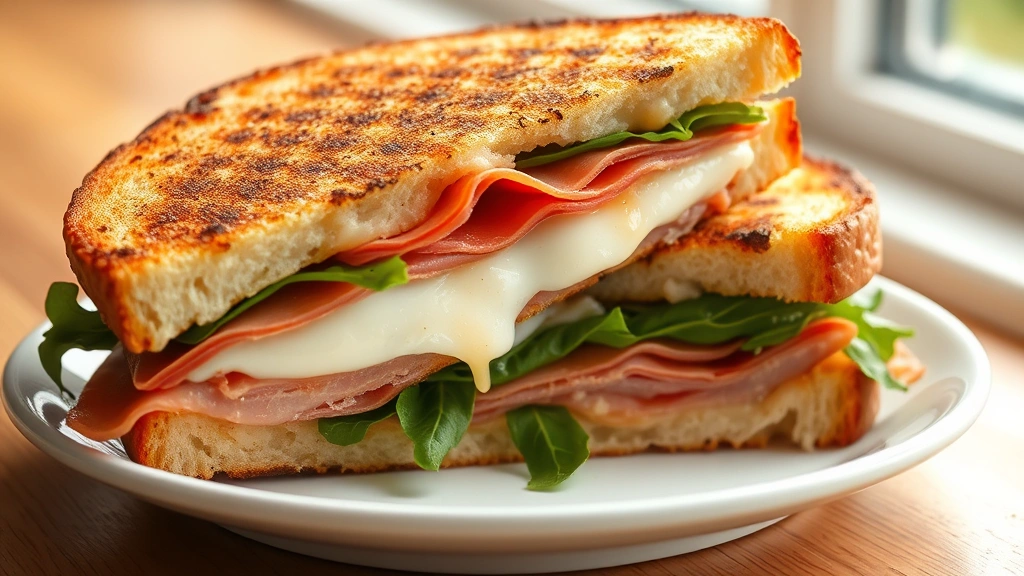
There’s something absolutely magical about biting into a perfectly pressed panini sandwich – the bread is crispy on the outside, warm and soft on the inside, and the fillings are melted together in pure harmony. This is the panini sandwich recipe you’ve been dreaming of, and I’m so excited to share it with you today!
A panini is more than just a sandwich; it’s a warm, pressed Italian masterpiece that transforms simple ingredients into something truly special. The key to making the BEST panini lies in three essential elements: quality bread, flavorful fillings, and proper technique. Whether you’re using a panini press, a cast iron skillet, or even a regular griddle, you can absolutely master this restaurant-quality sandwich at home.
I grew up loving these pressed Italian sandwiches, and after years of perfecting my technique, I’ve created a recipe that never fails. The beauty of a panini is its versatility – while I’m sharing my favorite classic version today, you can easily customize it with your favorite proteins, cheeses, and vegetables. What matters most is understanding the fundamentals of assembly and pressing.
The secret to achieving that perfect golden-brown crust and melty interior is all about medium-high heat and proper pressure. You want the bread to get crispy and develop those beautiful grill marks while the cheese and fillings warm through without burning. This typically takes just 3-4 minutes per side, making paninis one of the quickest weeknight dinner solutions in your cooking arsenal.
For the fillings, I recommend choosing 2-3 complementary flavors. Think about texture contrasts – crispy prosciutto paired with creamy mozzarella, or tender chicken with pesto and fresh tomatoes. The combination of hot and cold elements, soft and crispy textures, and rich and fresh flavors creates that unforgettable panini experience.
One pro tip that makes a tremendous difference: butter your bread lightly before pressing. This creates an even more golden crust and helps everything cook uniformly. You can also brush a thin layer of pesto, aioli, or your favorite spread directly onto the bread before adding fillings – this adds incredible flavor and helps bind everything together.
For side dishes, consider pairing your panini with Simple Ranch Dressing Recipe drizzled over fresh greens, or Perfect Boiled Carrots Recipe on the side. These complement the warm, rich sandwich beautifully.
If you’re hosting a casual gathering, you can prep all your panini fillings ahead of time and assemble them right before pressing – this makes entertaining so much easier! And if you’re looking for dessert inspiration to follow your meal, our Best No Churn Ice Cream Recipe is absolutely divine.
For more detailed guidance on pressed sandwich techniques, check out Serious Eats’ panini press guide for additional inspiration. You can also explore Bon Appétit’s collection of pressed sandwich recipes for more flavor combinations.
The beauty of mastering panini sandwiches is that once you understand the technique, you can create endless variations. Whether you’re making them for a quick lunch, a casual dinner, or even a fun gathering with friends, this recipe will become one of your go-to favorites. Let’s get started on creating the most delicious panini sandwiches you’ve ever tasted!
Ingredients
- 4 slices ciabatta or focaccia bread (about 1/2 inch thick)
- 2 tablespoons unsalted butter, softened
- 4 ounces fresh mozzarella cheese, sliced
- 4 ounces prosciutto, thinly sliced
- 2 tablespoons pesto (store-bought or homemade)
- 2 large tomato slices (about 1/4 inch thick)
- Handful of fresh arugula or spinach
- 1/4 teaspoon sea salt
- 1/8 teaspoon freshly cracked black pepper
- Optional: roasted red peppers, sun-dried tomatoes, or fresh basil leaves
Instructions
- Prepare your panini press, cast iron skillet, or griddle by preheating it to medium-high heat for about 5 minutes. If using a press, ensure both surfaces are evenly heated.
- While your cooking surface heats, lay out all four bread slices on a clean work surface. Using a butter knife, lightly spread about 1/2 teaspoon of softened butter on the outer surface of each slice (these will be the exterior sides that touch the heat).
- Flip two of the bread slices so the buttered sides face down. On the unbuttered sides of these two slices, spread about 1 tablespoon of pesto on each.
- Layer the prosciutto evenly over the pesto on both slices, using about 2 ounces per sandwich. The prosciutto will be your base layer and adds wonderful flavor and texture.
- Arrange the fresh mozzarella slices directly over the prosciutto, dividing evenly between the two sandwiches. Fresh mozzarella melts beautifully and creates that creamy texture we’re aiming for.
- Layer the tomato slices next, seasoning them lightly with a pinch of sea salt and black pepper. This prevents excess moisture from making the sandwich soggy.
- Add a small handful of fresh arugula or spinach on top of the tomatoes for a peppery, fresh element that contrasts with the warm, melty filling.
- Take the remaining two bread slices and place them on top of each sandwich, buttered side facing up. Press down gently to help the sandwich hold together – you want it secure but not crushed.
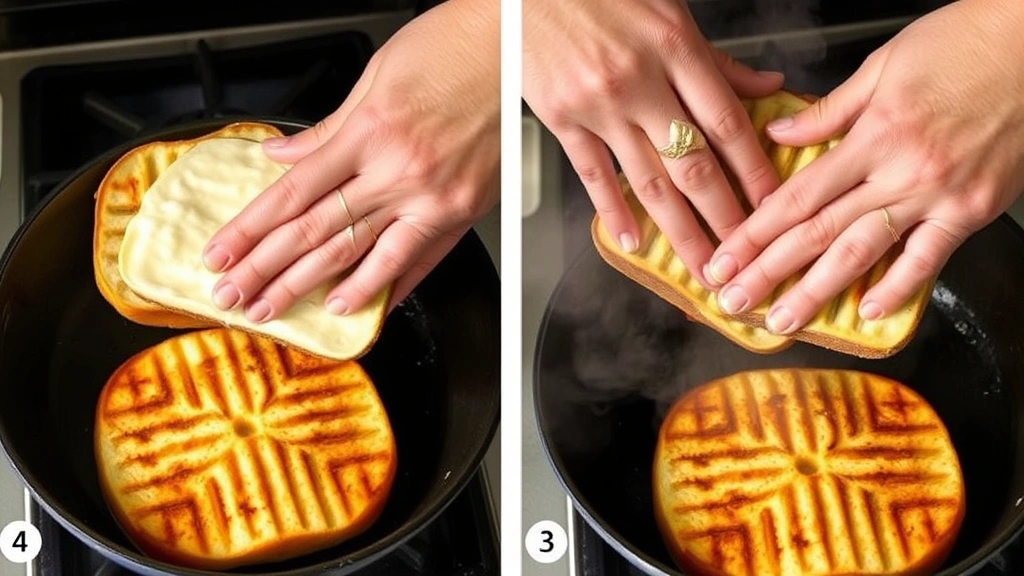
- Carefully transfer one assembled sandwich to your preheated panini press or skillet. If using a press, close it firmly but don’t press down with excessive force.
- If using a skillet or griddle, place a slightly smaller heavy skillet, cast iron pan, or panini press weight on top of the sandwich. You want enough pressure to create contact with the heat and develop that golden crust, but not so much that you squeeze out all the fillings.
- Cook for 3-4 minutes without moving the sandwich. You want the bread to develop a beautiful golden-brown color with crispy edges. Resist the urge to peek or flip early – patience creates those gorgeous grill marks.
- Carefully flip the sandwich and cook for another 3-4 minutes on the second side until equally golden brown and crispy. The cheese should be completely melted at this point.
- Remove the finished panini to a clean cutting board and let it rest for 1-2 minutes before cutting. This allows the cheese to set slightly and makes it easier to handle.
- Cut the panini in half diagonally, which creates a beautiful presentation and makes it easier to eat while keeping the fillings contained.
- Repeat steps 9-14 with your second assembled sandwich.
- Serve immediately while still warm and crispy, with your choice of side dishes or salad.

Pro Tips
BUTTER VS OIL: While traditional paninis are sometimes brushed with olive oil, I prefer softened butter because it creates a richer, more golden crust and adds incredible flavor. If you’re using a press with non-stick surfaces, you can skip the butter entirely, but it does add a special touch.
CHEESE CHOICES: Fresh mozzarella is my go-to because it melts beautifully and has a delicate, creamy texture. However, you can also use fontina for a nuttier flavor, provolone for something sharper, or even a blend of cheeses. Just avoid pre-shredded cheese, which contains anti-caking agents and doesn’t melt as smoothly.
PREP AHEAD: You can assemble your paninis up to 2 hours ahead of time and keep them covered at room temperature. Don’t refrigerate them before pressing, as cold fillings will take longer to heat through and your bread might burn before everything melts.
COOKING EQUIPMENT: If you don’t have a panini press, a cast iron skillet works wonderfully. Simply place the assembled sandwich in the hot skillet and weight it down with another heavy skillet or even a cast iron press weight. This gives you similar results and allows you to monitor the browning more easily.
FILLING VARIATIONS: This recipe is incredibly versatile. Try roasted red peppers and goat cheese, sun-dried tomatoes with pesto and chicken, or even fig jam with prosciutto and brie. The key is keeping your fillings to 2-3 main components so flavors don’t get muddled.
MOISTURE MANAGEMENT: Tomatoes can release excess liquid that makes your panini soggy. To prevent this, slice tomatoes thickly, pat them dry with paper towels before adding to the sandwich, and season them lightly with salt and pepper. If you’re using other wet ingredients like roasted peppers, pat them dry too.
TEMPERATURE CONTROL: Medium-high heat is crucial. Too low and your bread won’t get crispy before the cheese melts; too high and you’ll burn the outside before the inside warms through. If you find your first panini is burning, lower the heat slightly for the second one.
SERVING SUGGESTIONS: Paninis are best served immediately while still warm and crispy. They’re perfect for lunch, casual dinner, or even breakfast. Pair with a simple green salad, vegetable side dishes, or even a light soup for a complete meal.
STORAGE: Leftover paninis can be stored in an airtight container in the refrigerator for up to 2 days, though they’re best consumed fresh. You can reheat them briefly in a skillet over medium heat, but they won’t have quite the same crispy texture as freshly made.
Pingback: Best Bloody Mary Recipe: Ultimate Brunch Cocktail Guide - Simple Recipe Finder
Pingback: Best Sourdough Discard Recipes: 15 Easy Ways to Stop Waste - Simple Recipe Finder
Pingback: Brandy Old Fashioned Recipe: The Ultimate Wisconsin Classic - Simple Recipe Finder
Pingback: Canning Pickles Recipe: Ultimate Guide for Crispy Results - Simple Recipe Finder
Pingback: Christmas Cocktail Recipes: 15 Festive Drinks to Impress - Simple Recipe Finder