
Making playdough at home is one of my favorite kitchen projects with the kids, and I’m so excited to share this cream of tartar-free version with you! For years, I relied on cream of tartar to keep homemade playdough fresh and stretchy, but honestly, this recipe works just as beautifully without it. The secret? A combination of salt, oil, and the perfect ratio of flour to water that creates that ideal texture every single time.
I developed this recipe out of necessity when I realized I didn’t have cream of tartar on hand one afternoon, and my kiddos were desperate to play. What I discovered is that this version is not only easier to make, but it’s also more budget-friendly and produces playdough that lasts just as long. The texture is smooth, pliable, and absolutely perfect for little hands to mold and create with.
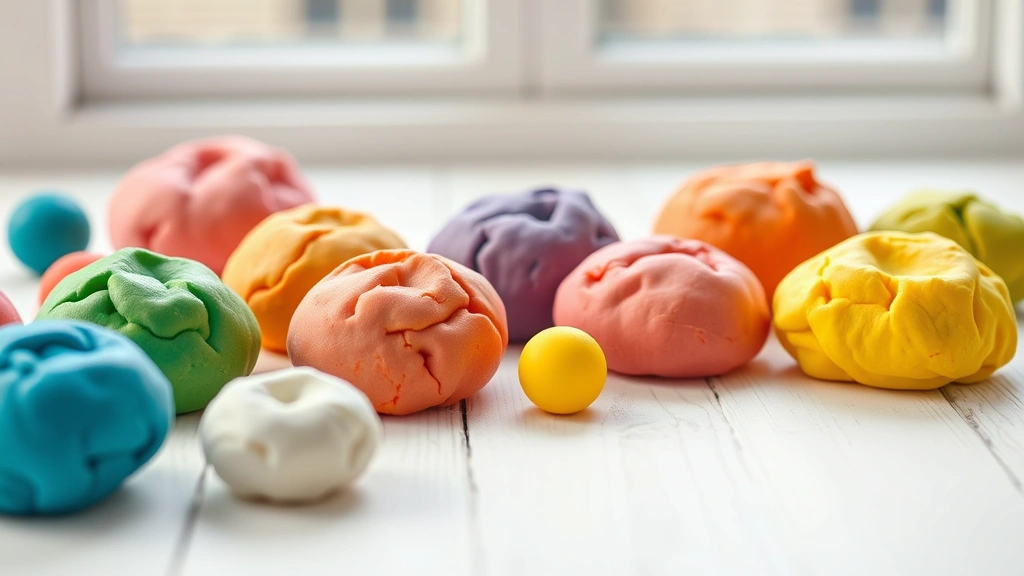
This playdough is completely non-toxic (though we don’t encourage eating it!), and it’s so simple that even young children can help with the mixing. The best part? You probably have all the ingredients in your pantry right now. No special trips to the store needed! I love making this in different colors and storing it in airtight containers so we always have playdough ready for a rainy afternoon.
The science behind this recipe is actually quite simple. Salt acts as a natural preservative, keeping the playdough from growing mold or bacteria. The oil prevents it from drying out too quickly, while the flour provides structure. When you cook everything together, you’re essentially creating a non-edible dough that’s completely safe for kids of all ages. This is such a rewarding project because you can see immediate results, and the kids feel so proud playing with something homemade.
I’ve made this recipe hundreds of times now, and I’m sharing all my tips and tricks to ensure your playdough turns out perfect every single time. Whether you’re a busy parent looking for rainy day activities or a teacher searching for a budget-friendly classroom supply, this recipe is an absolute game-changer. Just like perfecting any homemade recipe, consistency and quality ingredients make all the difference here too.
Ingredients
- 2 cups all-purpose flour
- 2 cups water
- 1 cup salt
- 2 tablespoons vegetable oil or coconut oil
- 2-3 tablespoons food coloring (any color you prefer, or skip for natural beige)
- 1 tablespoon vanilla extract (optional, for pleasant aroma)
- Large pot or skillet
- Wooden spoon for stirring

Instructions
- Pour 2 cups of water into your pot and bring it to a medium heat. You don’t need it to boil, just warm it up so it’s hot to the touch.
- While the water is heating, combine 2 cups of flour and 1 cup of salt in a separate bowl, mixing them together thoroughly with a spoon or whisk.
- Add your food coloring to the warm water if you’re making colored playdough, and stir until the color is completely dissolved and evenly distributed throughout.
- Slowly pour the flour and salt mixture into the colored water while stirring constantly with a wooden spoon. The mixture will start to come together and become thick and difficult to stir.
- Add 2 tablespoons of vegetable oil to the mixture, stirring well to incorporate it completely throughout the dough.
- If you’re using vanilla extract for a pleasant scent, add it now and stir until fully combined into the playdough.
- Continue cooking the mixture over medium heat, stirring constantly for about 3-5 minutes. The playdough will start to pull away from the sides of the pot and form a ball-like consistency.
- Once the playdough has formed a cohesive ball and is no longer sticking to the sides of the pot excessively, remove it from heat and let it cool on a clean surface or cutting board.
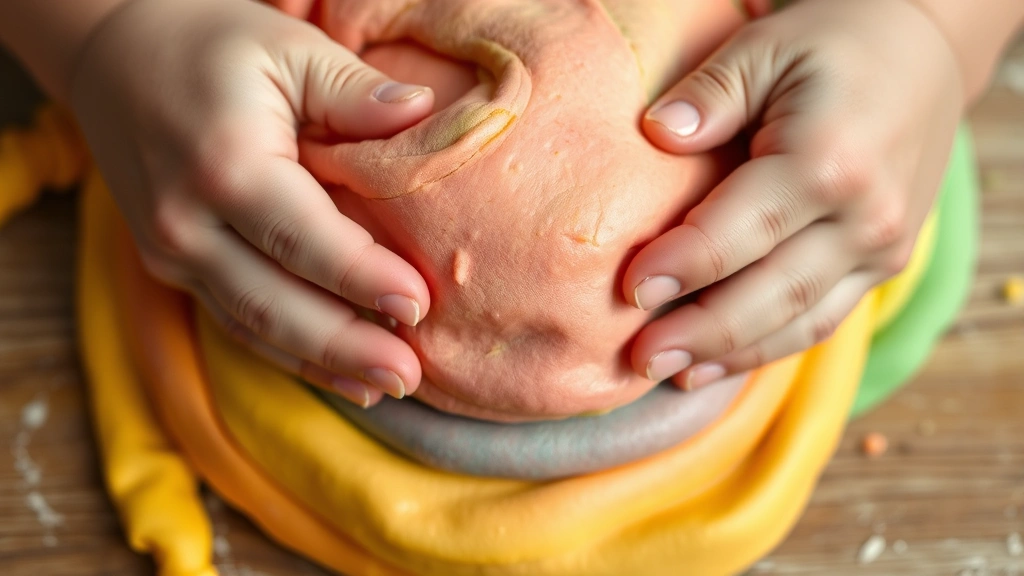
- Once it’s cool enough to handle (usually within 2-3 minutes), knead the playdough with your hands for about one minute until it reaches the perfect texture and any remaining moisture is evenly distributed.
- Divide your playdough into portions if making multiple colors, or store it all together in an airtight container, plastic bag, or sealed jar for future play sessions.
Pro Tips
Color Variations: Feel free to experiment with different food coloring combinations to create custom colors. You can also use gel food coloring for more vibrant hues, or natural dyes like beet juice for pink or spinach juice for green.
Scent Options: Beyond vanilla extract, try adding a few drops of peppermint extract, lemon extract, or almond extract for different aromatic experiences. Some families also add a drop or two of essential oils, though be cautious around very young children.
Texture Adjustments: If your playdough is too sticky after cooling, knead in a bit more flour. If it’s too dry and crumbly, add a small amount of water (just a teaspoon at a time) and knead it in.
Double Batch: This recipe doubles beautifully if you need larger quantities for classroom use or multiple children. Simply multiply all ingredients by two and follow the same instructions.
Making It Glitter: For extra special playdough, add a tablespoon of biodegradable glitter after removing from heat while still warm. Stir thoroughly so it’s evenly distributed.
Safety Notes: While this playdough is non-toxic, it’s not meant to be eaten. Always supervise young children during playdough activities. If anyone has a salt sensitivity, this recipe may not be appropriate for them.
Mixing in: You can add small toys, cookie cutters, or rolling pins to enhance the sensory experience and creative play opportunities.
Refreshing Old Playdough: If your playdough has lost some moisture over time, add a few drops of water and knead it thoroughly to restore it to its original texture.