
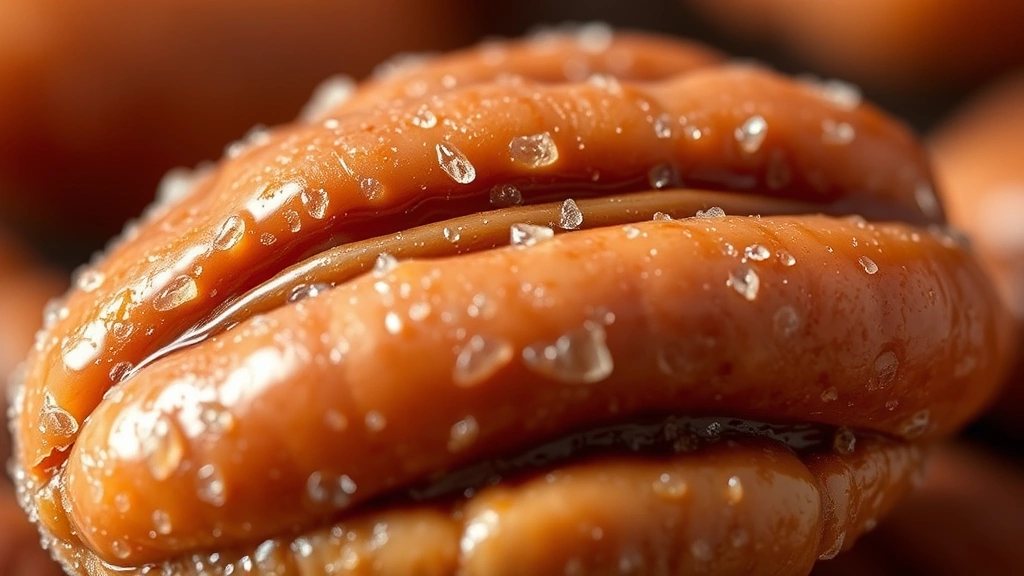
There’s something absolutely magical about praline pecans—those sweet, buttery, candied nuts that are impossible to stop eating once you start! This recipe creates that perfect balance of crispy exterior and tender interior, with a beautiful caramel coating that’s neither too thick nor too thin. I absolutely love making these for holiday gifts, snack bowls, or simply to have on hand for when that sweet craving strikes.
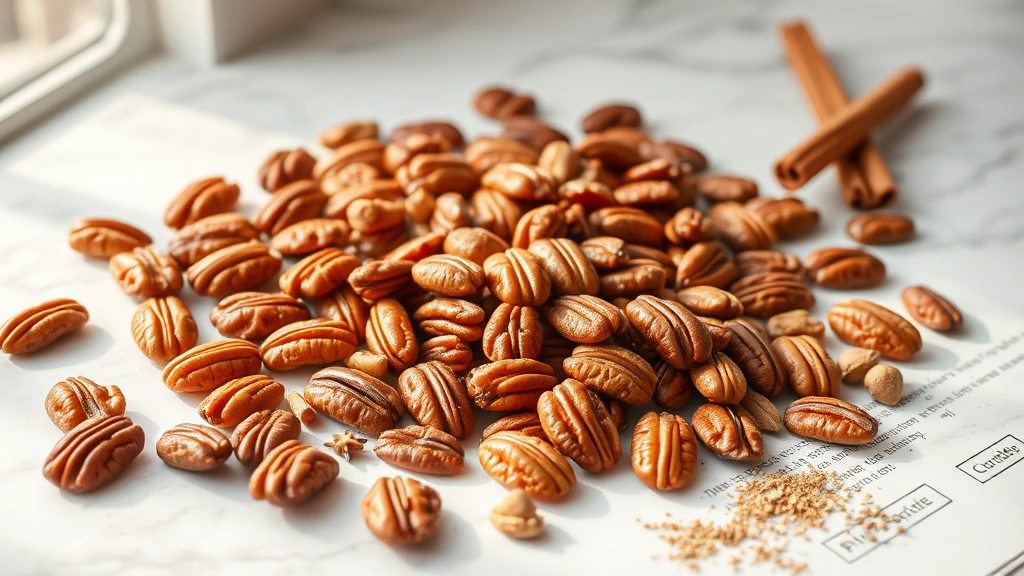
Pralines have such a rich history in Southern cooking, and for good reason. These candied pecans are the perfect combination of texture and flavor, with warm spices like cinnamon and nutmeg complementing the natural earthiness of quality pecans. What makes this recipe truly special is the technique—we’re creating a proper praline coating that clings to each nut without becoming rock-hard or overly sticky.
I first learned to make praline pecans from my grandmother, who would prepare massive batches every November. She taught me the importance of using fresh pecans, monitoring the temperature carefully, and knowing exactly when to remove them from heat. That moment of perfection—when the coating is glossy and sets to a beautiful matte finish—is what separates good praline pecans from exceptional ones.
What I love most about this recipe is its versatility. You can enjoy them straight from the cooling rack as a snack, crumble them over sweet potato casserole, sprinkle them on vanilla ice cream, or incorporate them into pecan pie for extra texture. They also make wonderful gifts presented in pretty jars or boxes. For more inspiration on using pecans in your kitchen, check out this collection of pecan recipes, and if you’re interested in other candied nuts, this candied nuts guide is incredibly helpful.
The beauty of homemade praline pecans is that you control every ingredient. There’s no corn syrup, no artificial flavoring, and no mystery ingredients—just real butter, real sugar, and real pecans. For detailed information on candy-making techniques, Serious Eats has wonderful resources on candy temperatures and stages. Additionally, Bon Appétit frequently features creative ways to use candied nuts in both sweet and savory applications, and New York Times Cooking offers excellent guides on candy-making fundamentals that will help ensure your success.
This recipe yields about two cups of praline pecans, though you might find yourself doubling it for holiday gatherings. The process takes about 30 minutes total, with most of that being hands-on time. Once you master this technique, you’ll understand why people go absolutely wild for homemade praline pecans—they’re truly incomparable to store-bought versions.
Ingredients
- 2 cups raw pecan halves
- 1 cup granulated sugar
- 6 tablespoons unsalted butter
- 1/4 cup heavy cream or evaporated milk
- 1 teaspoon vanilla extract
- 1/2 teaspoon ground cinnamon
- 1/4 teaspoon ground nutmeg
- 1/4 teaspoon ground cloves (optional)
- 1/4 teaspoon sea salt
- Pinch of cayenne pepper (optional, adds subtle warmth)
Instructions
- Line a large baking sheet with parchment paper or a silicone baking mat, leaving it easily accessible near your stove. This is crucial—you won’t have time to prep once the mixture reaches temperature.
- In a heavy-bottomed saucepan (at least 3-4 quarts), combine the sugar, butter, and heavy cream. Stir together over medium heat until the butter melts completely and the mixture is smooth.
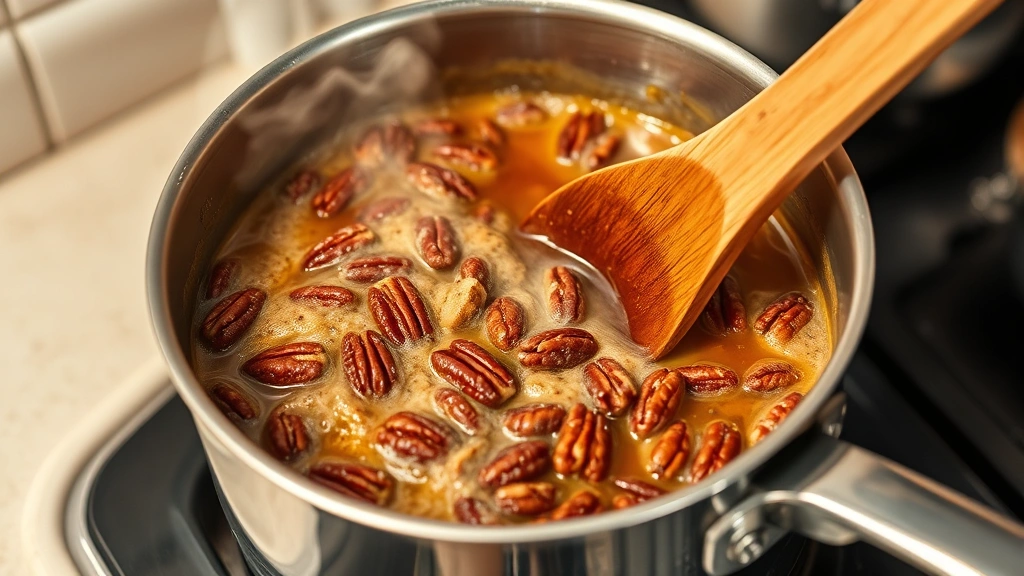
- Increase the heat to medium-high and allow the mixture to come to a gentle boil, stirring frequently. You’re looking for the temperature to reach 238°F (114°C) on a candy thermometer—this is the soft-ball stage. This typically takes 8-10 minutes.
- Once the mixture reaches exactly 238°F, remove the saucepan from heat immediately. Stir in the vanilla extract, cinnamon, nutmeg, cloves (if using), salt, and cayenne pepper (if using).
- Quickly add the pecan halves to the hot mixture, stirring constantly and vigorously for about 1-2 minutes. You’ll notice the mixture beginning to crystallize and look slightly grainy—this is exactly what you want.
- Pour the praline pecans onto your prepared baking sheet in a single layer, spreading them out as much as possible. Don’t worry if they’re clustered—gently separate them with two forks while they’re still warm.
- Allow the pecans to cool completely at room temperature for at least 15-20 minutes. Resist the urge to move them or taste-test until they’ve fully set and reached room temperature.
- Once completely cooled, break apart any large clusters and transfer your praline pecans to an airtight container. They’ll stay fresh for up to two weeks at room temperature, or up to one month in the refrigerator.
Pro Tips
- **Candy thermometer is essential**: This recipe truly depends on reaching exactly 238°F. Without a reliable candy thermometer, your results will be inconsistent. Invest in a quality one—it’s the difference between creamy praline pecans and either grainy or too-soft versions.
- **Don’t skip the heavy cream**: While evaporated milk works in a pinch, heavy cream creates a superior texture and richer flavor. The fat content is what makes these pralines so luxurious.
- **Timing is everything**: Once you remove the mixture from heat, work quickly. The mixture sets rapidly, and hesitation will result in pralines that are too hard or that stick together in large clumps.
- **Temperature matters**: Keep your kitchen cool while making these. On hot, humid days, the pralines may take longer to set or may not achieve the ideal texture. If this happens, store them in the refrigerator.
- **The grainy texture is correct**: That slight graininess you see when you stir in the pecans is the sugar crystallizing—this is what creates pralines’ signature texture. Don’t overstir or you’ll end up with a hard candy.
- **Spice customization**: Feel free to adjust the spices to your preference. Some people love extra cinnamon, while others prefer a warm hint of ginger. Start with the amounts suggested and adjust to taste in future batches.
- **Pecan quality matters**: Use fresh, high-quality pecans. Older or rancid pecans will compromise the final product. Store your pecans in the freezer if you’re not using them immediately.
- **Humidity affects results**: These pralines are best made on dry days. High humidity can prevent proper setting and may make them sticky or soft.
- **Gift-giving tips**: Present these in pretty mason jars tied with ribbon, or layer them in decorative boxes with parchment between layers. They make absolutely wonderful holiday gifts that people genuinely appreciate.
- **Storage solutions**: Keep praline pecans in an airtight container at room temperature for up to two weeks, in the refrigerator for up to one month, or freeze them for up to three months. Bring to room temperature before serving for best texture and flavor.