

Protein balls are the ultimate no-bake treat that combine delicious flavor with a serious nutritional punch! Whether you’re looking for a post-workout snack, a sweet treat to satisfy cravings, or energy bites to power through your day, this recipe delivers on all fronts. These little powerhouses are incredibly versatile—you can customize them with your favorite protein powder flavor, add mix-ins like chocolate chips or nuts, and store them in the fridge for grab-and-go convenience.
What makes this recipe so special is how simple it is to prepare. No oven required, no complicated techniques—just a few quality ingredients mixed together and rolled into perfect little spheres. I absolutely love how you can make a big batch on Sunday and have healthy snacks ready for the entire week. The combination of protein powder, nut butter, and oats creates the ideal texture that holds together beautifully while staying moist and delicious.
These energy bites are perfect for meal prep season, and they make an excellent gift for fitness enthusiasts in your life. The beauty of protein balls is that they work with virtually any protein powder flavor you prefer—vanilla, chocolate, cookies and cream, strawberry, birthday cake, or even unflavored options. You can also customize your protein snacks by adding different mix-ins depending on your mood and dietary preferences.
I’ve tested this recipe dozens of times to get the ratio just right, and I’m thrilled to share my foolproof method with you. These protein balls stay fresh in the refrigerator for up to two weeks, though they rarely last that long in my house! They’re the perfect solution for anyone trying to increase their protein intake without resorting to chalky shakes or boring bars. Plus, they taste like an indulgent treat, which makes sticking to your nutrition goals feel way less like a sacrifice.
The best part? You probably already have most of these ingredients in your pantry. If you’re someone who loves no-bake desserts, this recipe will become a staple in your kitchen. For more inspiration on healthy snack ideas, check out our collection of nutrient-dense recipes that don’t skimp on flavor. These protein balls also pair beautifully with your morning coffee or as an afternoon pick-me-up when you need sustained energy.
Ingredients
- 1 cup natural creamy peanut butter (or almond butter)
- 1 cup old-fashioned rolled oats
- ¾ cup vanilla protein powder
- ½ cup unsweetened cocoa powder (optional, for chocolate variety)
- ½ cup raw honey or maple syrup
- ½ cup unsweetened shredded coconut (optional)
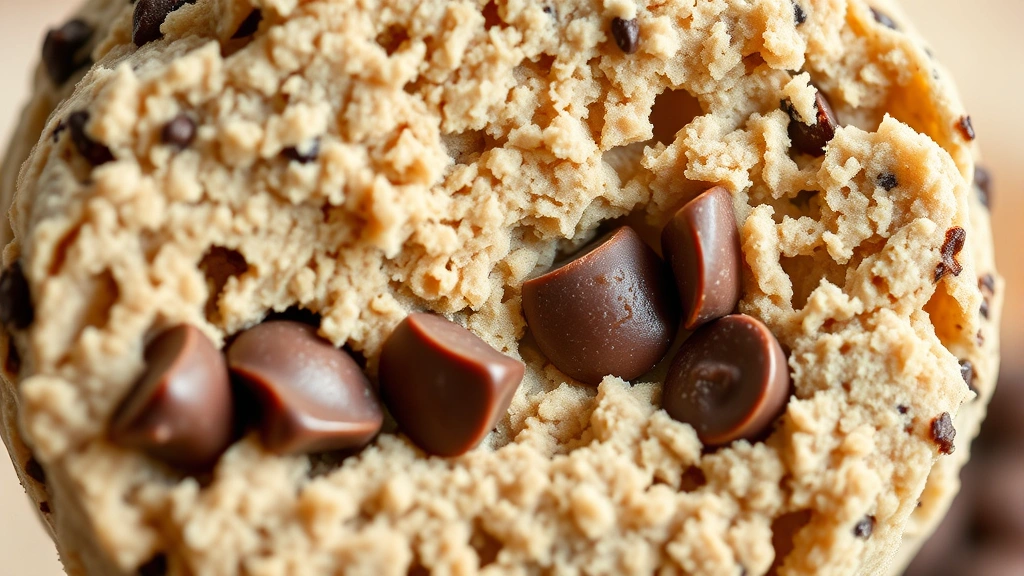
- ½ cup mini dark chocolate chips
- ¼ cup ground flaxseed or chia seeds
- 1 teaspoon vanilla extract
- ¼ teaspoon sea salt
- 2 tablespoons coconut oil (for easier mixing)
Instructions
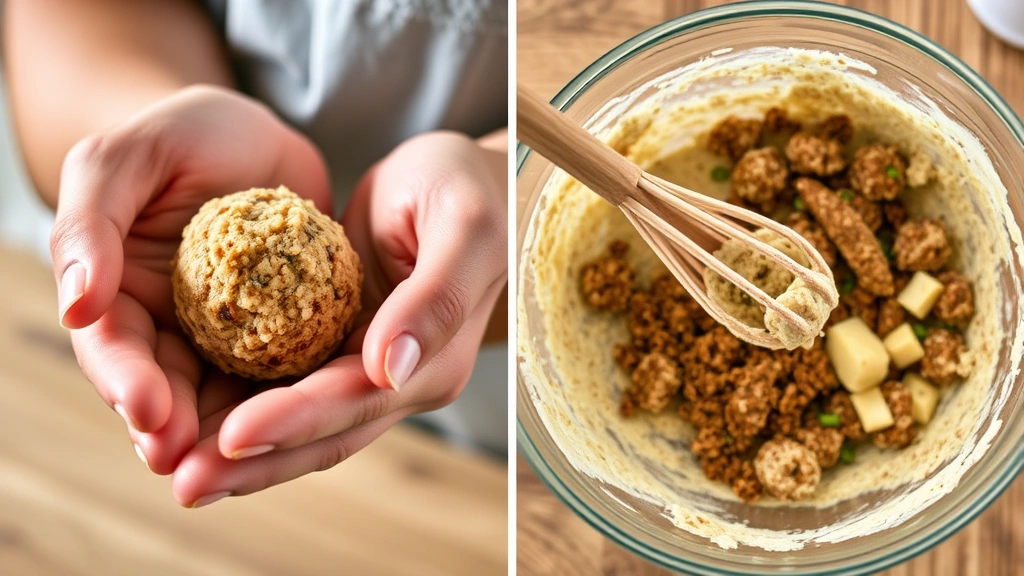
- Gather all your ingredients and measure them out into separate bowls—this makes the mixing process smooth and prevents any last-minute scrambling.
- In a large mixing bowl, combine the peanut butter, protein powder, oats, honey, vanilla extract, and sea salt, stirring until well combined and no dry pockets of protein powder remain.
- If the mixture seems too dry or crumbly, add the coconut oil one tablespoon at a time and mix thoroughly until the texture becomes moldable and holds together when squeezed.
- Fold in the mini dark chocolate chips, ground flaxseed, and shredded coconut (if using) until evenly distributed throughout the mixture.
- Line a baking sheet or large plate with parchment paper for easy handling and to prevent sticking.
- Using a cookie scoop or tablespoon, measure out portions of the mixture and roll between your palms to form smooth, compact balls about 1 inch in diameter.
- Place each finished protein ball on the prepared parchment paper, working quickly before the mixture becomes too warm from your hands.
- Once all the balls are formed, transfer the baking sheet to the refrigerator and chill for at least 30 minutes until they firm up significantly.
- After chilling, transfer the protein balls to an airtight container with parchment paper between layers to prevent sticking.
- Store in the refrigerator for up to 2 weeks, or freeze for up to 3 months for longer-term storage and grab-and-go convenience.
Pro Tips
- **Protein Powder Variations:** Experiment with different flavors like chocolate, cookies and cream, strawberry, or birthday cake protein powder to create variety. You can even make multiple batches with different flavors and store them separately.
- **Nut Butter Substitutes:** If you have nut allergies or preferences, try sunflower seed butter, tahini, or even cookie butter for unique flavor combinations that work beautifully in this recipe.
- **Texture Tips:** If your mixture is too dry, add coconut oil or a splash of almond milk one teaspoon at a time. If it’s too wet, add more oats or protein powder gradually until you reach the perfect consistency.
- **No-Cocoa Version:** For a lighter option, omit the cocoa powder and use vanilla or unflavored protein powder instead. The chocolate chips still provide that satisfying chocolate element.
- **Mix-In Options:** Get creative with add-ins like crushed pretzels, chopped nuts, white chocolate chips, dried fruit, or even a sprinkle of sea salt on top for a sweet-and-salty twist.
- **Make-Ahead Friendly:** These protein balls are perfect for meal prep! Make a double batch on Sunday and portion them throughout the week for convenient, portion-controlled snacks.
- **Freezer-Friendly:** These balls freeze beautifully for up to three months. Thaw for 5-10 minutes at room temperature before eating, or enjoy them straight from the freezer for a firmer texture.
- **Customizable Sweetness:** Adjust the honey or maple syrup amount based on your sweetness preference—you can reduce it to 6 tablespoons for a less sweet version.
- **Serving Suggestions:** Enjoy with Greek yogurt, as a post-workout snack with a protein shake, or pair with fresh fruit for a balanced snack that keeps you satisfied.
- **Storage Containers:** Use glass containers or silicone muffin liners to keep your balls organized and fresh-tasting throughout the week.