
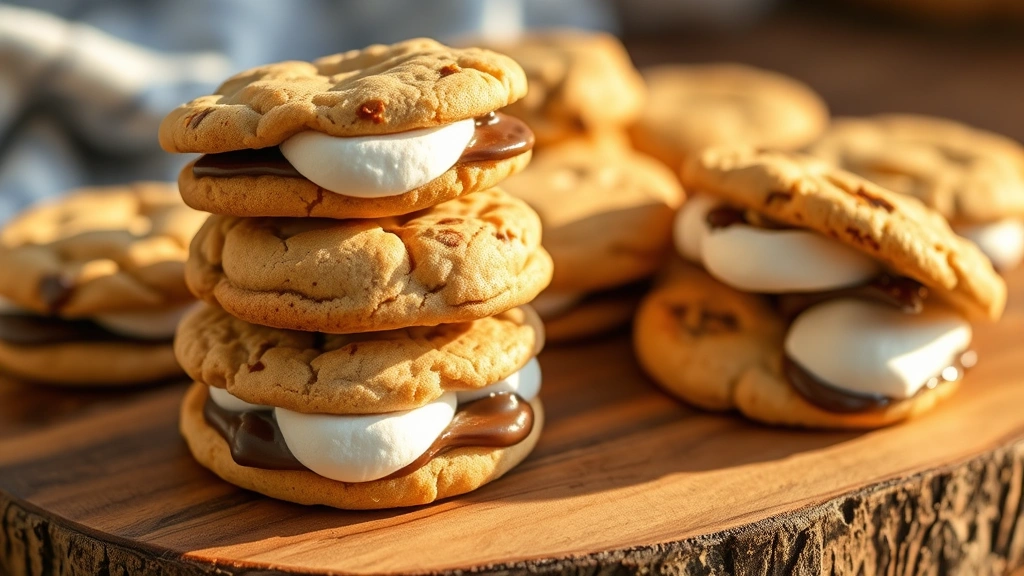
Oh my goodness, you guys, these S’more cookies are absolutely divine! There’s nothing quite like capturing all those cozy campfire vibes in cookie form – the gooey marshmallow, rich chocolate, and buttery graham cracker all working together in perfect harmony. I’ve been perfecting this recipe for years, and I’m so excited to finally share it with you!
These cookies are the ultimate crowd-pleaser and honestly, they disappear faster than you can say “s’more!” The beauty of this recipe is that you get all the nostalgic flavors of a classic s’more without needing to hover over a campfire. Plus, they’re actually easier to make than you might think – even if you’re a beginner baker, you’ve totally got this!
I love making these for parties, potlucks, or just because it’s a Tuesday and I deserve something delicious. The combination of textures – crispy edges, chewy centers, and those melty marshmallow pockets – is absolutely irresistible. My family requests these at every gathering, and I’m pretty sure my neighbors have figured out when I’m baking them based on the aroma wafting through the neighborhood!
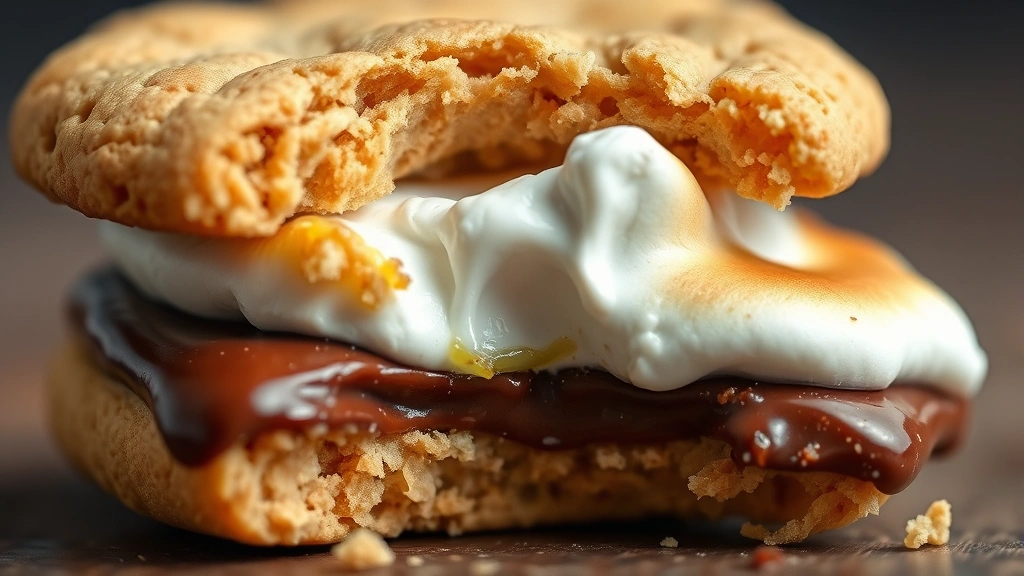
The secret to the BEST s’more cookies is using quality chocolate and not overbaking them. You want them just slightly underdone so they stay chewy in the middle. I also like to add a little extra graham cracker crunch by crushing some into the dough itself. Trust me, this little trick takes them from good to absolutely spectacular!
Whether you’re hosting a summer gathering, need a dessert for a bake sale, or just want to treat yourself, these indulgent treats are guaranteed to impress. I promise you’ll be making these over and over again. Let’s get baking, friends!
Ingredients
- 2 1/4 cups all-purpose flour
- 1 teaspoon baking soda
- 1/2 teaspoon salt
- 1 cup (2 sticks) unsalted butter, softened to room temperature
- 3/4 cup granulated sugar
- 3/4 cup packed light brown sugar
- 2 large eggs
- 2 teaspoons vanilla extract
- 1 1/2 cups semi-sweet chocolate chips
- 1 1/2 cups milk chocolate chips
- 1 1/2 cups graham cracker pieces (about 12-14 full crackers)
- 1 1/2 cups mini marshmallows, plus more for topping
- 1/2 cup graham cracker crumbs (for mixing into dough)
- 1/4 teaspoon ground cinnamon
- Fleur de sel or sea salt for topping (optional but recommended)
Instructions
- Preheat your oven to 350°F (175°C). Line your baking sheets with parchment paper – this is so important because it prevents sticking and helps with even baking.
- In a medium bowl, whisk together the all-purpose flour, baking soda, salt, cinnamon, and graham cracker crumbs. Set this dry mixture aside and try not to overmix – you just want everything combined.
- In a large mixing bowl, cream together the softened butter, granulated sugar, and brown sugar. Beat on medium speed for about 2-3 minutes until the mixture is light and fluffy – this is crucial for getting that perfect cookie texture!
- Add the eggs one at a time to the butter mixture, beating well after each addition. Then add the vanilla extract and mix until fully incorporated.
- Gradually add the dry ingredients to the wet ingredients, mixing on low speed until just combined. Don’t overmix this – you want a nice, cohesive dough without overdeveloping the gluten.
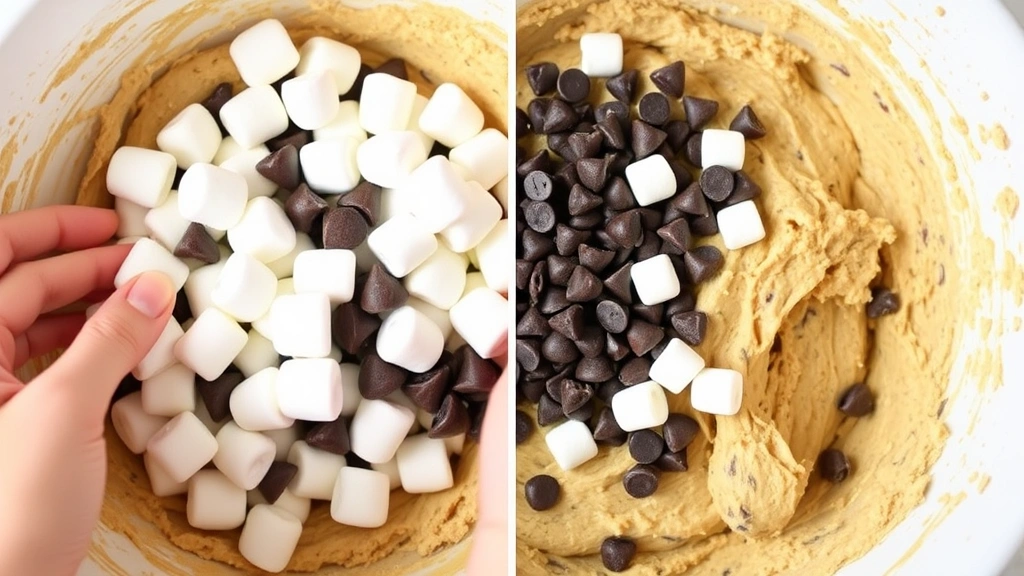
- Fold in the semi-sweet chocolate chips, milk chocolate chips, graham cracker pieces, and mini marshmallows using a spatula or wooden spoon. Be gentle here so you don’t crush the marshmallows too much – you want those pockets of gooey texture throughout!
- Drop rounded tablespoons of dough onto your prepared baking sheets, spacing them about 2 inches apart. These cookies will spread a bit, so give them plenty of room.
- If desired, gently press a few extra mini marshmallows on top of each cookie dough ball before baking – this gives you those beautiful marshmallow pockets on the surface.
- Bake for 12-14 minutes, until the edges are golden brown but the centers still look slightly underdone. This is the secret to keeping them chewy! If you bake them too long, they’ll become cake-like and lose that wonderful texture.
- Remove from the oven and immediately sprinkle with a tiny pinch of fleur de sel or sea salt if using – this really brings out all the flavors!
- Let the cookies cool on the baking sheet for 5 minutes, then transfer them to a wire cooling rack.
- Enjoy warm or at room temperature – they’re absolutely delicious either way!
Pro Tips
- Storage: These cookies keep beautifully in an airtight container at room temperature for up to 5 days. I also love freezing the dough balls on a baking sheet before transferring them to a freezer bag – you can bake fresh cookies whenever you want!
- Graham Cracker Swaps: If you can’t find mini marshmallows, regular marshmallows work too – just cut them into smaller pieces. You can also use honey graham crackers for a slightly sweeter version.
- Chocolate Variations: Feel free to experiment with different chocolate chips! Dark chocolate, white chocolate, or even a combination creates different flavor profiles. I sometimes use chocolate chunks instead of chips for extra richness.
- Baker’s Secret: The key to perfectly chewy cookies is removing them from the oven when the edges are set but the centers still jiggle slightly. They’ll continue cooking on the hot pan for a minute or two after removal.
- Make-Ahead Magic: You can prepare the dough up to 24 hours in advance – just refrigerate it in an airtight container. The flavors actually deepen as it sits, making the cookies even more delicious!
- Marshmallow Hack: If your marshmallows are sticking to your fingers while folding them in, lightly coat your hands or the spatula with cooking spray. This makes handling them so much easier!
- Dietary Modifications: For a gluten-free version, substitute the all-purpose flour with a 1:1 gluten-free baking blend. For dairy-free, use vegan butter and dairy-free chocolate chips.
- Altitude Adjustments: If you’re baking at high altitude, you may need to slightly increase the oven temperature or reduce the baking time by a minute or two – every oven is different!
- Flavor Boosters: A tiny pinch of espresso powder in the dough enhances the chocolate flavor without making them taste like coffee. You can also add 1/4 teaspoon of almond extract for extra depth.
- Party Presentation: These cookies are gorgeous on a dessert board or platter. The marshmallow and chocolate make them visually stunning – your guests will be impressed before they even take a bite!