
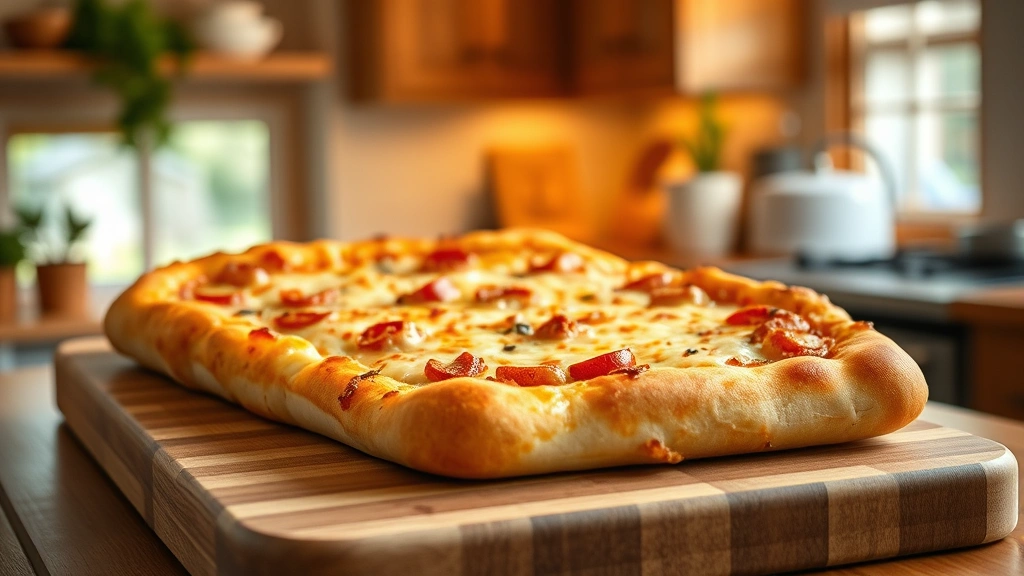
School pizza is the ultimate comfort food that takes me back to those cafeteria days—crispy on the edges, soft in the middle, and absolutely loaded with melty cheese. This homemade version captures that nostalgic magic while being even better than the original! The secret is in the rectangular pan, the slightly sweet tomato sauce, and the generous amount of mozzarella that gets those gorgeous golden spots.
What makes school pizza so special isn’t just the taste—it’s the memories attached to it. Whether you’re recreating those lunch-line moments or introducing your own kids to this beloved classic, this recipe delivers every single time. The beauty of making it at home is that you can control the quality of ingredients, customize your toppings, and make it exactly how you remember it (or better!).
I love serving this pizza at casual gatherings, game nights, or when the family is craving something comforting and delicious. It reheats beautifully, making it perfect for meal prep or feeding a crowd. The rectangular shape means you get more crispy edges—which, let’s be honest, are the best part of any pizza. Plus, this recipe scales up easily if you’re feeding a larger group.
The dough comes together quickly, and while it benefits from a bit of rise time, you can have fresh, hot pizza on the table in under an hour. The sauce is simple but flavorful, allowing the cheese to really shine. I typically use a blend of whole milk mozzarella and a touch of provolone for that authentic cafeteria taste, though you can absolutely stick with just mozzarella if that’s your preference.
If you’re looking to elevate your pizza game beyond school pizza, you might also enjoy making Quick Tasty Bacon Carbonara Recipe or exploring other comfort food classics. And for side dishes that pair beautifully with pizza night, consider whipping up Easy Pickled Red Onion Recipe for a tangy contrast, or Best Chickpea Salad Recipe for a fresh, protein-packed side.
For more pizza inspiration and techniques, check out Serious Eats Pizza Collection and Bon Appétit’s Best Pizza Guide. You can also explore New York Times Cooking Pizza Recipes for additional creative variations. And if you want to master sauce-making, Best Heavy Cream Alfredo Sauce Recipe teaches fundamental sauce techniques that translate beautifully to pizza making.
Ingredients
- 2½ cups all-purpose flour
- 1 teaspoon instant yeast
- 1 teaspoon salt
- 1 tablespoon granulated sugar
- 1 tablespoon olive oil
- ¾ cup warm water
- 1 (15-ounce) can tomato sauce
- 1 teaspoon dried oregano
- ½ teaspoon garlic powder
- ½ teaspoon salt
- ¼ teaspoon black pepper
- 1 tablespoon olive oil (for sauce)
- 4 cups whole milk mozzarella cheese, shredded
- ½ cup provolone cheese, shredded (optional but recommended)
- 2 tablespoons olive oil (for the pan)
- Optional toppings: pepperoni, Italian sausage, mushrooms, bell peppers
Instructions
- Make the dough by combining 2½ cups all-purpose flour, 1 teaspoon instant yeast, 1 teaspoon salt, and 1 tablespoon granulated sugar in a large mixing bowl.
- Create a well in the center of the dry ingredients and add 1 tablespoon olive oil and ¾ cup warm water.
- Mix together using a wooden spoon or your hands until a shaggy dough forms, then knead for 5-7 minutes until smooth and slightly elastic.
- Cover the dough bowl with plastic wrap and let it rise in a warm place for 30-40 minutes until it increases by about half.
- While the dough rises, prepare the sauce by combining 1 (15-ounce) can tomato sauce, 1 teaspoon dried oregano, ½ teaspoon garlic powder, ½ teaspoon salt, ¼ teaspoon black pepper, and 1 tablespoon olive oil in a small saucepan.
- Simmer the sauce over low heat for 5 minutes, stirring occasionally, then set aside to cool slightly.
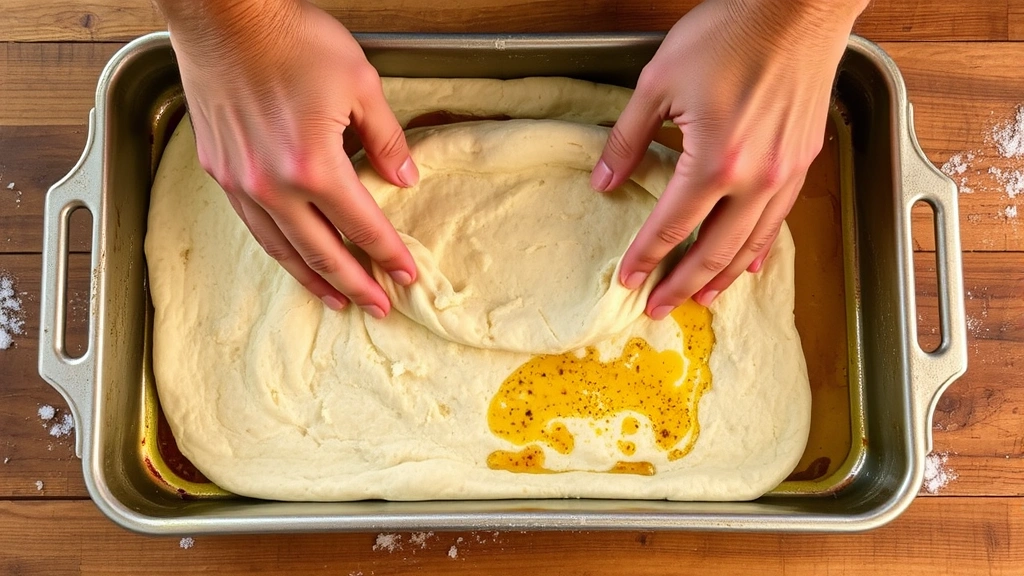
- Preheat your oven to 425°F and generously coat a 9×13-inch rectangular baking pan with 2 tablespoons olive oil, making sure to coat the bottom and sides.
- Turn the risen dough out onto a lightly floured surface and gently press it into the prepared pan, working from the center outward to fill the entire rectangular space.
- If the dough springs back, let it rest for a few minutes, then continue stretching until it fills the pan completely and evenly.
- Spread the cooled tomato sauce evenly over the dough, leaving about ½ inch around the edges for the crust to puff up.
- In a small bowl, combine 4 cups shredded whole milk mozzarella cheese and ½ cup shredded provolone cheese (if using), or use 4½ cups mozzarella if making it without provolone.
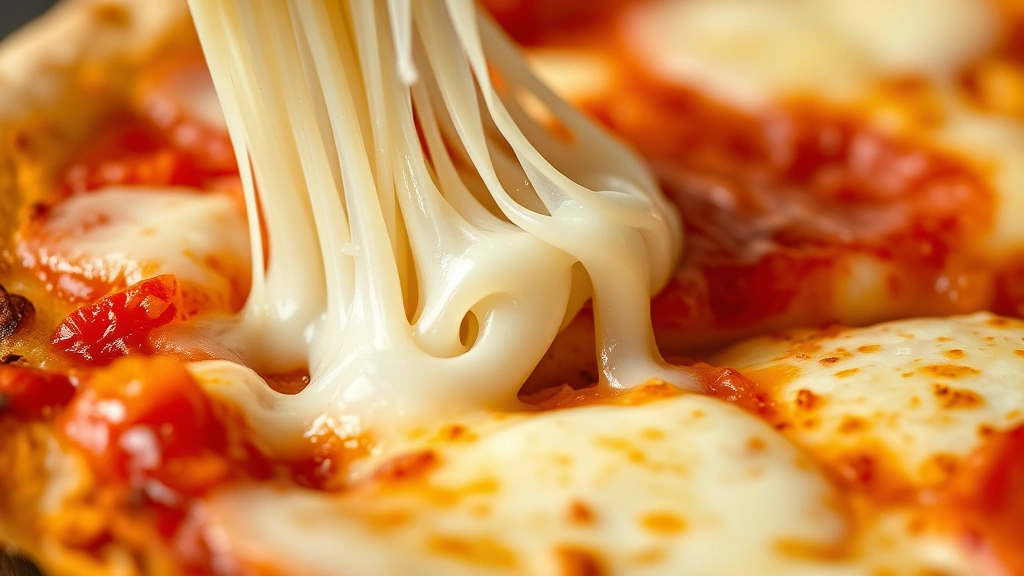
- Distribute the cheese mixture evenly over the sauce, making sure to cover all areas completely—don’t be shy with the cheese, as this is what makes school pizza special.
- If adding optional toppings like pepperoni or Italian sausage, distribute them now over the cheese layer.
- Place the pizza in the preheated 425°F oven and bake for 20-25 minutes until the crust is golden brown and the cheese is melted and bubbly with golden spots.
- Remove from the oven and let the pizza cool in the pan for 5 minutes before slicing—this helps it set so you get clean, crispy slices.
- Use a sharp knife or pizza cutter to slice into squares, then serve warm and enjoy!
Pro Tips
- **Cheese is key**: Use quality whole milk mozzarella for the best melting and flavor. Pre-shredded cheese works, but freshly shredded cheese melts more smoothly. The combination with provolone adds an authentic cafeteria taste, but straight mozzarella is equally delicious.
- **Pan preparation matters**: Coating the pan generously with olive oil prevents sticking and creates those crispy, golden edges that make school pizza so special. Don’t skip this step!
- **Dough flexibility**: If you’re short on time, you can skip the rise and stretch the dough directly into the pan, though it will be slightly denser. Alternatively, prepare the dough the night before and let it rise in the refrigerator for up to 24 hours for even better flavor development.
- **Sauce simplicity**: The beauty of school pizza sauce is its simplicity. Resist the urge to overseason it—the cheese and dough are the stars here. If you prefer a slightly sweeter sauce (like authentic school pizza), add ½ teaspoon of sugar to the sauce mixture.
- **Temperature control**: An oven thermometer ensures accuracy. If your oven runs hot, you may need to reduce the temperature to 400°F and add a few minutes to cooking time. If it runs cool, increase slightly and monitor carefully.
- **Cheese distribution**: Spread the cheese all the way to the edges for maximum coverage and those gorgeous golden spots. The edges get extra crispy and cheesy, making them irresistible.
- **Storage and reheating**: Store leftover pizza in an airtight container in the refrigerator for up to 4 days. Reheat in a 350°F oven for 8-10 minutes for crispy results, or microwave for 1-2 minutes for quick reheating. The texture stays better with oven reheating.
- **Topping variations**: While classic school pizza is just cheese, you can customize with pepperoni, Italian sausage, mushrooms, bell peppers, or onions. Add any toppings after the cheese layer for best results.
- **Scaling the recipe**: This recipe doubles easily in a 9×13-inch pan. For larger quantities, prepare two pans simultaneously or use a half-sheet pan for a thinner, larger pizza.
- **Water temperature**: Warm water (around 110°F) activates the yeast without killing it. Water that’s too hot will kill the yeast; water that’s too cold won’t activate it properly.
- **Cooling time**: Those 5 minutes of cooling in the pan are crucial—they allow the cheese to set so slices hold together. Cutting too early results in messy, sliding slices.