
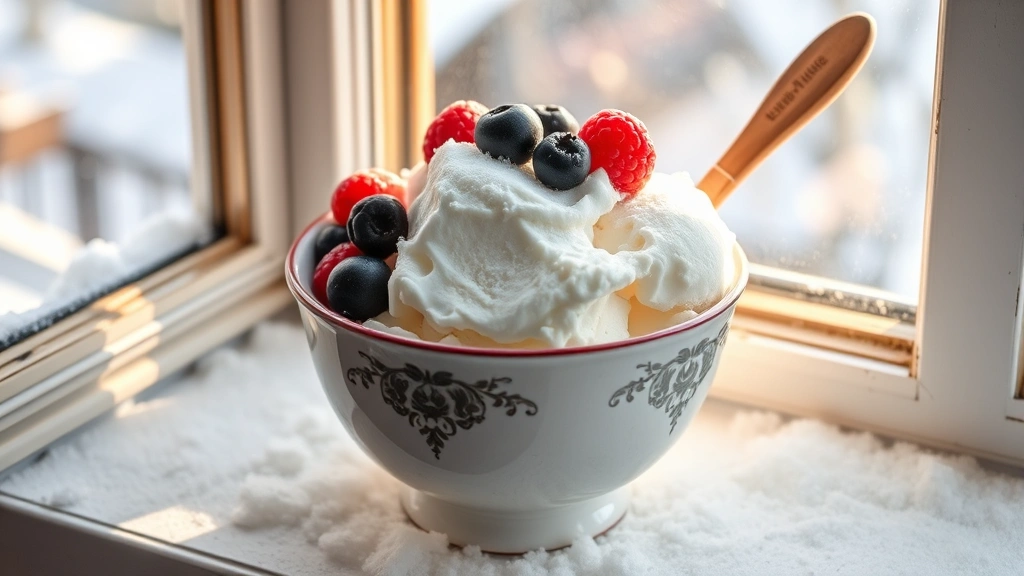
There’s something absolutely magical about making ice cream with fresh snow—it’s a nostalgic treat that takes me back to childhood winters and simpler times. Snow ice cream is one of those delightful recipes that requires minimal ingredients and virtually no cooking, making it perfect for those unexpected snow days when you want to create something special with the family. The beauty of this recipe lies in its simplicity and the pure joy of turning nature’s gift into a creamy, delicious dessert.
This snow ice cream recipe has been passed down through generations, and for good reason. Unlike traditional ice cream that requires an ice cream maker and hours of churning, snow ice cream comes together in minutes. All you need is fresh, clean snow from your yard and a few pantry staples. I’ve perfected this recipe over many snowy winters, and I’m thrilled to share my secrets for making the absolute best version. The key is using the right ratio of snow to cream, sweetener, and vanilla to achieve that perfect creamy texture that melts on your tongue.
What makes this snow ice cream so special is how customizable it is. Whether you prefer classic vanilla, rich chocolate, fruity berry, or even festive peppermint, you can easily adapt this base recipe to suit your preferences. The texture is lighter and airier than traditional ice cream, with a delicate crumb that’s utterly addictive. When you take that first spoonful of homemade snow ice cream on a cold winter day, you’ll understand why this recipe has remained a beloved tradition for so long.
I love making this recipe with my family because everyone can participate in the process. From collecting the snow to mixing the ingredients to enjoying the final product, it’s a complete experience that brings joy to the entire household. Plus, there’s something incredibly satisfying about knowing exactly what goes into your ice cream. No mysterious additives or preservatives—just pure, wholesome ingredients combined with the magic of fresh snow.
The technique for making snow ice cream is straightforward, but there are a few important tips to ensure success. First, you must use snow that has fallen fresh from the sky, not snow that’s been sitting on the ground for days. Make sure to collect it from a clean area, away from roads and pollution. I recommend using snow from an elevated surface like a table or fence rail rather than ground-level snow. The cream mixture should be cold but not frozen solid, so it combines beautifully with the snow to create that signature fluffy texture. Timing is everything—you want to work quickly once you start mixing to capture the perfect consistency before the snow begins to melt. This recipe is not only delicious but also creates lasting memories that your family will treasure for years to come. Whether it’s your first time making snow ice cream or you’re a seasoned pro, this recipe will deliver exceptional results every single time.
For additional inspiration on cream-based desserts, check out this Best Heavy Cream Alfredo Sauce Recipe for techniques on working with quality cream. You might also enjoy exploring Delicious Heavy Cream Pasta Recipe for more cream-based cooking inspiration. For dessert variations, consider this Easy Chicken Alfredo Recipe to understand flavor layering. To learn more about complementary flavors, check out Best Pickled Red Onion Recipe for accent techniques. For more dessert inspiration, see Quick Tasty Bacon Carbonara Recipe.
For professional techniques and variations, explore Bon Appétit’s dessert collection for gourmet inspiration. Check out Serious Eats’ ice cream science for in-depth explanations. Learn more at New York Times Cooking for classic recipes. Visit Bon Appétit’s recipe section for more ideas. Check Serious Eats recipes for detailed guides.
Ingredients
- 6-8 cups of fresh, clean snow (packed loosely)
- 1 cup heavy cream or whole milk
- 1/2 cup granulated sugar
- 2 teaspoons pure vanilla extract
- 1/4 teaspoon salt
- Optional: 2 tablespoons unsweetened cocoa powder for chocolate version
- Optional: 1/2 teaspoon peppermint extract for peppermint version
- Optional: 1/2 cup fresh berries, mashed, for berry version
Instructions
- Collect 6-8 cups of fresh, clean snow from a location away from roads and pollution. Use snow from an elevated surface like a deck railing or table. Pack it loosely into a large bowl and set aside in a cold location.
- Pour the heavy cream (or whole milk if you prefer a lighter version) into a medium mixing bowl.
- Add the granulated sugar to the cream and stir vigorously until the sugar is completely dissolved. This should take about 1-2 minutes of continuous stirring.
- Add the vanilla extract and salt to the cream mixture and stir well to combine all ingredients thoroughly.
- For chocolate snow ice cream, sift the cocoa powder into the cream mixture and whisk until no lumps remain and the mixture is smooth and uniform in color.
- For peppermint snow ice cream, add the peppermint extract to the cream mixture and stir until evenly combined.
- For berry snow ice cream, mash fresh berries thoroughly and fold them into the cream mixture, stirring until the color is even throughout.
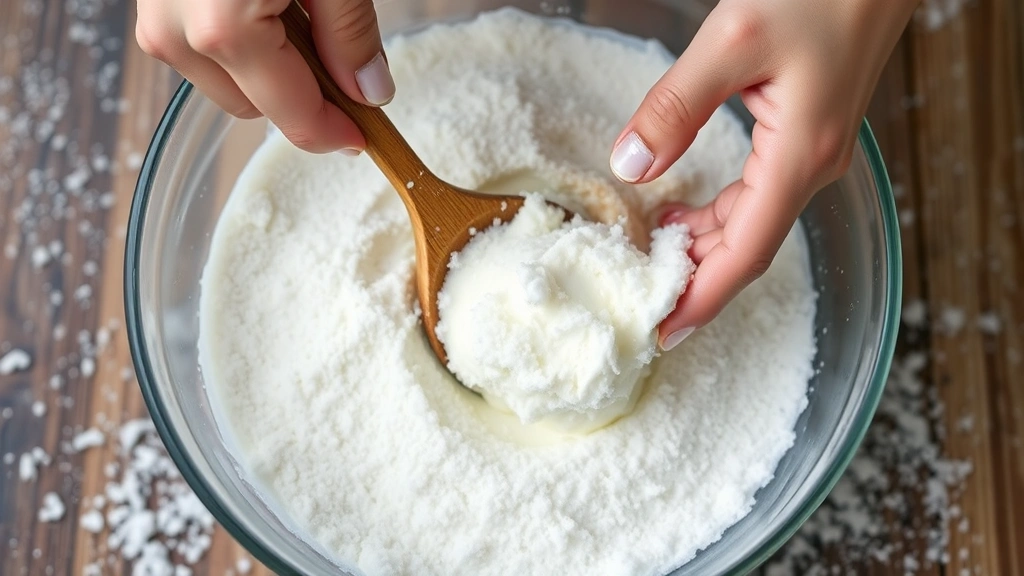
- Working quickly, add the cream mixture to the packed snow in small batches, starting with just 2 tablespoons.
- Fold the snow and cream together gently but thoroughly using a large spoon or spatula, making sure to combine them completely with each addition.
- Continue adding more cream mixture in small batches—about 2-3 tablespoons at a time—while folding constantly until all the cream is incorporated and the mixture reaches a soft-serve ice cream consistency.
- Stop adding cream mixture once you achieve the desired texture. The mixture should be fluffy, creamy, and resemble soft-serve ice cream.
- Taste a small spoonful and add more vanilla extract or sugar if desired, folding gently to combine any additions.
- Divide the snow ice cream into serving bowls immediately and enjoy while it has the perfect creamy texture.
- Serve within 5-10 minutes for the best consistency, as the ice cream will begin to melt if left sitting too long.

Pro Tips
Always collect snow from a clean source away from roads, parking lots, and areas with vehicle traffic. The safest option is to gather snow from your own yard or a trusted friend’s property.
Use heavy cream for the richest, most luxurious version of this recipe. However, whole milk or even half-and-half will work if you prefer a lighter dessert.
The temperature of the cream mixture matters significantly. If the cream is too warm, it will melt the snow too quickly and create a soupy texture. Keep the cream mixture cool before mixing.
Work as quickly as possible once you begin combining the snow and cream. The faster you mix, the better the texture will be, as this minimizes melting.
The ratio of snow to cream can be adjusted slightly based on your preference for density and creaminess. More cream creates a richer texture, while less cream produces a fluffier, lighter version.
This recipe works best when made on a day when the temperature is well below freezing. If it’s warmer than 28°F, the snow may melt too quickly, making it difficult to achieve the proper consistency.
Flavor variations are endless with this base recipe. Try adding maple syrup, chocolate syrup, fruit purees, crushed candy canes, or coffee extract for creative twists.
If you’re making this for guests, prepare all your ingredients in advance so you can work quickly once you begin combining the snow and cream mixture.
This dessert is best enjoyed immediately after making it. Unlike traditional ice cream that’s stored in the freezer, snow ice cream is meant to be consumed right away while it maintains its perfect fluffy texture.
Younger children can safely participate in collecting snow and mixing ingredients, making this a wonderful family activity on snowy days.
If you accidentally make the mixture too soupy, you can save it by adding more fresh snow in small amounts while folding gently until the desired consistency returns.
This recipe uses no eggs, making it a safe option for families concerned about raw egg consumption, unlike some traditional ice cream recipes.