
There’s something absolutely magical about homemade sourdough bread – the crackling crust, the tangy flavor, the perfect crumb structure. I’ve been making sourdough for years, and I’m so excited to share my foolproof method with you! This recipe creates that gorgeous, bakery-quality loaf you’ve been dreaming about.
The secret to the BEST sourdough is patience, a healthy starter, and understanding the science behind fermentation. Don’t let the long ingredient list intimidate you – you really only need three ingredients: flour, water, and salt. The magic happens when you give the dough time to develop flavor and structure through proper fermentation.
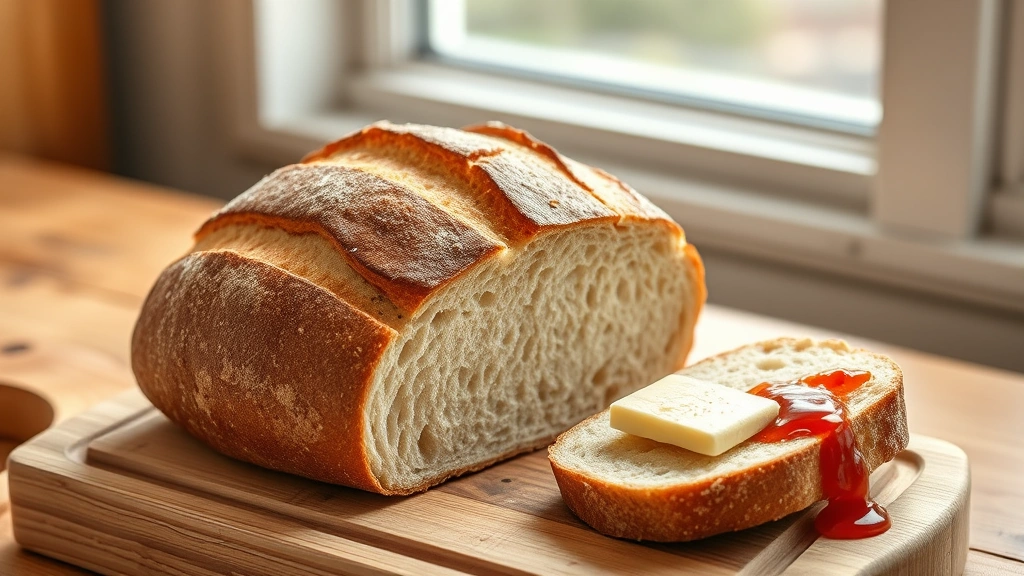
I love pairing fresh sourdough with homemade alfredo sauce for an elevated dinner, or simply enjoying it with good butter and jam for breakfast. You can also use it as the foundation for chicken alfredo bread bowls!
Before you start, make sure your sourdough starter is active and bubbly – this is crucial. If you don’t have one, you’ll need to create one about 5-7 days before baking. The starter is what gives sourdough its distinctive tang and helps the dough rise beautifully without commercial yeast.
This recipe yields one large, gorgeous loaf that’s perfect for entertaining or enjoying throughout the week. The crust develops that signature crackle in a Dutch oven, while the interior stays wonderfully moist and airy. You’ll find detailed instructions for scoring, shaping, and baking below. Once you master this technique, you’ll be making sourdough constantly – trust me!
For more bread inspiration, check out our creamy pasta recipe for using your fresh bread as the perfect accompaniment. You might also enjoy our chickpea salad for a light lunch alongside a thick slice of warm sourdough.
Ingredients
- 500g bread flour (approximately 3¾ cups)
- 350ml filtered water (approximately 1½ cups), divided
- 100g active sourdough starter, fed 4-8 hours prior
- 10g sea salt (approximately 1¾ teaspoons)
- Extra flour for dusting
- Water for scoring
Instructions
- Feed your sourdough starter 4-8 hours before you plan to mix the dough. It should be active, bubbly, and at peak rise (roughly doubled in size) with a pleasant sour aroma. This is essential for proper fermentation.
- In a large mixing bowl, combine 500g bread flour with 350ml filtered water. Mix until all the flour is hydrated and you have a shaggy dough with no dry flour visible. Let this autolyse (rest) for 30-60 minutes at room temperature. This resting period allows the flour to fully absorb water and develops gluten naturally.
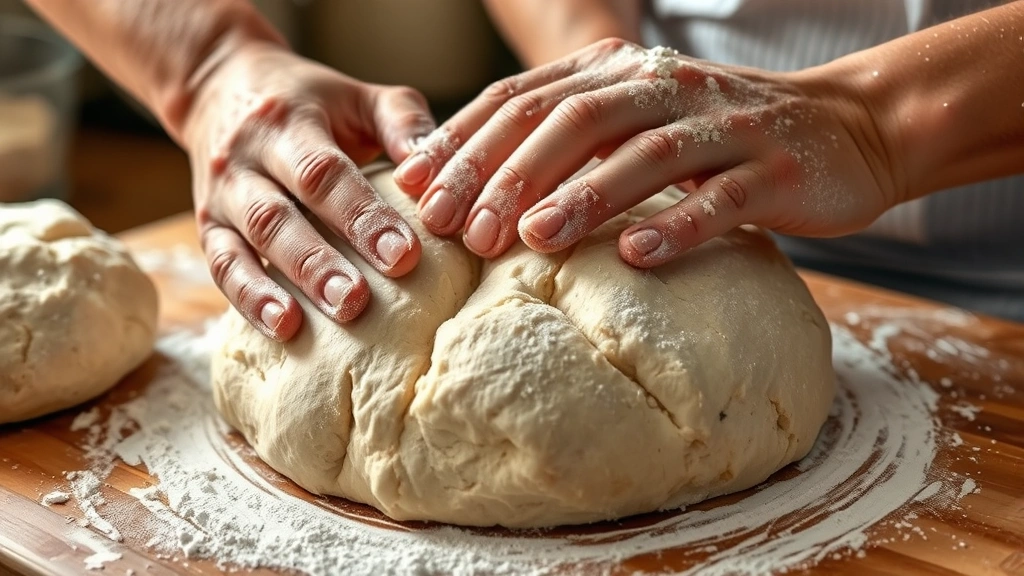
- After the autolyse, add your 100g active sourdough starter to the dough. Using wet hands or a dough scraper, pinch and fold the starter into the dough until fully incorporated. The dough will feel slightly sticky and loose – this is perfect.
- Sprinkle 10g sea salt over the dough. Incorporate the salt using the pinch and fold method, working it in thoroughly. Continue folding until the salt is completely dissolved and the dough feels slightly firmer.
- Perform your first set of coil folds: wet your hand, reach to the bottom of the dough, pull it up and over itself, rotate the bowl 90 degrees, and repeat 4 times. This should take about 1-2 minutes. Rest for 30 minutes.
- Repeat coil folds every 30 minutes for a total of 4 sets (about 2 hours total). By the final set, your dough should feel smooth, elastic, and strengthened. You’ll notice it holds its shape better.
- After the final fold, let the dough rest untouched for 4-6 hours at room temperature (68-72°F is ideal). This is your bulk fermentation phase. The dough should increase in volume by about 50-75%, showing visible bubbles on top and sides.
- Perform the poke test: gently poke the dough with a floured finger. If the indent springs back slowly but doesn’t completely disappear, your dough is ready to shape. If it springs back quickly, give it more time.
- Lightly flour your work surface and gently turn the dough out onto it. Pre-shape into a round by folding the edges toward the center, creating tension on the surface. Rest for 20-30 minutes to let the gluten relax.
- For the final shape, flip the dough seam-side down. Fold the top third of the dough toward you, seal with the heel of your hand, then fold the sides in and roll toward you, creating tension. The seam should be on the underside.
- Place the shaped dough seam-side up into a well-floured banneton basket (or a bowl lined with a kitchen towel). Cover loosely with a plastic bag or damp towel.
- Place the banneton in your refrigerator for 4-8 hours, or up to 24 hours for enhanced flavor. Cold fermentation develops deeper sourness and makes scoring easier. This step can also be done overnight.
- Preheat your oven to 500°F (260°C) for 45 minutes with a Dutch oven inside. The preheated Dutch oven is essential for creating steam, which develops that gorgeous crackling crust.
- Remove the cold dough from the refrigerator. Carefully turn it out onto parchment paper, seam-side down. Using a sharp bread lame or knife, make your scoring cuts: a classic curved slash works beautifully. Score confidently and decisively.
- Carefully place the parchment paper with the dough into the preheated Dutch oven. Cover with the lid and reduce heat to 450°F (232°C). Bake covered for 20 minutes to trap steam.
- Remove the Dutch oven lid and continue baking for 20-25 minutes until the crust is deep golden brown. Watch carefully during the final minutes to prevent over-browning.
- Remove from the oven and slide the bread onto a wire cooling rack. Resist the urge to slice immediately – let it cool for at least 30-60 minutes. This allows the crumb structure to set properly.
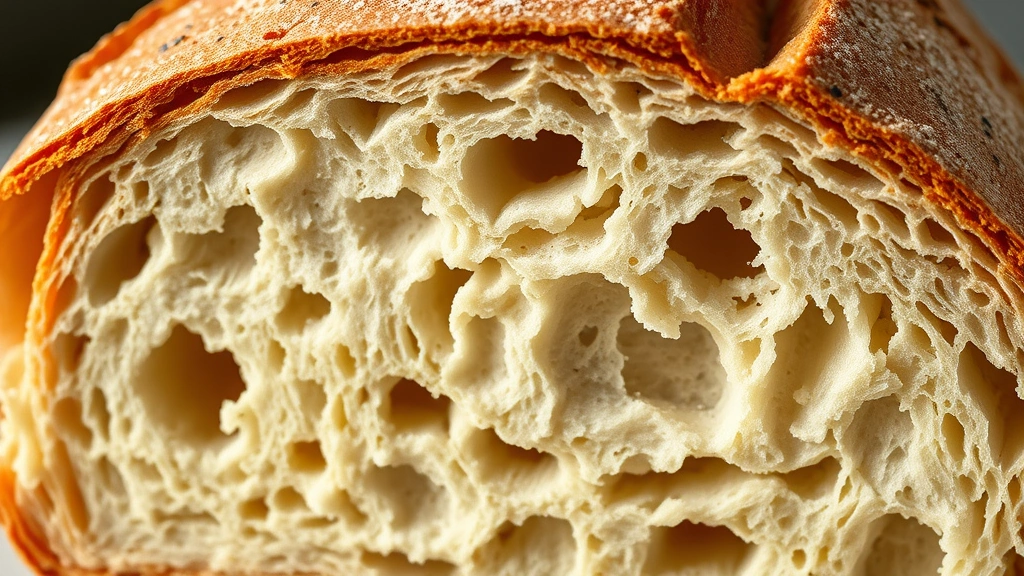
- Once cooled, slice with a serrated bread knife using a gentle sawing motion. Admire that beautiful open crumb structure and enjoy your homemade sourdough!
Pro Tips
- Active starter is absolutely crucial – it must be bubbly, risen, and smell pleasantly sour before mixing. If your starter isn’t active, your bread won’t rise properly. Feed it regularly (daily or every 12 hours depending on temperature) to keep it healthy.
- Water temperature affects fermentation speed. Warmer water (75-80°F) speeds up fermentation, while cooler water (65-70°F) slows it down. Use this to your advantage based on your kitchen temperature.
- Don’t skip the autolyse step! Those 30-60 minutes allow gluten to develop naturally, creating better dough strength with fewer folds.
- Hydration at 70% is very manageable for beginners. Once comfortable, you can increase to 75-80% for more open crumb, but the dough becomes stickier and harder to handle.
- Bulk fermentation time varies based on temperature. In warmer kitchens (75°F+), you might only need 6-8 hours. In cooler kitchens (65-68°F), you might need 10-12 hours. The poke test is your best guide, not the clock.
- Cold fermentation overnight (or up to 24 hours) develops incredible flavor and makes scoring easier. The dough is stiff when cold, so it holds its shape during scoring beautifully.
- Don’t have a banneton basket? A bowl lined with a well-floured kitchen towel works perfectly. Make sure to flour generously to prevent sticking.
- Scoring is both functional and artistic. A confident cut guides where the bread expands and creates that signature “ear.” Use a sharp lame or clean razor blade – dull blades tear the dough.
- The Dutch oven is essential for home baking – it traps steam that creates that bakery-quality crust. If you don’t have one, you can place a baking stone on the bottom rack and create steam by placing a hot pan below it, though results won’t be quite as impressive.
- Store cooled sourdough wrapped in a clean kitchen towel or in a paper bag for 2-3 days. For longer storage, slice and freeze for up to 3 months. Toast frozen slices directly from the freezer for convenience.
- Consistency comes with practice. Keep notes on fermentation times and temperatures to dial in your specific kitchen conditions.
- If your crumb is too dense, you may have underfermented. If it’s too open with large holes, you likely overfermented. Both are still delicious – adjust timing next time!
- Want extra tang? Extend your bulk fermentation or cold proof time. The longer fermentation develops more lactic acid, creating that signature sourdough flavor.